Part 2 – Identifying Landforms
In Part 1 of How to navigate, we looked at the reasons why learning to navigate with a map and compass is a great idea (not to mention fun), whilst kicking off with the basics such as; which maps to use, how to use grid references to describe a location and also measuring distance.
We continue with identifying more of the basics of topographic maps…
Landforms
When it comes to major clues to identifying where you are on a map and working out the quickest and most efficient way of getting to your next location, being able to identify various landforms and features is absolutely essential. The great news is that it’s not hard and when you can see the relationship between the map feature and what it looks like on the ground, things will start to become clearer.
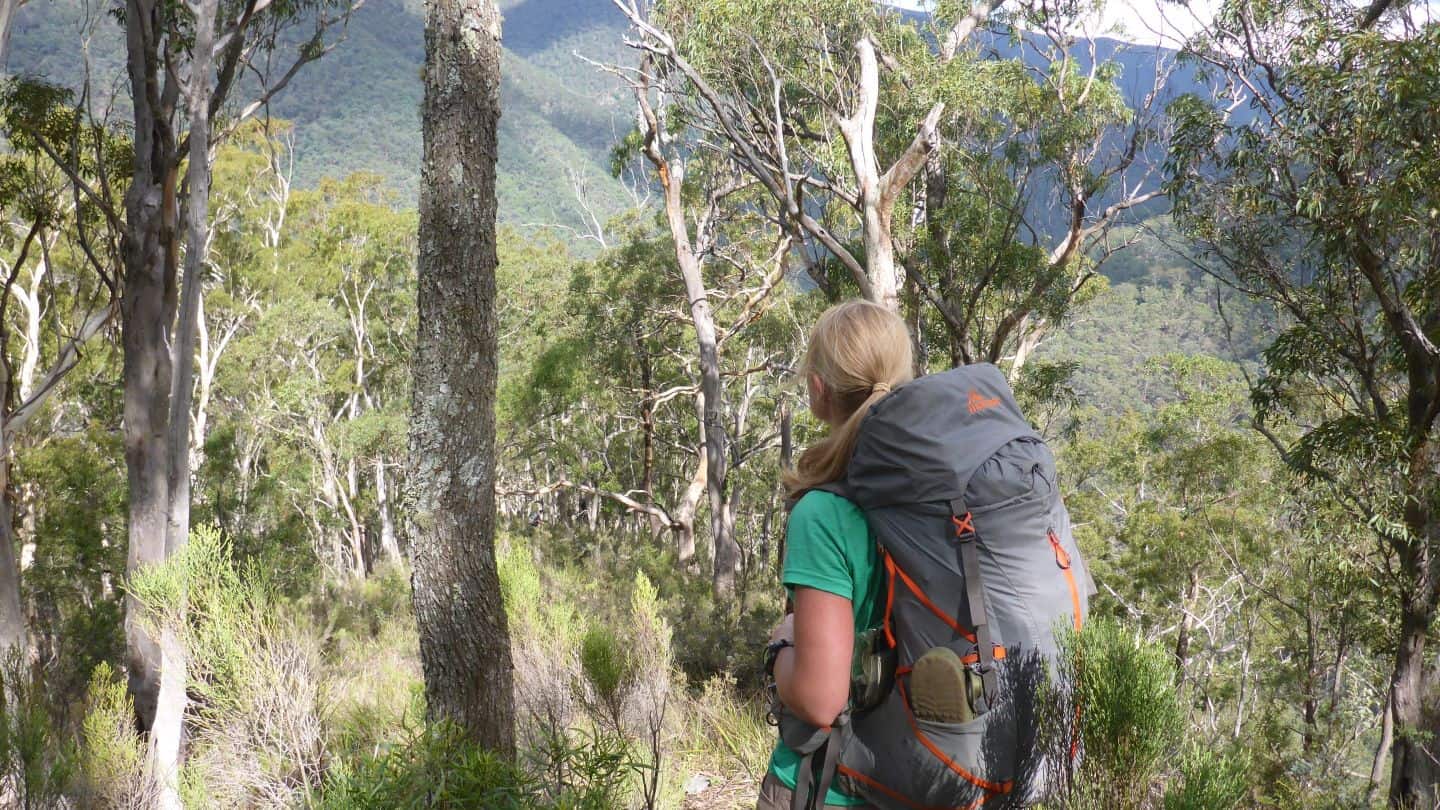
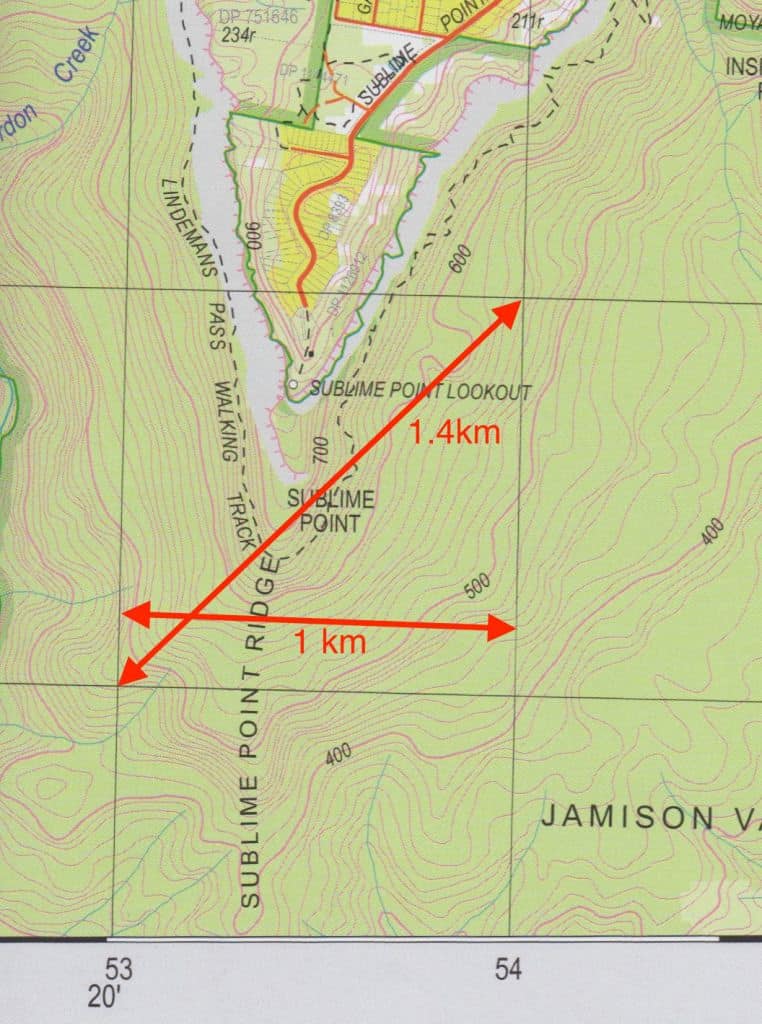
Contours – Not so much a specific feature, but a way of looking at a map and working out the height of a specific point. Contours are a series of concurrent lines that run across (traverse) areas of the same height. Check your map legend to see if the contours indicate a difference in height of 10m or 20m. The key here is that the closer the lines are together, the steeper the terrain. On a map with 10m contours, you’ll note that every 10th contour line is bolded. This makes it easier to count up the elevation in 100m groupings. (Image 1]
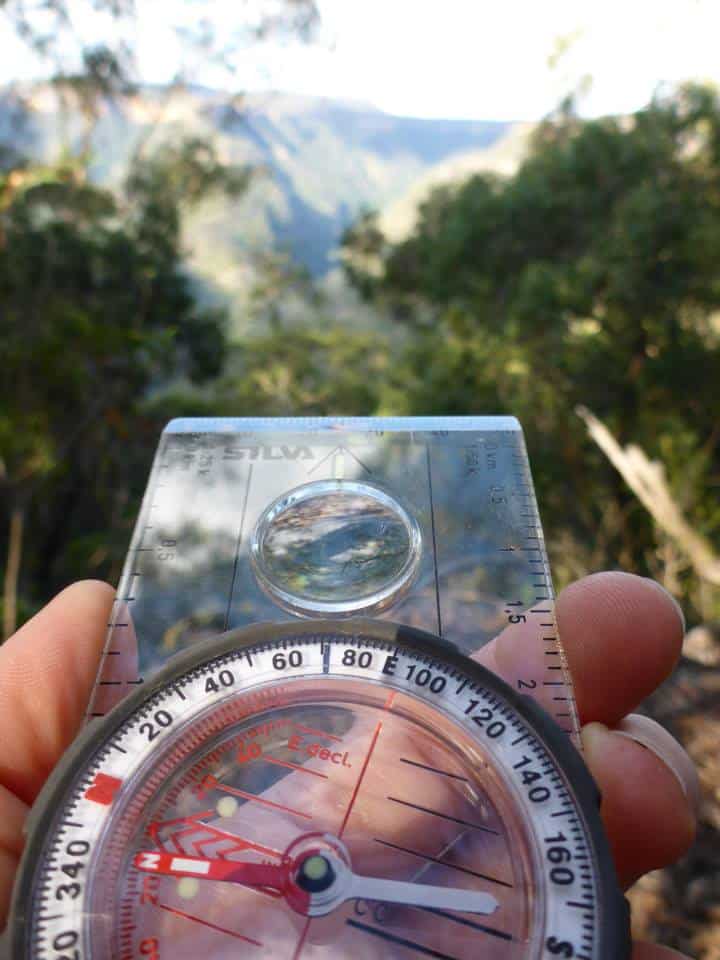
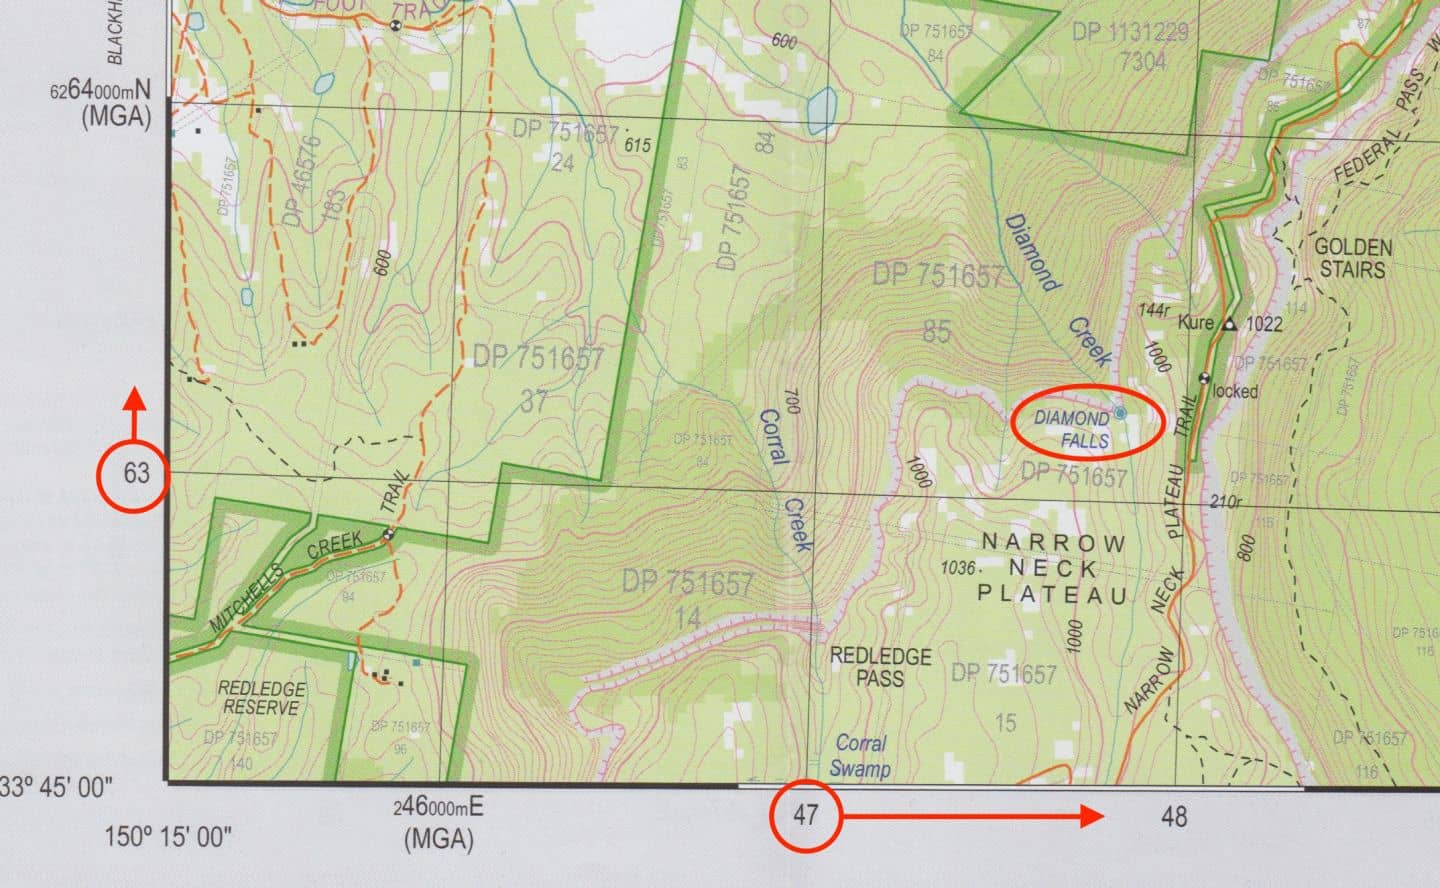
Cliffline – When an area becomes so steep that it becomes vertical, a cliff is formed. This is indicated by a hashed pink line and often a relative height number indicated by “90r”. [Image 2]
Highpoint / Summit (aka The Top!) – The highest point within a given area is often (but not always) marked on a map with the altitude in metres and a small dot.

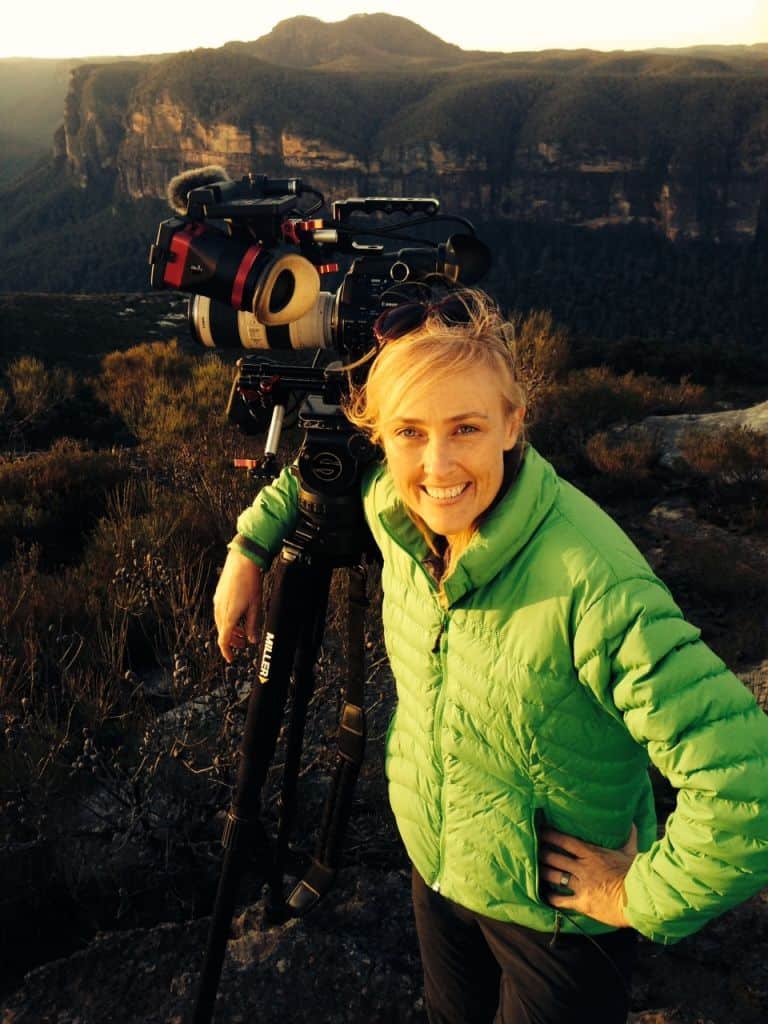
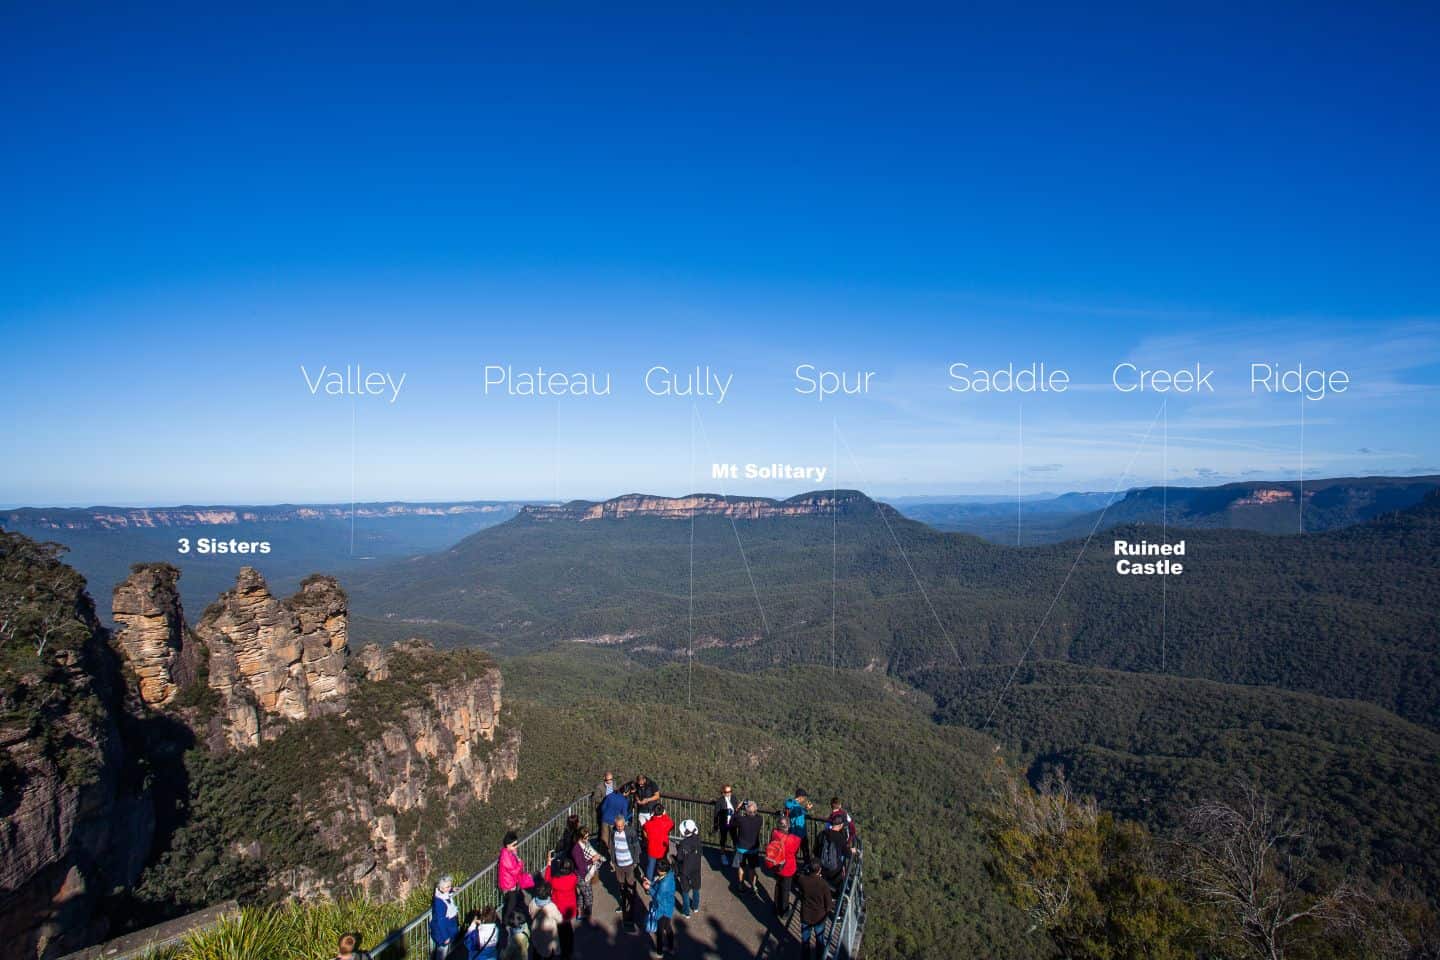
Ridge – A ridge is a geographic feature that joins a series of high points and is the local watershed. (Ie. Rain/water flows down from this point on both sides to creeks and rivers below). It is usually the easiest way to move from one point to another, depending on vegetation. [Image 3]
Saddle – A saddle is the lowest point between two high points on a ridge. [Image 3]

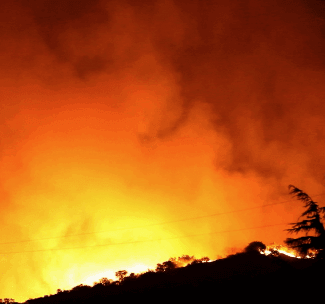
Spur – A spur is a ridge that runs down to a creek or river and like a ridge, is generally the easiest route to move between creeks and high points. [Image 4]
Gully – is a creek or watercourse that by flowing downhill has created a low point on its journey. You’ll find them between Spurs and do not always have water in them. [Image 4]

Valley – is a low point/depression surrounded by a number of high points. It will commonly have a river or creek(s) flowing through it and Spurs and creeks lead down into it.
Watercourse (streams, creeks, rivers, dams, lakes) – As water makes its long journey to the sea, it creates a number of different features. It’s important to note that not all water features, marked blue on maps, will always have water in them. The fainter the blue line, the less likely it is to have water in it year round.
Canyon – A canyon is a narrow slot (although sometimes not narrow eg: Wolgan Valley, NSW or the Grand Canyon in the USA!) which is carved out by water over many thousands of years. It’s steep vertical rock walls help create unique environments and are home to canyoners… Along with other animals like yabbies, crayfish, etc. As water descends through a canyon, it often forms waterfalls that fall into valleys below.
Waterfalls – Anywhere that water falls over rock cliffs. They are marked on maps by a strong blue dot or line dissecting the watercourse. [See image 5]
Vegetation – Maps can indicate different types of vegetation from cleared farmland, swamp or rocky ground. (See image 5).
Man made features – Features such as walking tracks, firetrails, roads, powerlines, dams, communication towers and buildings are handy clues to help pinpoint your location.
Once you can identify these things on a topographic map, the aha moment comes when you see these forms laid out before you in the bush. In fact, this ability to move from map to reality, is often referred to as, ‘map to ground’ or ‘grid to ground’.
All of these clues are a good part of the way to solving the mystery to navigation and no compass has been required yet.
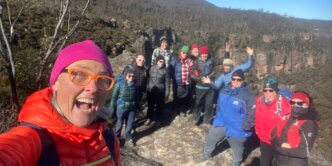
This post is just the tip of the iceberg! If you want to learn more, I’ve published an 87 page book, How to Navigate – The art of traditional map and compass navigation in an Australian context. It goes into much more detail and is loaded with images, diagrams, how-tos, tips and tricks.
Check out part 3 where we get into the nitty gritty of using a compass with the topographic map!