Part 3 – Basic Navigation
In part one of this article I covered off the basics of map reading including how to choose the right map, learning to identify the various geographical features came in part two, along with what they look like in reality compared to a printed map.
Planning your route
The next step along the path to navigating is route planning. Through what we learnt in part 1 and 2, it becomes clear that the easiest and quickest way to get from A to B, isn’t always in a straight line, as the crow flies.
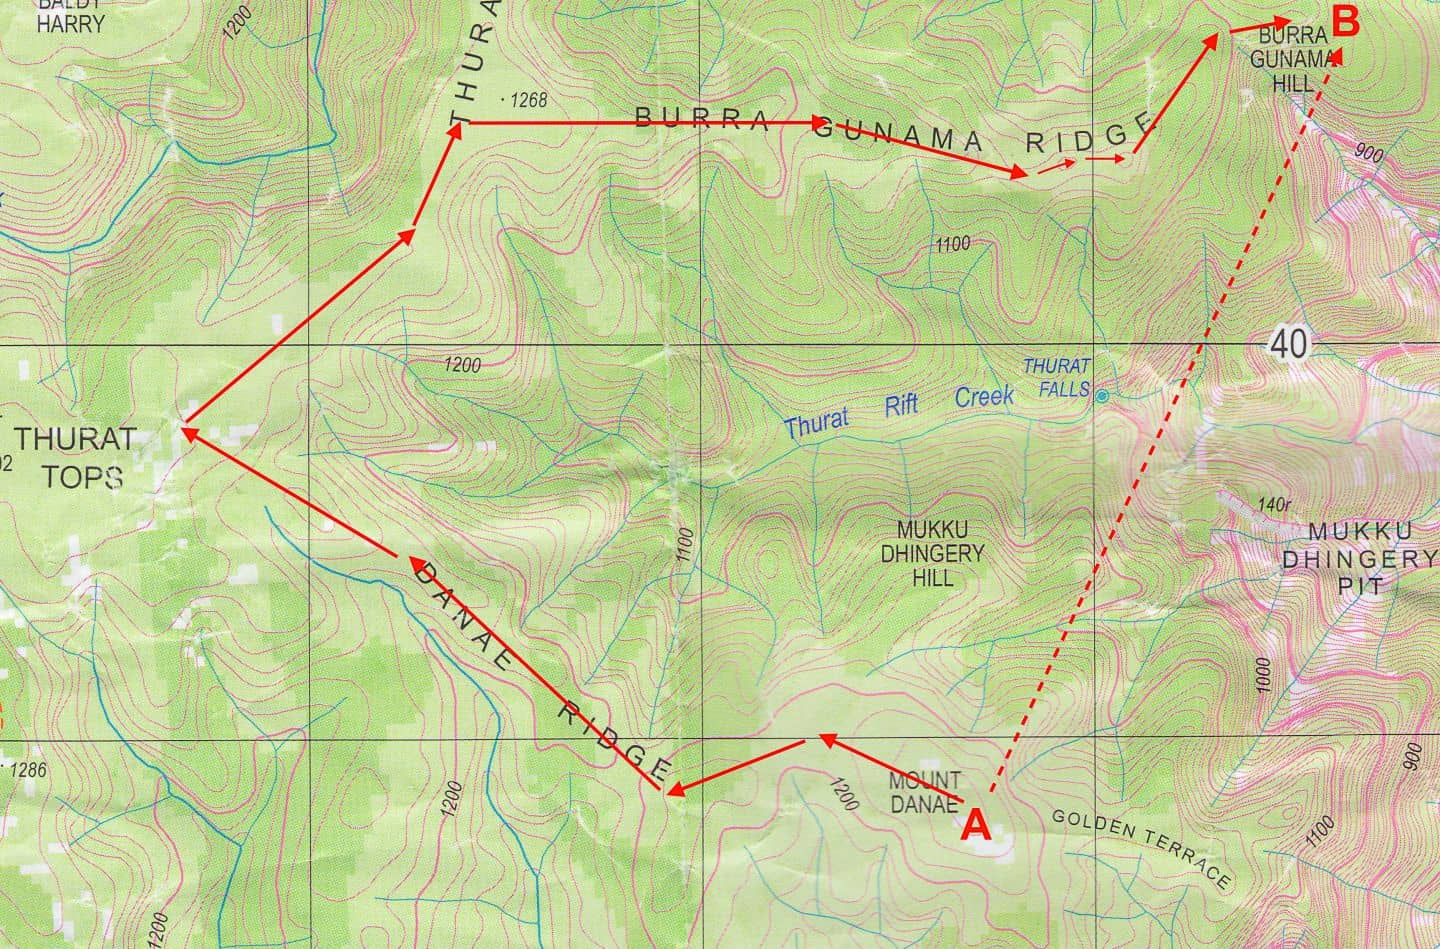
In this example, I am wanting to go from Mount Danae (A) to Burra Gunama Hill (B). Although the most direct route (dotted line) looks to be just over 2kms, by looking at the terrain we can see that it would mean many steep drops and climbs, gullies, possibly a canyon and waterfalls. Potentially, an impossible and certainly a treacherous route.
Therefore, the best and easiest route for this trip would be to keep to the ridges and to travel roughly north west, before heading back over towards the east. The distance then becomes more like 6 kms, but the journey much easier and quicker in the long run.
The next thing to look at when it comes to navigation, is a compass.
How to choose a compass
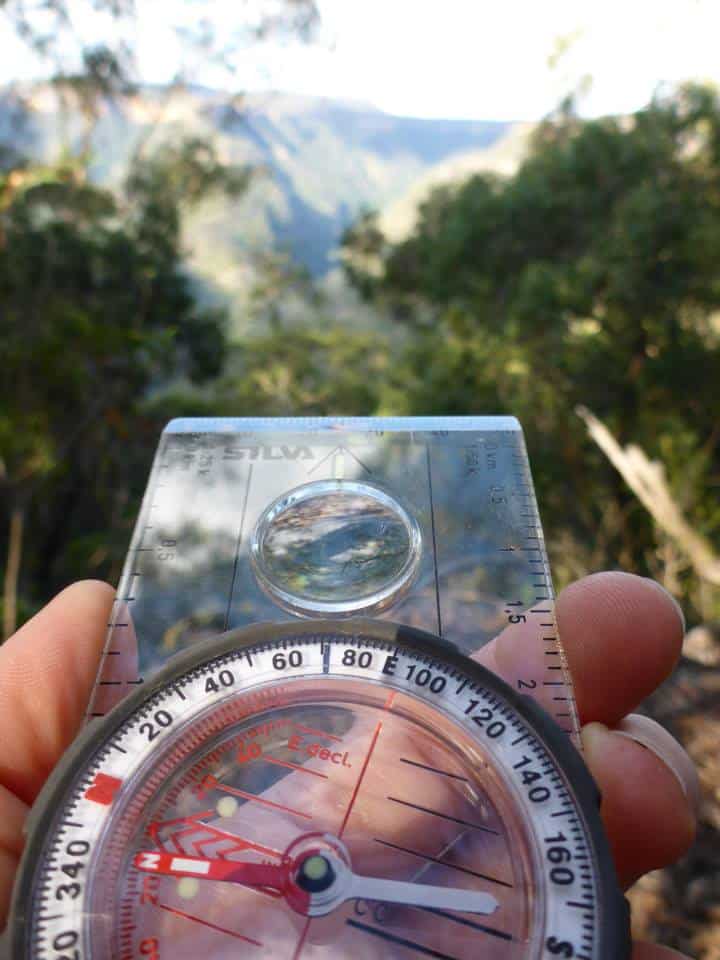
There are lots of different types of compasses on the market, but the best one for most bushwalking or outdoor adventuring is a simple baseplate one with an adjustable dial. Manufacturers Silva and Suunto are reputable brands who make several models in this style. I would also recommend buying one with the longer baseplate (around 10 cm) which helps for taking longer barings.
Taking a Bearing
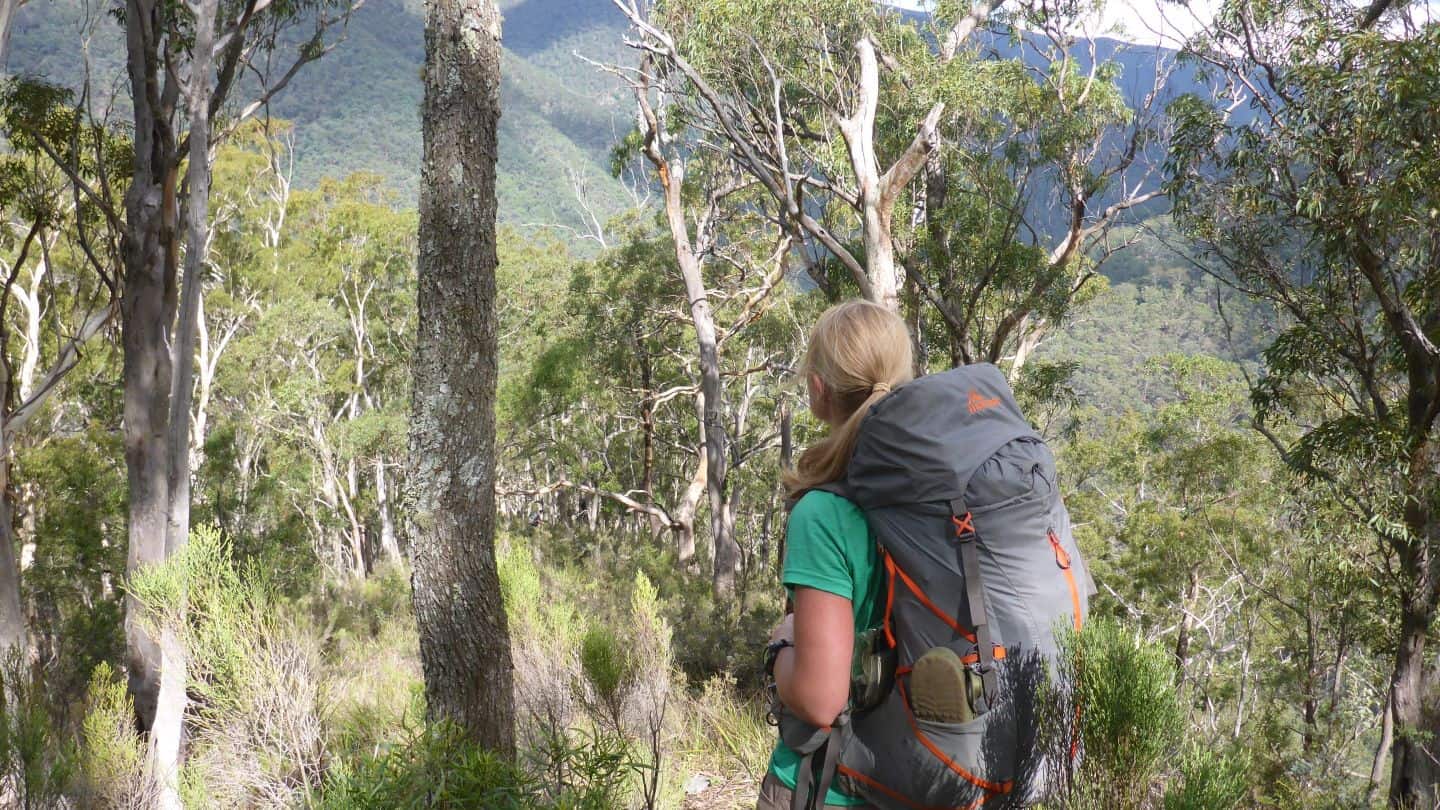
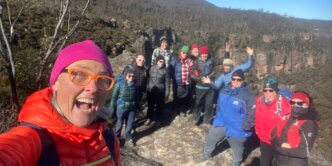
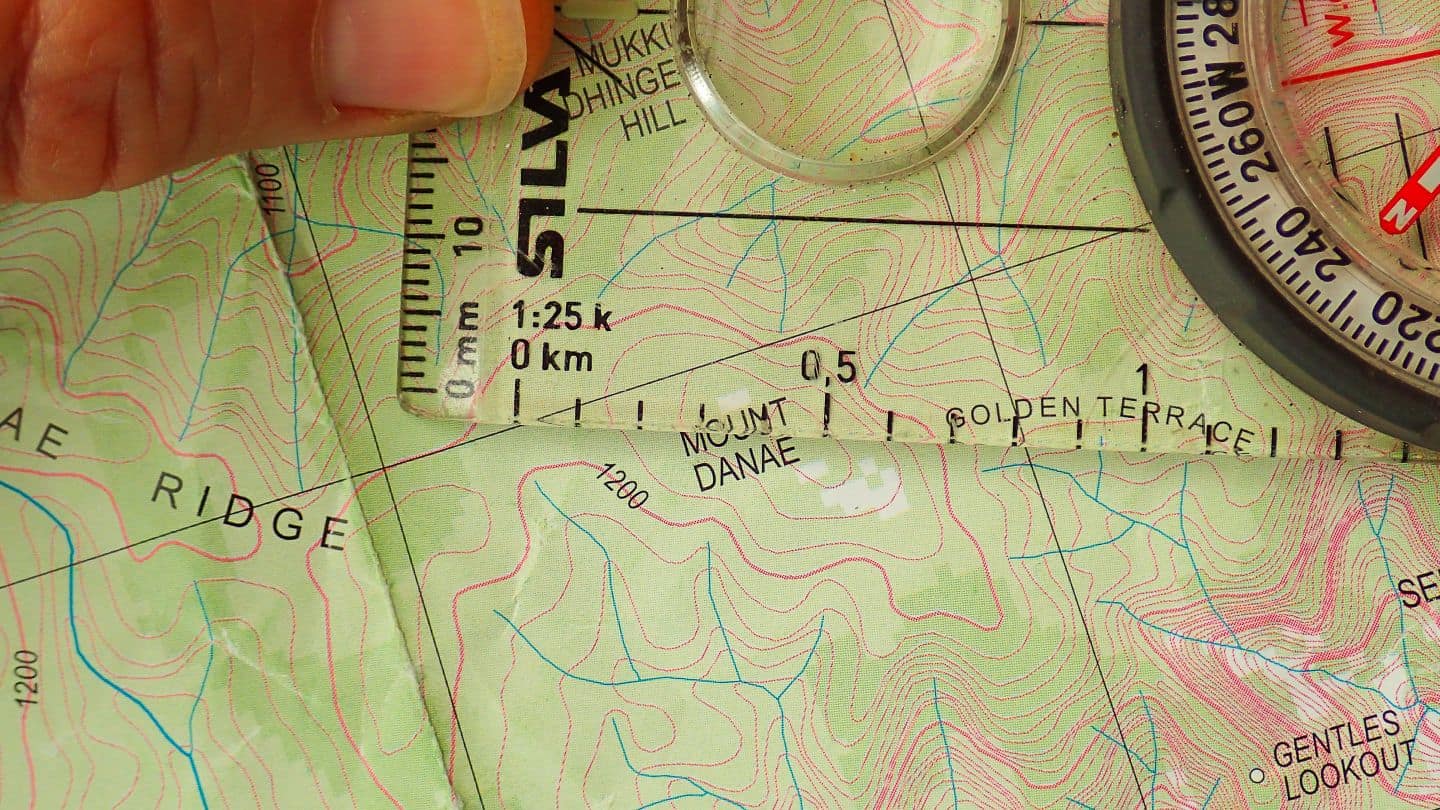
So now we have our route planned out and we’re standing on Mount Danae. Just imagine yourself there now, with some good (supportive) friends on a beautiful Spring day, whilst you get ready to take a bearing.
Looking at the map in image 1, you can see that I’ve added 12 individual arrows, which follow the highest points along the ridges to bring us to Burra Gunama Hill. When it comes to navigating, the idea is to walk in a straight line on your bearing, until the direction you need to go changes. The steps to take a bearing are as follows:
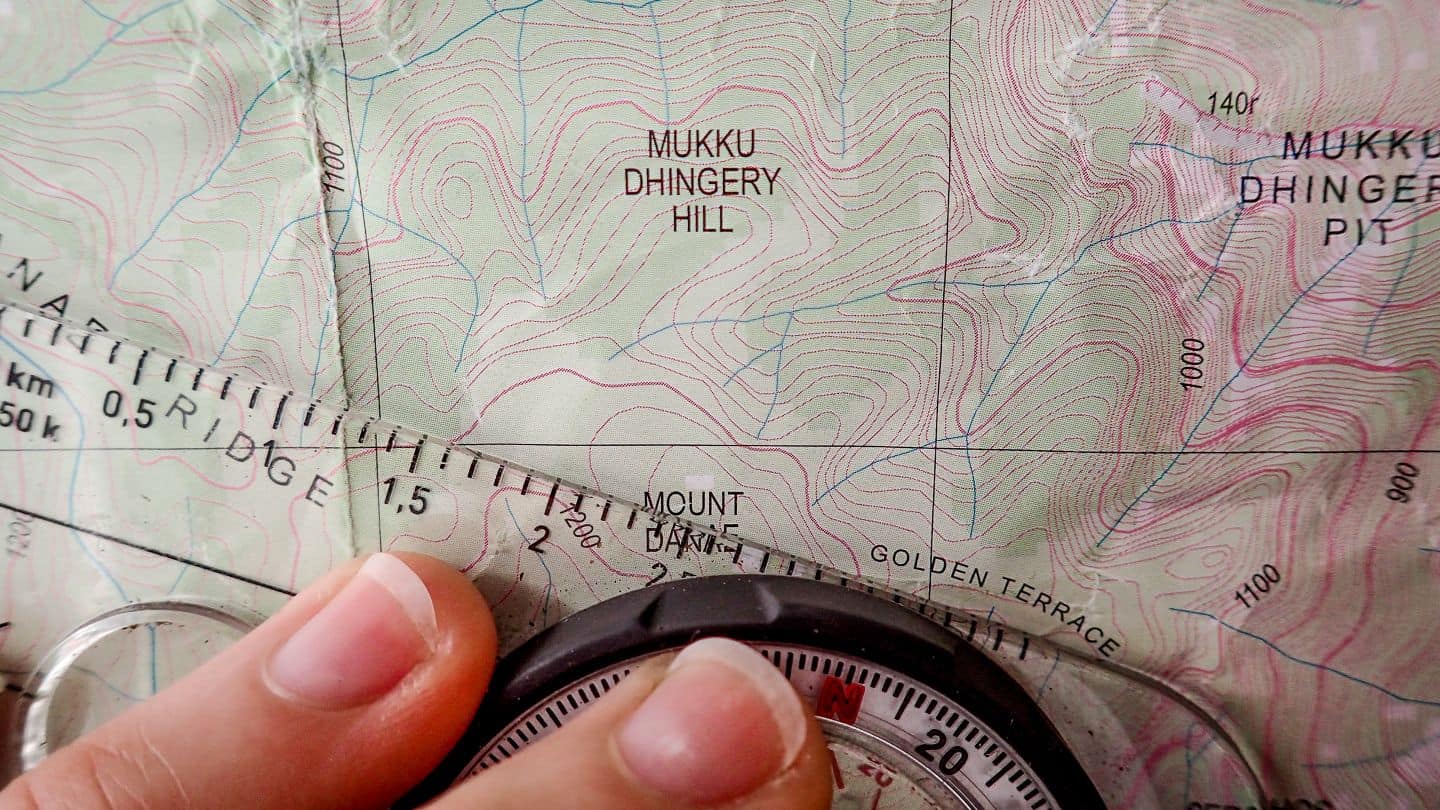
On the map, place the long edge of your compass along the route you need to travel.
Holding the compass firmly in place on this route (ensuring it doesn’t move), spin the compass dial until the Orienting Lines are parallel to the eastings grid lines on your map, ensuring that the larger red Orienting Arrow is pointing to the north.
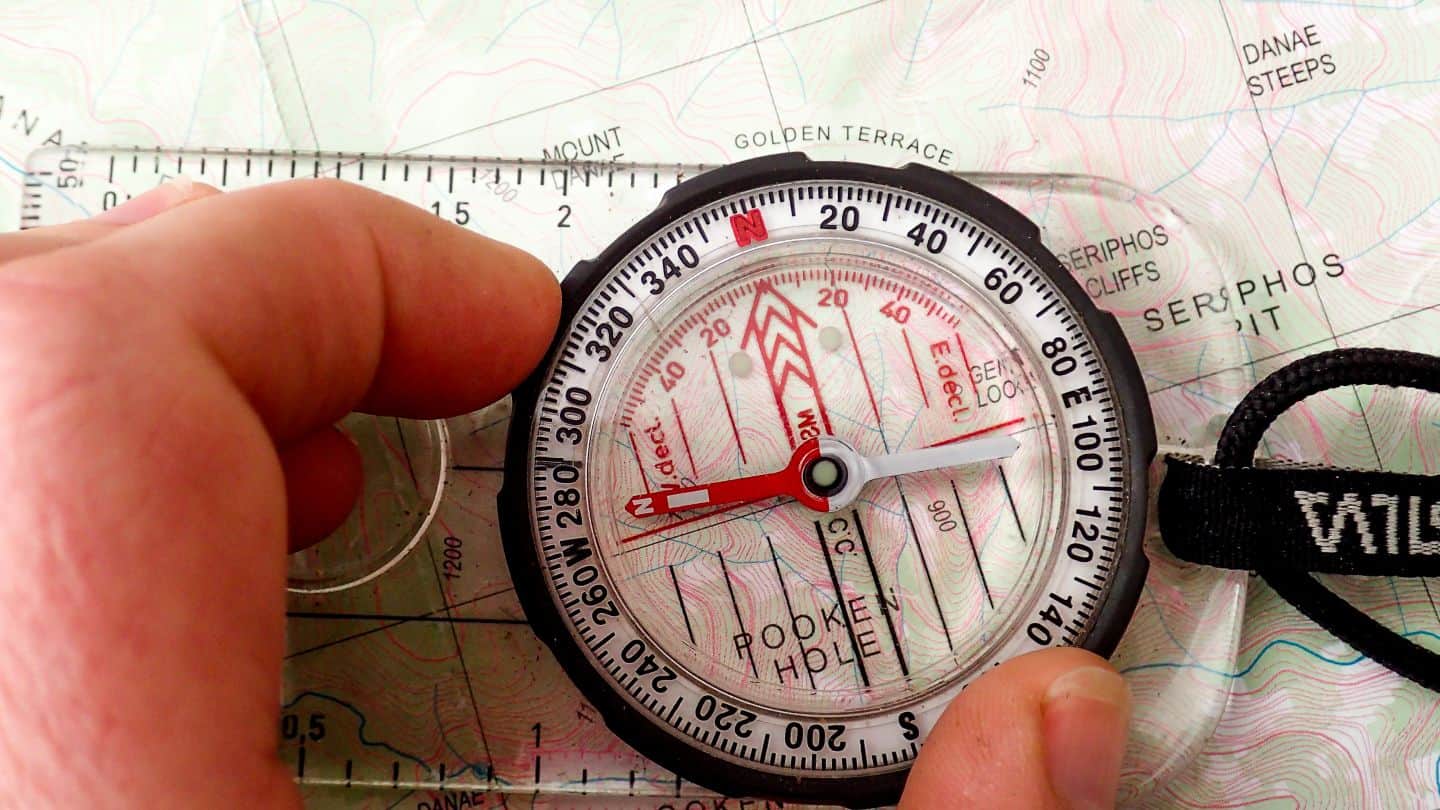
Remove the compass from your map and subtract (spin the dial to the right) the amount of degrees of the Magnetic Declination as shown on your map key (in this case 10.6 degrees… I round this to 10.5). Counting down on the degree dial from the point on the Direction of Travel Arrow.
Holding your compass flat in the palm of your hand in front of you, turn your whole body around until the red Magnetic Needle lines up with the red Orienting Arrow.
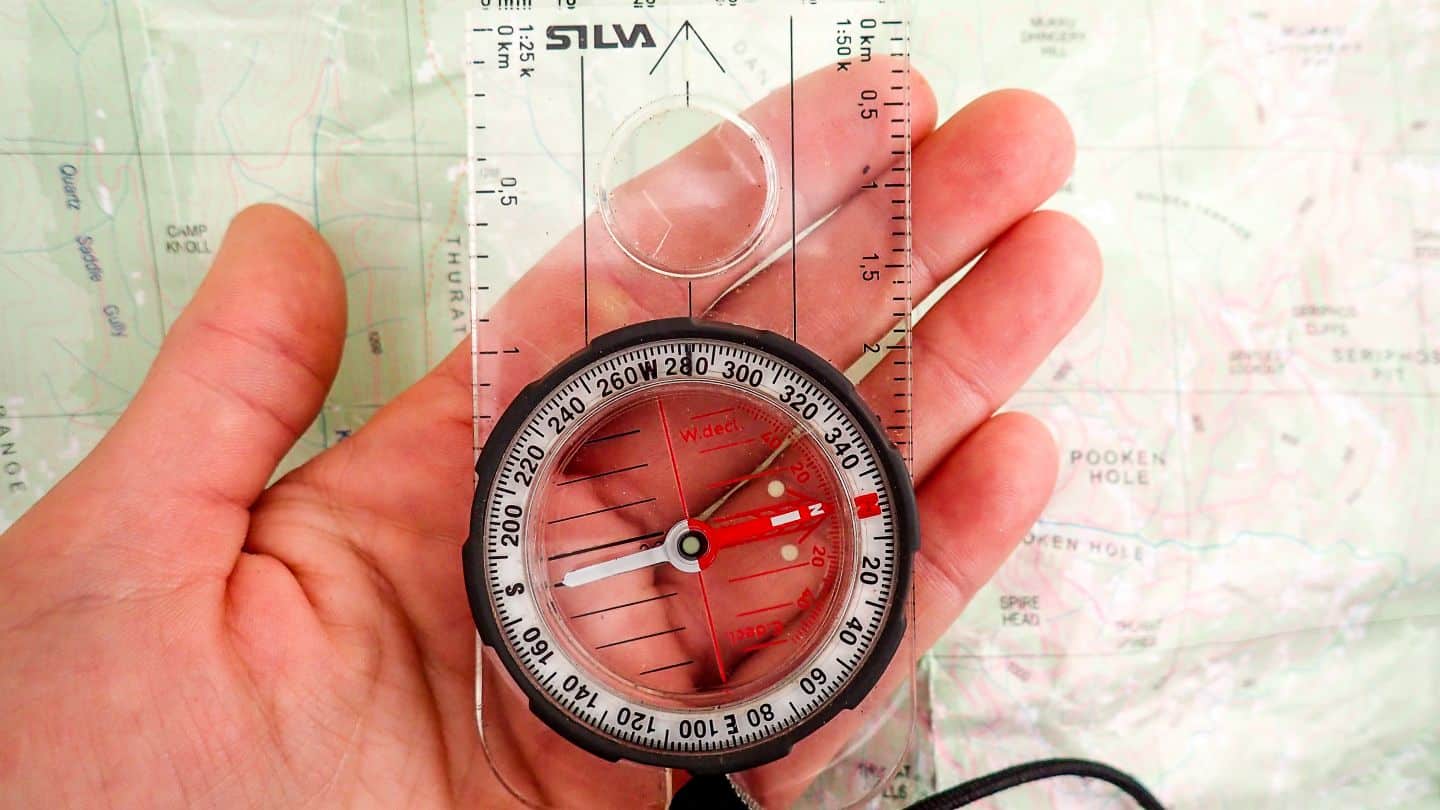
Walk in the direction of your Direction of Travel Arrow.
Based on these steps above, our first bearing is 281 degrees.
When to take the next bearing? Or am I there yet?
Now you’ve got your bearing, you need to calculate how long it’s going to take to get to the end of that bearing before you need to reset. This is where the ruler like measurements on the edge of your compass come in handy. As we’re using a 1:25,000 map, we can see the 1:25k marks on the side of the compass. Using these measurements, it’s easy to calculate that the distance from the summit of Mount Danae to the saddle (the end of our first bearing) is 450m. Once you get confident with navigating you’ll find yourself guestimating calculations like this, in the knowledge that each grid square is 1km.
There’s two key ways of determining if you’ve got to your planned reset location. The first is time and is based around working out how fast you walk through this type of terrain (and is the reason why wearing a watch is super important to navigating) and the other is keeping all your senses tuned-in to the changes in the landscape, both visually and through feel. Looking at the map we know we need to walk downhill to the saddle, so when we feel and see the ground flatten out, we need to check our watch and if that seems about right, then it’s time to stop and take your next bearing.
It’s also good to have a backup check, a bit of a warning point to know when you’ve gone too far. For instance, in this case, if we find ourselves going further downhill after a flat area, and dropping into a gully, we will know we’ve gone too far and need to turn around.
Average Pace
5 km/hr = Sealed surface
3-4 km/hr = Rough Firetrail/single track
2-3 km/hr = Off-track with light scrub
1-2 km/hr = Off-track, thick scrub, scrambling
Add 1 hr = Every 500m up or 1000m down
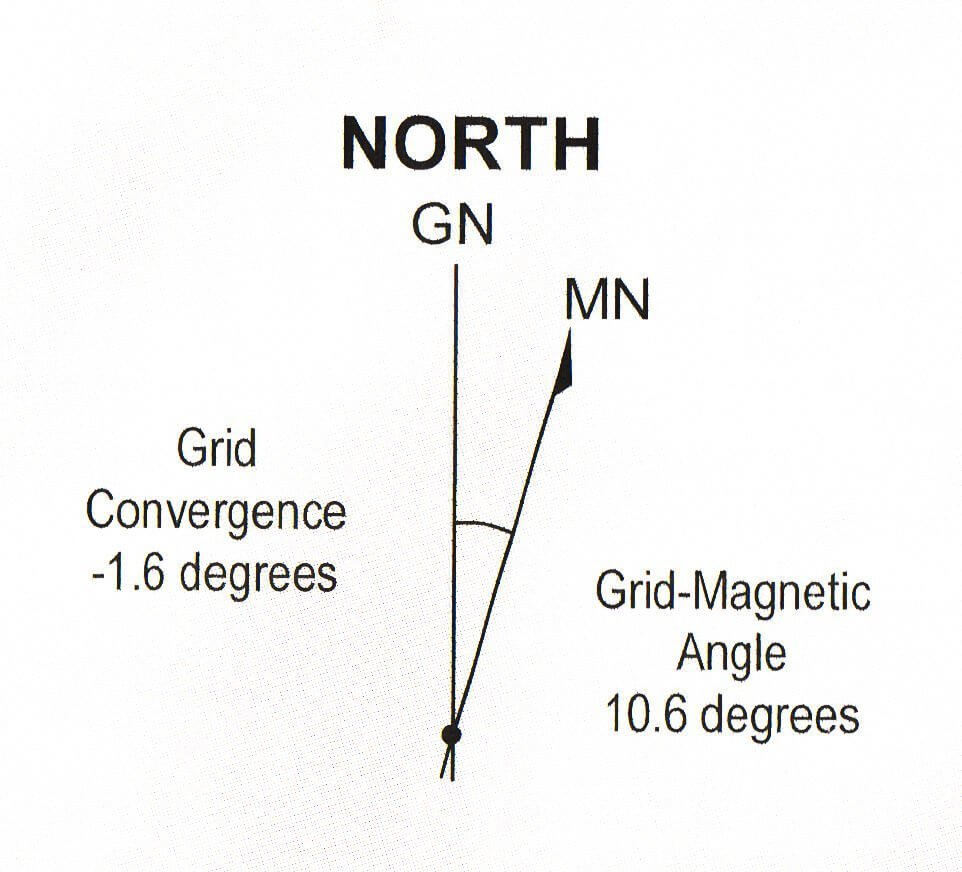
Which North is North?
One of the most confusing things I found when starting to navigate was all this talk about north. In essence, there are 3 ‘types’ of north in the world.
- True North means the North Pole
- Magnetic North means the direction the needle in your compass points (somewhere in northern Canada!)
- Grid North the direction the northern grid lines on your topographic map point (see Part 1).
But the great news is that it doesn’t have to be confusing as when we navigate in the bush, we really only need to know about the last two, Magnetic North (what our compass says) and Grid North (what our map gridlines say).
This is just the start in learning to navigate with a map and compass. There’s lots of other skills you can learn such as finding out your current location on a map, by what is called Triangulation (no GPS needed!) and also navigating to a particular feature that you can see in the landscape and translating that onto the map.
The real secret to gaining confidence and improving with navigating is really only by doing. I encourage you to join a bushwalking club in your area, get into the great sport of rogaining, study some reputable YouTube videos, such as those put out by Silva and just get out there and practice, practice, practice.
The rewards of not being contained by the invisible walls on either side of a walking track are well worth the effort.
This post is just the tip of the iceberg! If you want to learn more, I’ve published an 87 page book, How to Navigate – The art of traditional map and compass navigation in an Australian context. It goes into much more detail and is loaded with images, diagrams, how-tos, tips and tricks.