When you’re in the market for a 1 person ultralight tent, the tech specs only tell part of the story. What matters is how it performs when you’re actually out there, setting up in fading light after a long day, dealing with condensation on a cold morning, or trying to sleep in torrential rain… and wind.

It’s easy to focus too much on weight alone and forget about materials, space, durability and ease of use.
How did I test it?
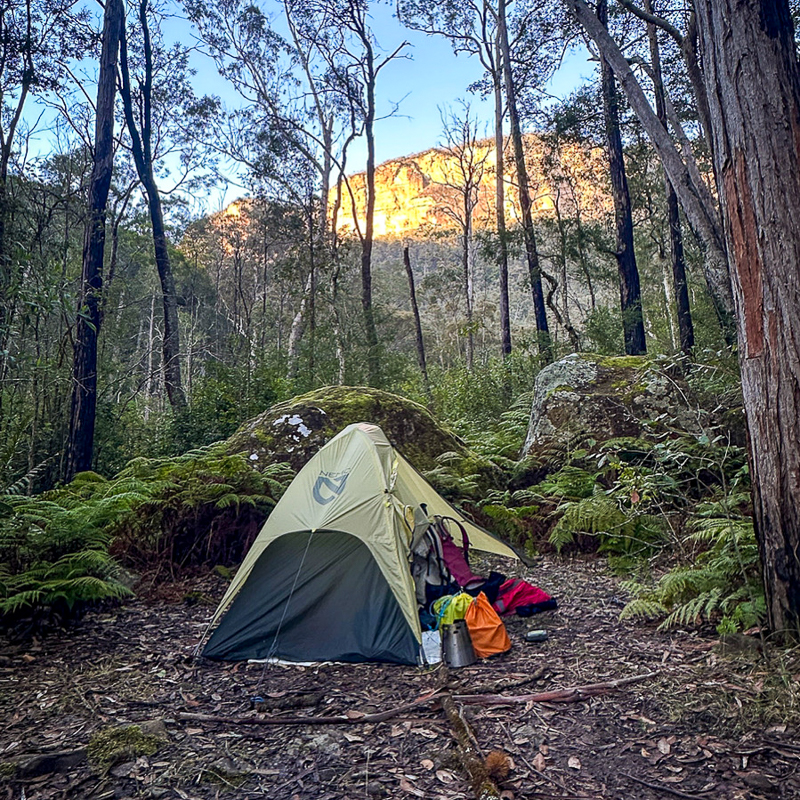
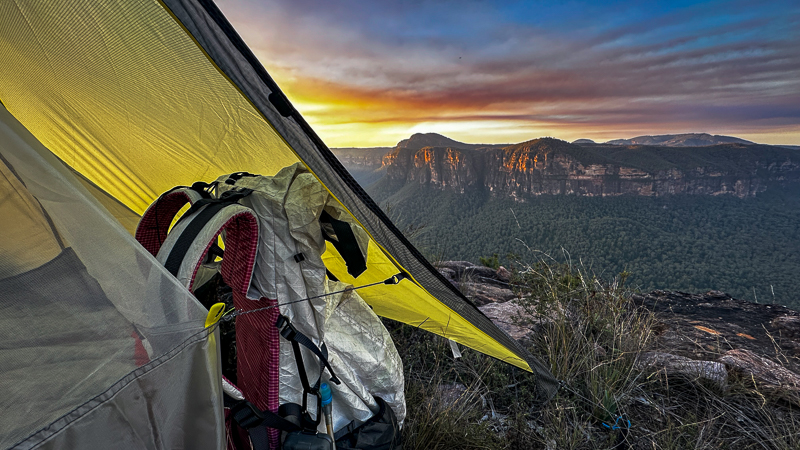
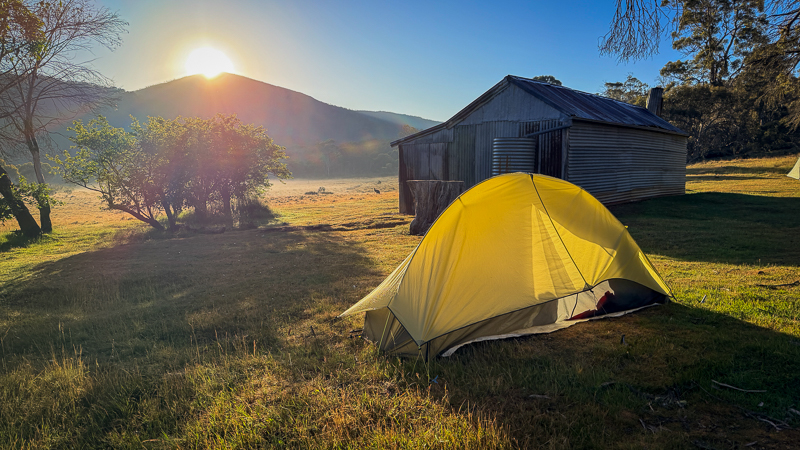
I’ve been testing the Nemo Hornet Osmo 1P for over a year now, from overnight winter walks in the Blue Mountains to multi-day adventures in Declared Wilderness and alpine areas where every gram counts.
Here’s what I’ve learned about this tent, including what Nemo got right and where I reckon they could improve. Spoiler: this is now my go-to shelter and lives permanently in my ‘Take Me Tub’—ready to grab whenever adventure calls.
Cost and positioning in the Nemo product line-up?
The Hornet Osmo sits firmly in the middle of Nemo’s other 1P offerings and lands on that 1kg sweet spot at $746.96 (all prices as at 12/2/26).
Dragonfly Osmo (1.49kg) is their fully free-standing lightweight offering $879,95.
The Hornet Osmo Elite feels like they were testing themselves to see how much further they could push the 1kg envelope, landing at 935g ($949.95).
Who is this tent for?
Clearly aimed at bushwalkers and hikers who want to lighten their pack OR serious gram counters who prefer a 2-layer tent over a tarp or walking pole shelter.
The small packed dimensions are also a lure for people wanting to reduce the size (as well as weight) of their pack.
The greenish credentials of their proprietary Osmo fabrics and Bluesign® approved floor may attract folk who like to tread lightly on the planet… just like the weight on their shoulders.
For a solo bushwalker, this tent hits a sweet spot between ultralight performance and practical livability. It’s not the absolute lightest option out there, but the trade-offs feel considered rather than compromised.
Sustainability
Nemo’s Osmo poly-nylon ripstop fabric is their response to the environmental impact of traditional PFC-based waterproof coatings. It’s a composite fabric, made from 100% recycled yarns, that repels water without problematic chemicals (like PFAS), whilst also being more durable and stretching less when wet than standard fabrics.
Five Things I Love About This Tent
1. The Weight-to-Space Ratio
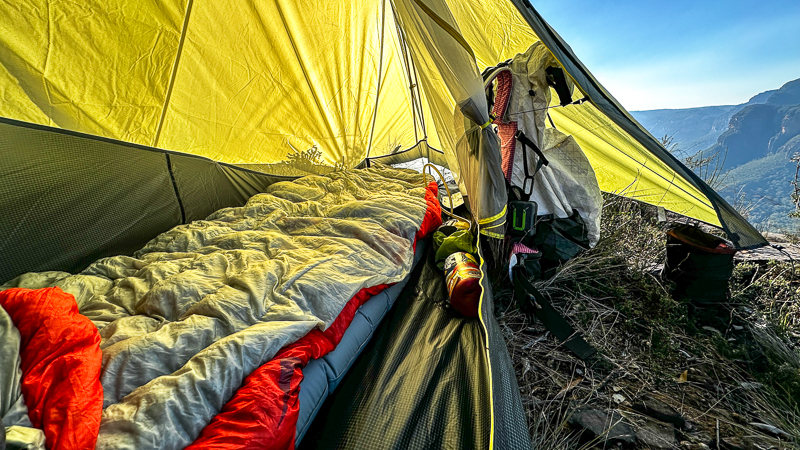
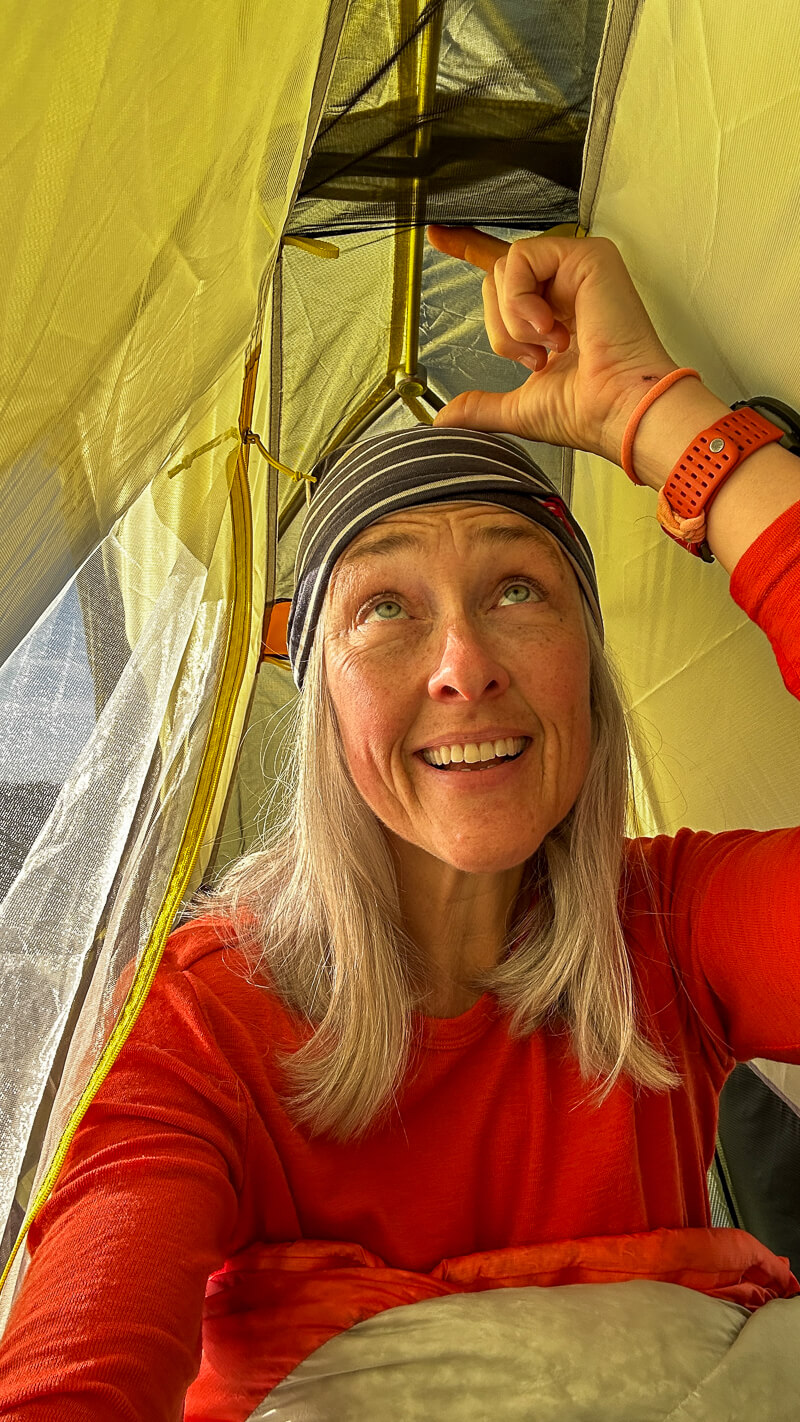
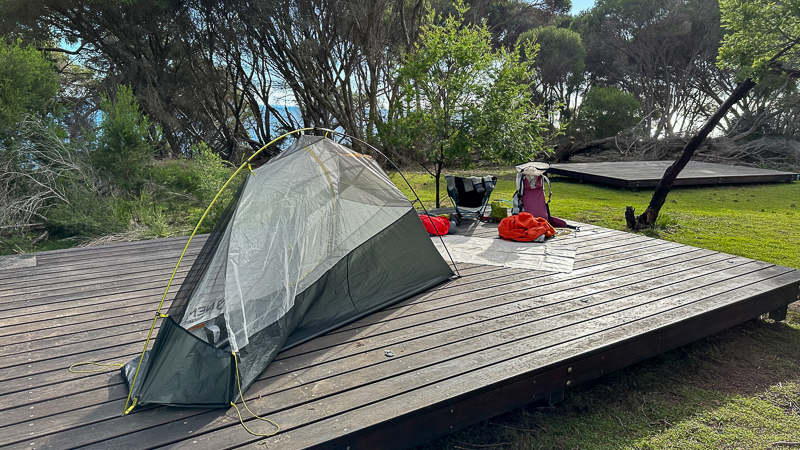
At 1.02kg for the complete setup (822g minimum weight), the Hornet Osmo 1P feels impressively roomy for its 1.9 sq metre floor area and 98cm peak height.
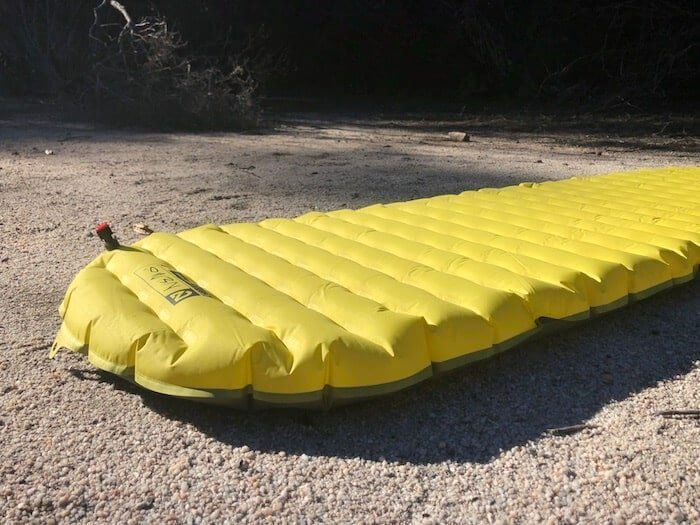
I’m about 176cm tall and indulge my slumber with the 10cm height of a Sea to Summit Etherlight XR insulated sleeping mat. Team that up with my power thighs and I really appreciate the sense of space inside. This is due to the volumising Flybar pole clip in the roof and the volumising guy-outs, which pull the sidewalls of the inner outwards, creating more space and tension in the structure. Genuinely genius.
The Hornet Osmo gives you proper living space without the weight penalty you’d expect. Less vampire in a coffin, more bats flying free!
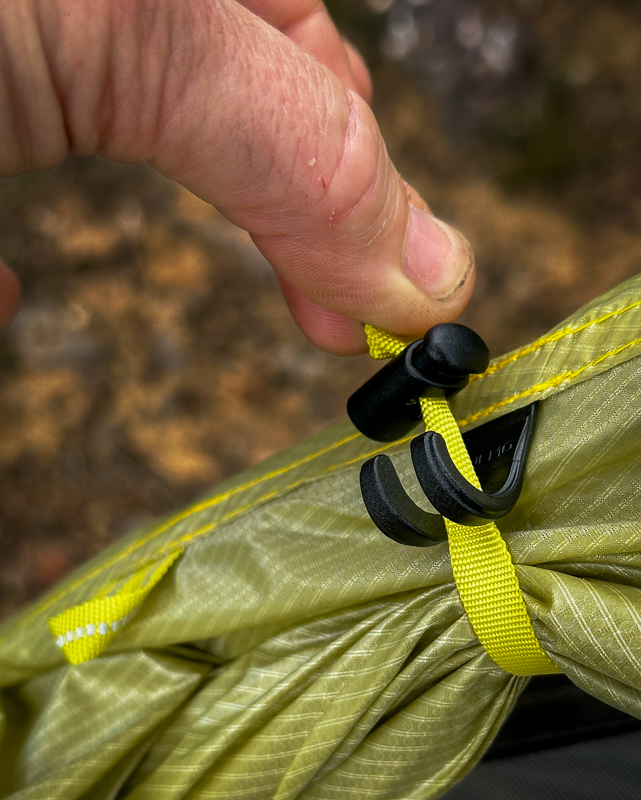
2. Single-handed Door Clips Are Brilliant
You know how little things can make a big difference? The vestibule door clip lets you scrunch (not fold ;)) and secure it open with one hand. Unless you’re a contortionist or maybe a climber with good dexterity, this simple act has evaded me – until now. Perfect for boiling the billy and making a brew outside in the vestibule, while packing up inside… or staying in the sleeping bag for the morning cuppa.
3. Setup Is Genuinely Quick
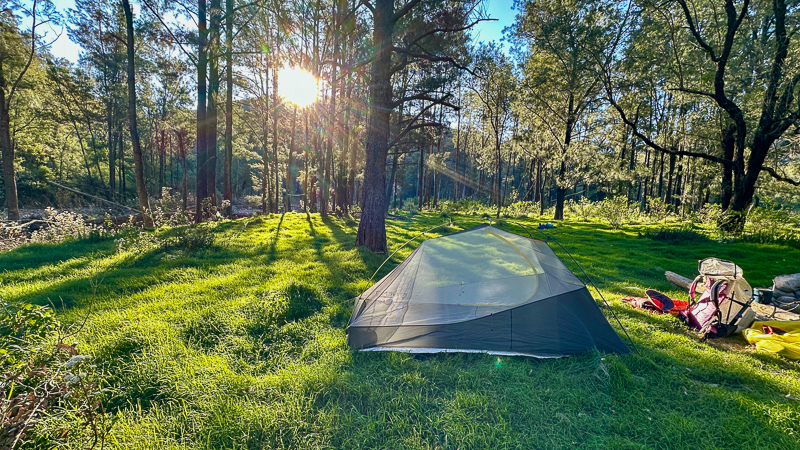
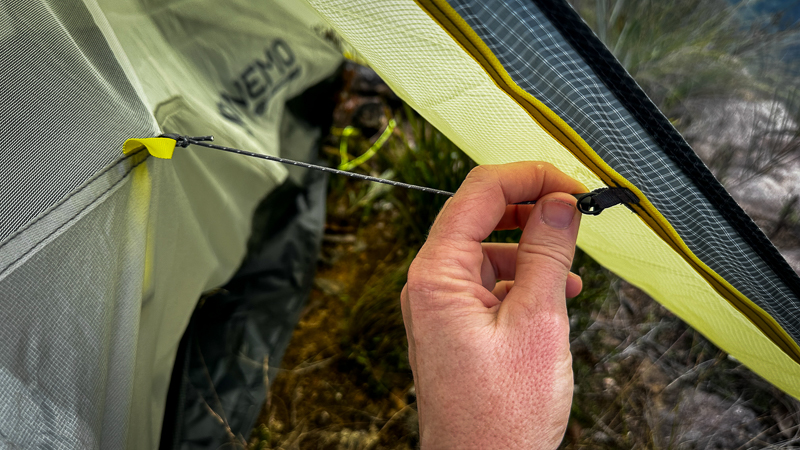
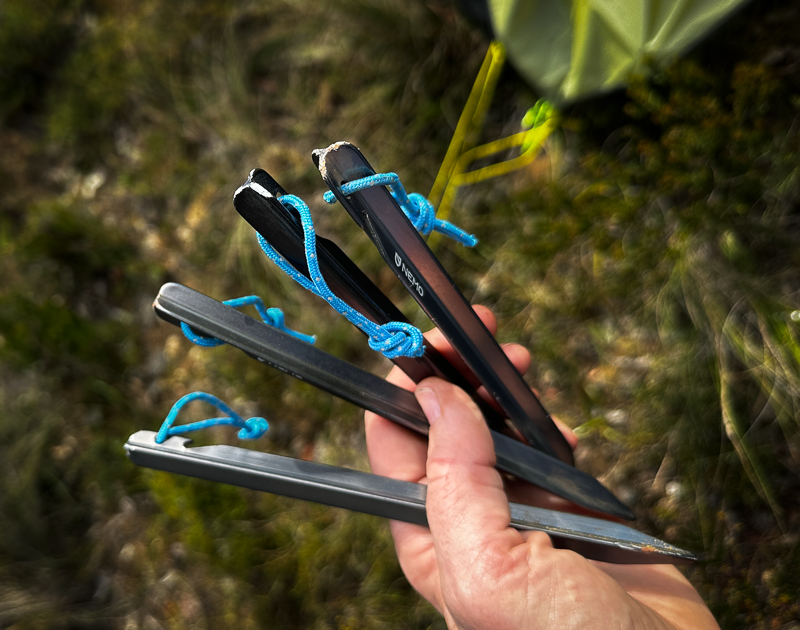
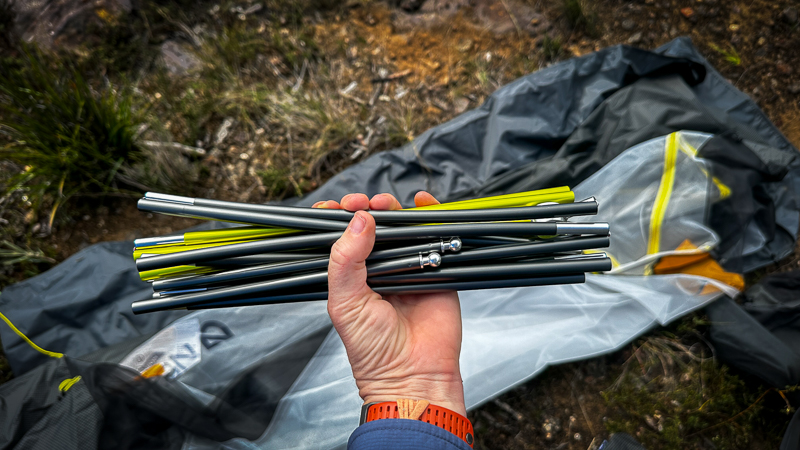
I’ve set this tent up in various conditions and terrain—from timber platforms (see Light to Light Walk), rocky clifftops, to grassy river banks, to off-track in low scrub. The single 3-arm hubbed pole system means setup was intuitive even when I was tired, or conditions weren’t ideal. There’s no guessing which pole goes where, fiddling with complicated systems or threading poles through sleeves.
As much as I wished the tent was fully free-standing, the semi-free-standing design uses extra triangulated volumising guy-outs and struts at the feet. Again, adding to internal space and is designed to keep the tent walls (and any associated condensation) off your sleeping bag.
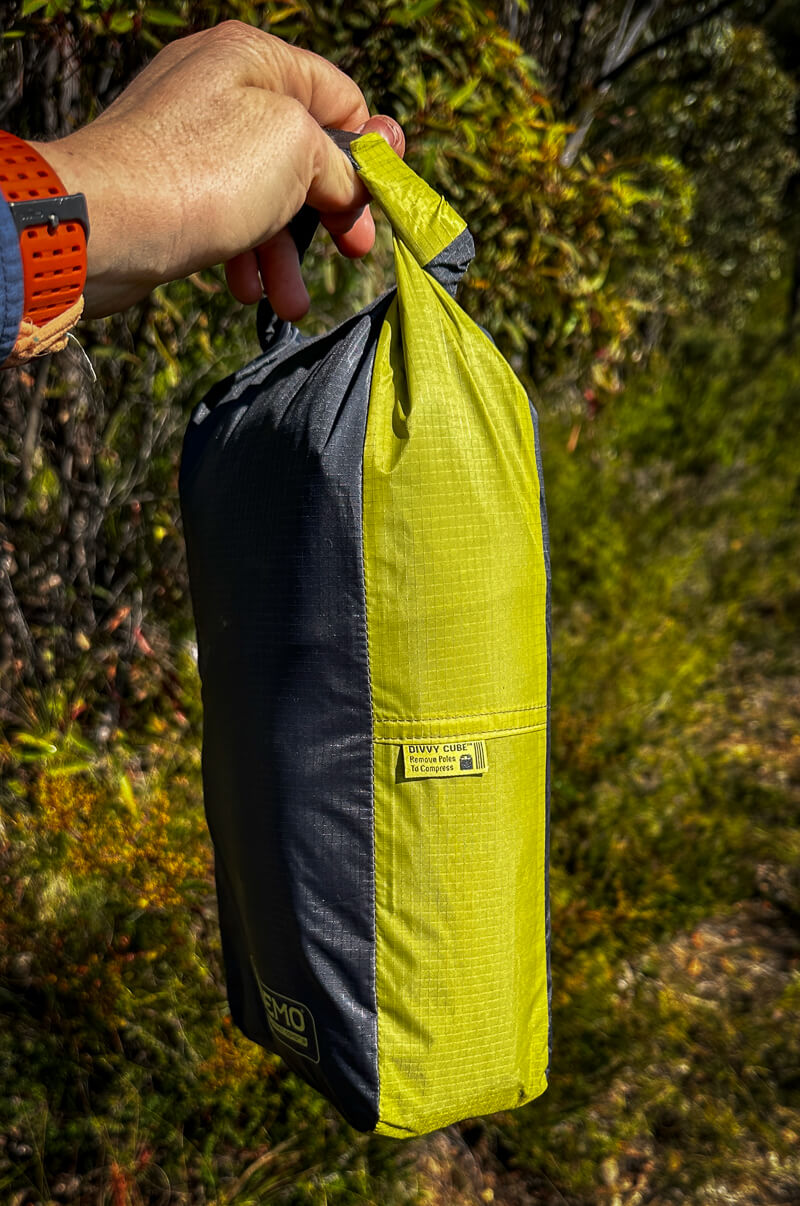
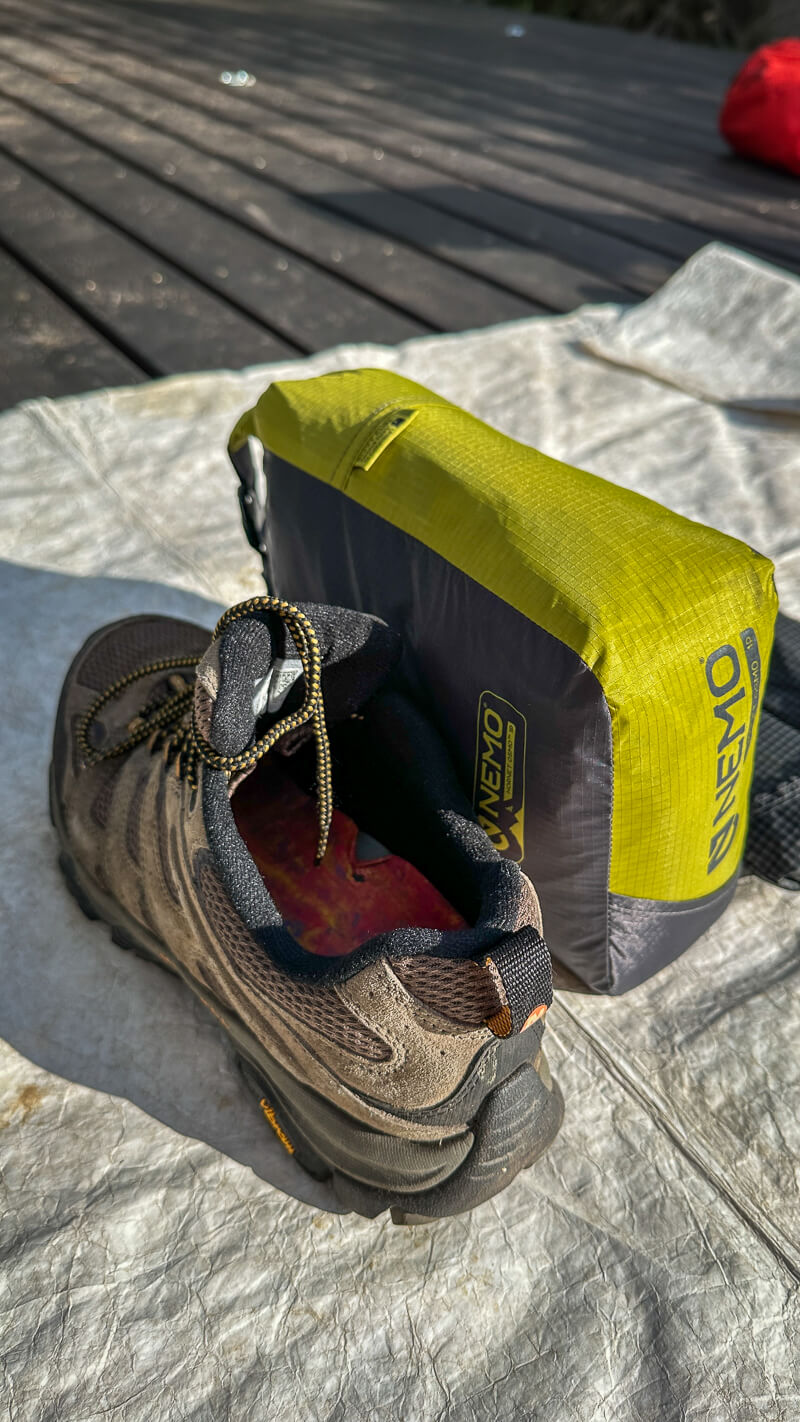
4. Stuff sack designed like a packing cube
Nemo call it Divvy Cube, I call it smart. This one was a surprise to me as I thought I’d hate not having a traditional tube-shaped stuff sack; but no, I love how streamlined it is. Packed size is a compact 32 x 19 x 7 cm, and by removing the poles and packing them separately, the roll-top opening compresses the air out easily, squishing it down even further.
5. The Ceiling Shelf and Lighting
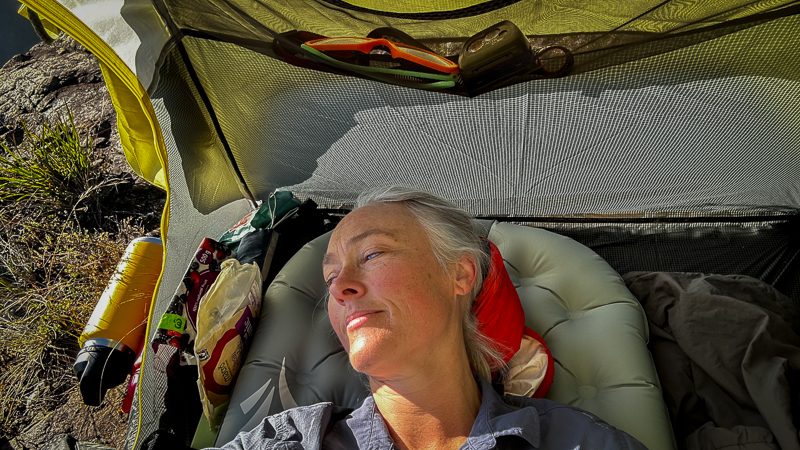
Here’s the feature I didn’t know I needed until I had it: a small shelf pocket at the peak of the tent, designed for stashing your head torch. But it’s not just about storage — the dark orange colour of the shelf transforms a head lamp into a warm, diffused reading light. Instead of harsh white light bouncing around, you get this lovely, even glow that makes the tent feel genuinely cosy. It’s one of those thoughtful design choices that just elevates the whole experience of being inside at the end of a long day on the track.

6. Stargazing (and no-gazing) mesh
Especially for hot nights or dry season up north, when I like to travel with just the tent inner, the black mesh in the roof turns almost transparent, bringing the stars into focus. Conversely (or so their tech specs say, but I’m yet to test out ‘cos there’s some things no-one needs to see), the tent sides use no-see-um mesh, which ‘apparently’ increases privacy.
Three Areas for Improvement
No tent is perfect, and the Hornet Osmo 1P has some aspects where I reckon Nemo could make minor tweaks for future improvements.
1. Single-wall design at head & condensation
The first comment most neighbourly visitors make is, ‘Is that only single wall at the head?’ Yes. And it was one of the surprises I had when I first set it up. I admit that I sometimes take shortcuts with pitching tents and don’t bother with guy ropes, but this one is essential… unless you want more condensation or even rain penetration. One morning revealed quite a lot of condensation on this section, but I haven’t been able to replicate it.
2. Vestibule space is adequate, not generous
The vestibule provides 0.7 square metres of covered space, which is enough for my almost-empty <60 litre frameless pack and shoes, but not much else. If you have a larger pack and particularly one with a rigid frame and harness, like an Osprey, I reckon you might struggle to keep it dry under there in bad weather.
If you’re cooking in the vestibule during rain, things will get cramped quickly. I found myself wishing for even 20cm more depth to give proper working space. It’s manageable, but it’s tight, especially given the fire danger of cooking in a vestibule – EEK!
If the 120g difference (+$100 AUD) between the 1P and 2P isn’t a deal breaker for you, have a think about buying the 2P (with 2 doors), each with .7 square metres of vestibule.
3. Floor Fabric 1500 mm HH (hydrostatic head/waterhead)
Come on folks. I get that I live in the country of Mont, who are famous for their 25,000mm waterhead floor fabrics (yes, twenty five thousand), even on their Hypermid Ultralight walking pole tents, but compared to some of the other popular ultralight 1P tents on the market like Sea To Summit Alto TR1 Plus at 2,500mm hydrostatic head (1,200mm for the standard Alto TR1), or Gossamer Gear The One Ultralight 1P at 1,800mm, I reckon Nemo can definitely do better. Osmo also do a Hornet Elite Osmo version, which has a measly 1,200mm HH floor.
There is an optional 2,000mm footprint (150g), but I’d prefer to have that weight allocated to upgrading the actual tent floor, not trying to sell me something extra. I use a DIY Tyvek groundsheet.
Fun Fact: When I was sent this tent for testing, I was offered either the standard or Elite. I read and watched a bunch of reviews (excellent procrastination technique in pursuit of research), purposefully looking for those in varying climates, eg. thruhiker in the Lake District, UK and others. It was enough to prod me to the standard with a 1,500mm floor.
Freestanding vs (almost) freestanding
My camping nirvana will always be a roomy and robust, ultralight, freestanding tent <1kg… with a good HH floor fabric. I know, maybe the Sour Squirms have gone to my head or perhaps I’m just delusional. [For the Big Aggie fans, the popular Big Agnes Copper Spur UL1 has a 1,200mm HH floor.]
If the 1kg weight is the main goal, then something else will have to give. In this case, it’s the 4th ‘arm’ of the pole structure that would make this tent fully freestanding, along with the floor fabric and single-wall at the head.
The inner can actually stand up on its own, which makes it easy to move around before settling on your final pitch location. The inner easily clips over the frame and there’s no tricky threading poles through fabric.
At an absolute pinch, like on bad terrain (but in good weather), you might be able to get away without pegging out the foot corners that provide the support and tension you would’ve got from the 4th arm, but be prepared for a bit of moisture at the head if you don’t peg that fly-guy away from the inner.
The Bottom Line
Based on my year of testing, the Nemo Hornet Osmo 1P has earned its place as my go-to tent… for now.
It lives in my ‘Take Me Tub’—with all my other go-to gear—because it’s proven itself reliable, comfortable, light and practical across different conditions.
This tent isn’t perfect, but it’s a genuinely solid 1-person option for those who want something light without sacrificing too much livability.
The single-wall head is something to be aware of and plan for, but it isn’t a deal-breaker for me. The benefits of the tent, particularly the overall sense of space, the weight and those thoughtful design details, outweigh any frustration.
Buy NEMO Hornet Osmo 1P now from Ultralight Gear.
Disclosure: I did not pay for this tent. You can buy my time, but you can’t buy my opinion.