Have you ever had that loosey, goosey feeling? The one where your tent poles don’t automatically want to snap together, standing to attention like skinny, lightweight soldiers on parade? If you’ve had your tent for a while and it’s been on lots of adventures, sooner or later, you’re going to want to know how to replace shock cord in tent poles.
The great news is that replacing the shock cord in your tent poles isn’t hard to do. In fact, it’s part craft project, part jigsaw puzzle.
Here’s how I went about replacing the shock cord in my Macpac Sololight tent.
- You will need:
- Step 1 : Remove the old shock cord
- Step 2 : Keep the poles in order and number them
- Step 3 : Tie a knot in one end and secure
- Step 4: Start feeding through your cord
- Step 5 : Continue threading poles in order
- Step 6 : Apply tension and hold in place
- Step 7 : Test the tension
- Step 8 : Tie a knot in the end and secure
You will need:
- Replacement shock cord (try your local hardware shop, marine store, eBay/Amazon or your tent manufacturer)
- Scissors
- Tape (sticky, gaffer, masking, duct)
- Sharpie
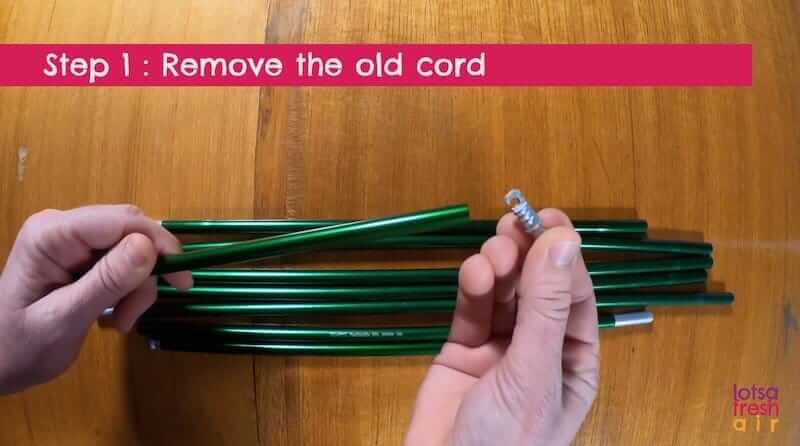
Step 1 : Remove the old shock cord
The way to access and remove the cord may be different for each type of tent. Mine had a simple screw top fitting at each end. Alternative, simply cut the cord and slide it out.
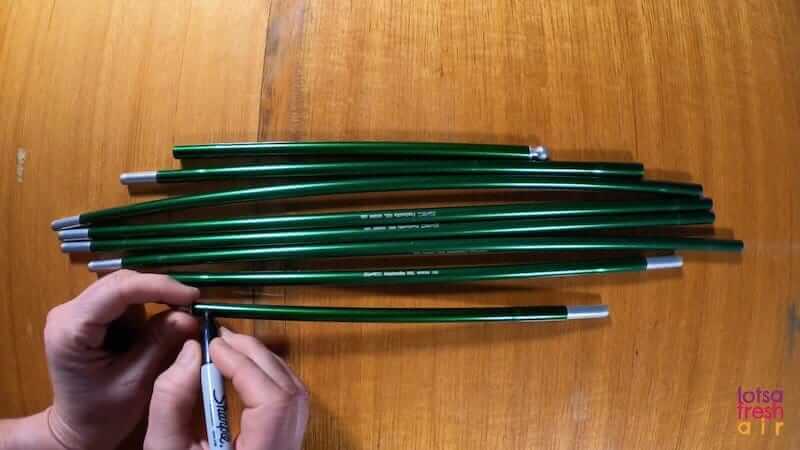
Step 2 : Keep the poles in order and number them
Those smart folk who design our tents may have a particular order that poles need to be kept in to ensure the tent retains its correct shape. For that reason, number your poles so you can easily fit them back together again… just like cheating on a jigsaw puzzle.
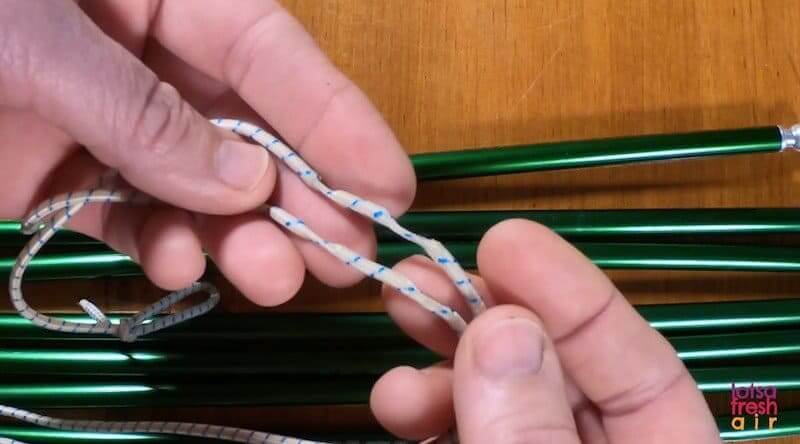
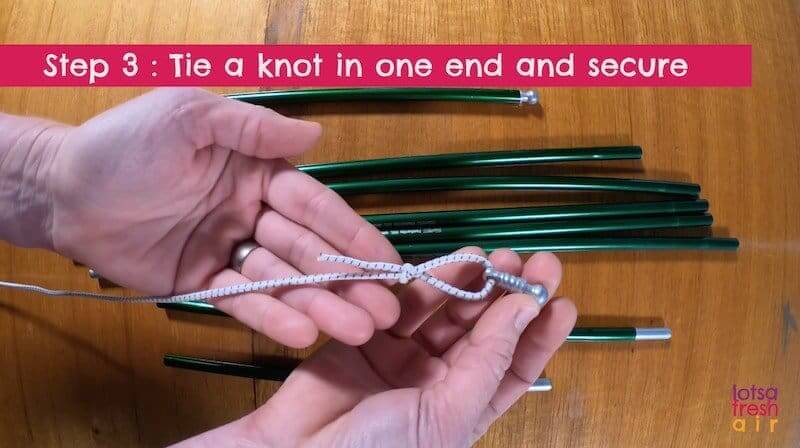
Step 3 : Tie a knot in one end and secure
It may be helpful to take note of how the manufacturer had secured the end knot, so you can recreate it. Trim off any excess behind the knot.
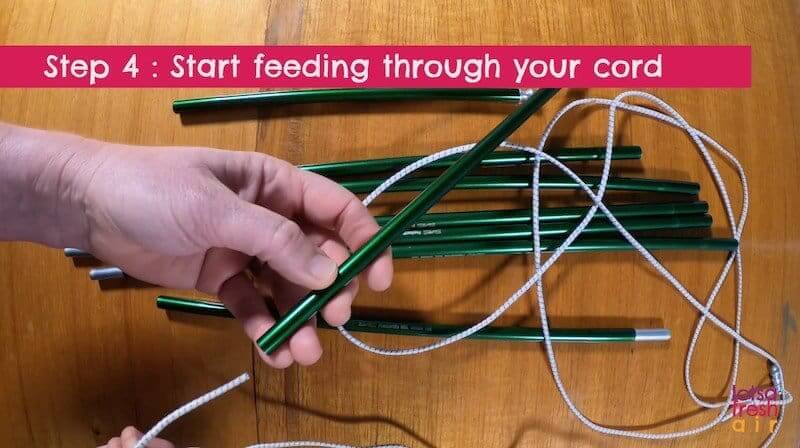
Step 4: Start feeding through your cord
Move to the other end of the cord and start gently feeding it through the number 1 tent pole, pulling through to the lug and securing it firmly in place.
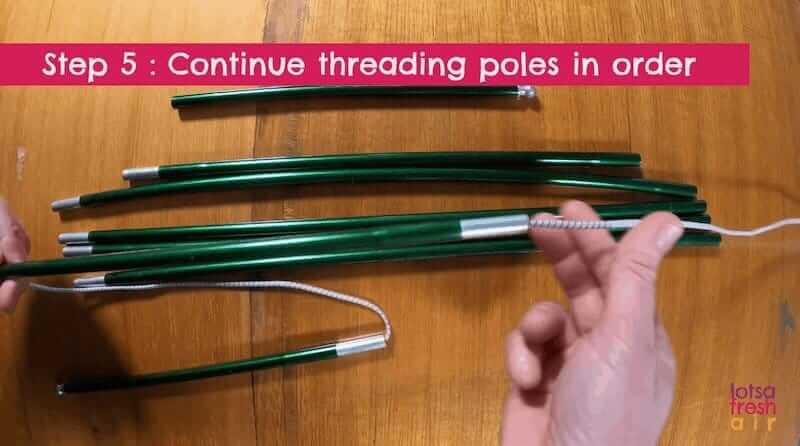
Step 5 : Continue threading poles in order
Now, it’s simply a matter of threading the cord through the poles in order, checking that you’re starting with the right ‘end’ so that they fit together.
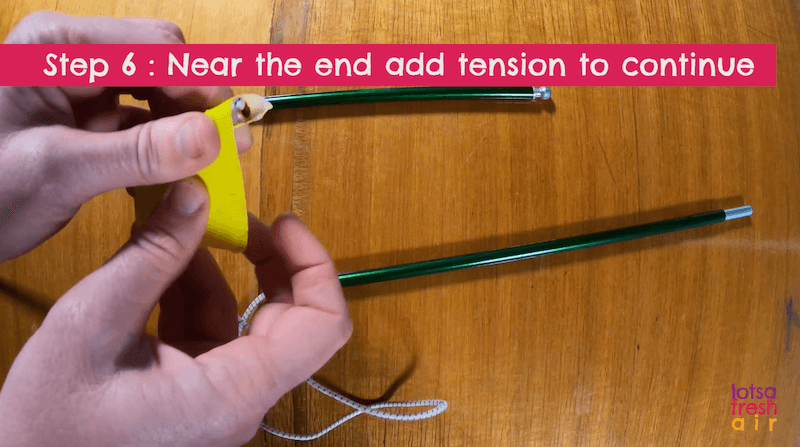
Step 6 : Apply tension and hold in place
As you get towards the end, the elastic shock cord will need to have some tension applied to allow it to reach through to the end. You’ll need to add some tape to hold it in place whilst you continue threading the last pole.
Step 7 : Test the tension
Before you tie everything off at the end, test the tension by bending your poles into the approximate shape of your tent frame.
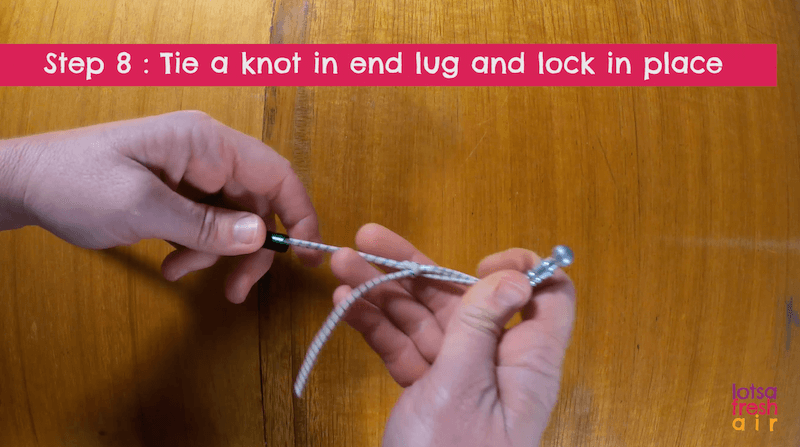
Step 8 : Tie a knot in the end and secure
Tie a knot in the end and secure it to the end lug. Feed the knot and lug into the end of the pole and lock in place.
