Picture this: you’re on a hike, bushwalk or other adventure, keeping up a good pace. It’s a warm day, and you reach for your hydration hose. Sucking in a mouthful of water you taste a funky, not-quite-right flavour that screams, “Hey, you’ve been cleaning your sleeping bag more than your hydration bladder!” To be honest, I’m not perfect and guilted myself into writing this guide because I just looked at my bite valve and it was like looking into Dante’s sixth cycle of hell, HERESY!
Let’s dive into the simple steps to thoroughly clean your hydration bladder (whether it’s a Platypus, Source, CamelBak, or my favourite that I’ve been using for 8 years, Hydrapack, which are top-shelf dishwasher safe and can turn inside-out like a sock) and keep your water tasting as crisp as that creek you just crossed.
Why Cleaning Your Hydration Bladder Matters
That moist (there’s that word), dank environment inside your hydration reservoir is the perfect breeding ground for mould, bacteria, and biofilm—that slimy stuff that builds up over time (hmmm, tasty!). Not only can this make your water taste like a fish milkshake in the sun, but it could potentially make you sick, which is the last thing you want when you’re still hours away from civilisation.
Quick Cleaning After Each Adventure
The best maintenance habit is giving your bladder a quick clean after every hike. Here’s how I do mine:
- Empty any remaining water completely from all parts (bladder, hose and bite valve)
- Add it to my washing up pile at the kitchen sink and wash with warm (not hot) water
- Suck it up to get the soapy water through the hose
- Rinse with warm water
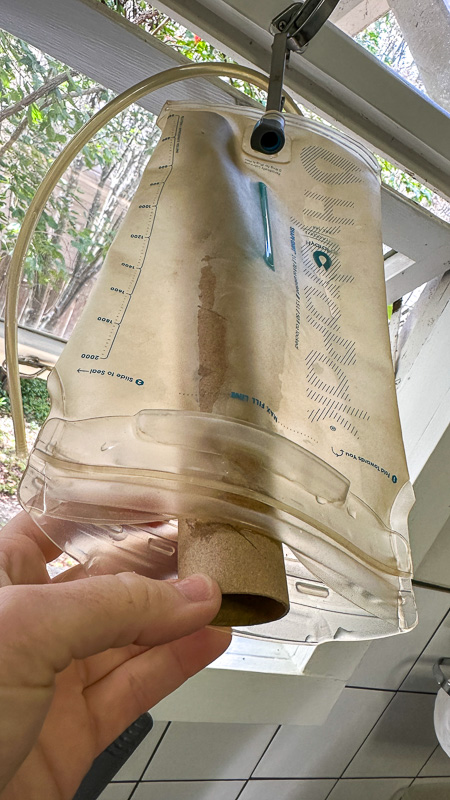
- Hang it upside down with the opening at the bottom and a cardboard tube inside to keep it open (see picture)
- Impersonate a cowgirl by holding the hose by the bite valve and swinging it around to push excess water out (watch out you don’t hit anything or anyone!)
- Leave it to dry completely before storing
That simple routine will prevent most issues, but every few adventures (and especially after a longer multi-day trip), you’ll want to do a deeper clean.
Deep Cleaning Your Hydration Bladder
What You’ll Need
- Mild dishwashing liquic or Milton baby bottle cleaning tablets
- Baking soda
- White vinegar
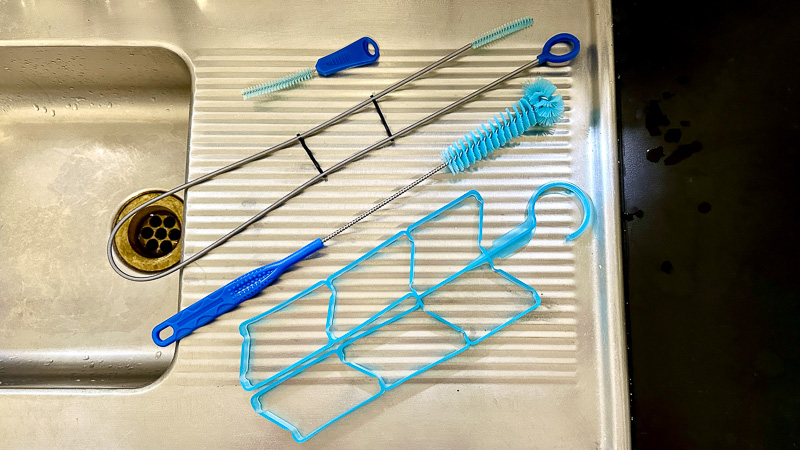
- Soft bottle brush or hydration reservoir cleaning kit
- Clean towels
- Drying rack or hanger
Step-by-Step Cleaning Process
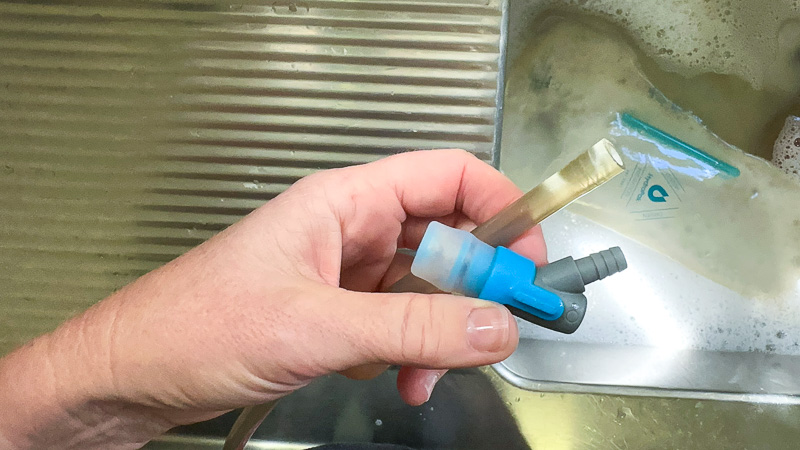
1. Disassemble Everything
Take apart all components—remove the tube, bite valve, and any other detachable parts. Many valves have small parts that can be separated for thorough cleaning.
2. Initial Rinse
Flush the entire system with warm water to remove any loose debris.
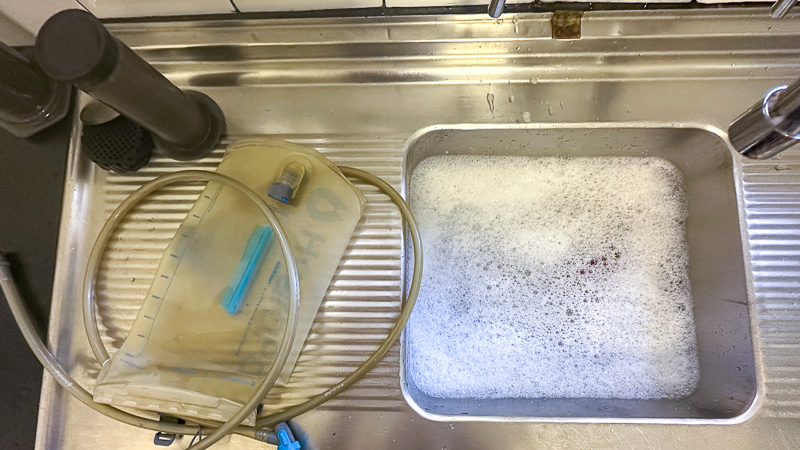
3. Soapy Wash
Add a few drops of dishwashing liquid and about two tablespoons of baking soda to warm water. Fill your bladder about halfway, then seal it up and give it a good shake. The baking soda helps neutralise odours while the soap breaks down residue.
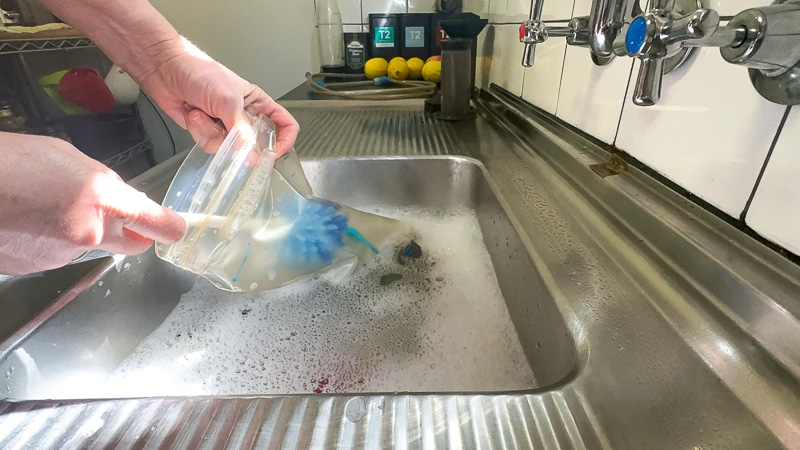
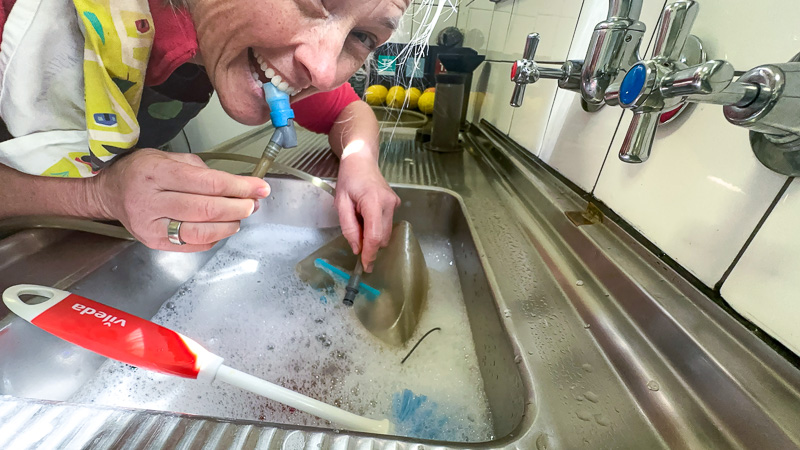
4. Scrub Time
Use a soft bottle brush to gently scrub the inside walls of the bladder. Pay special attention to corners and seams where gunk goes to die.
For the drinking tube, either use a specialised tube brush or fill the tube with your cleaning solution and pinch both ends, then work the solution through by gently bending and squeezing the tube.
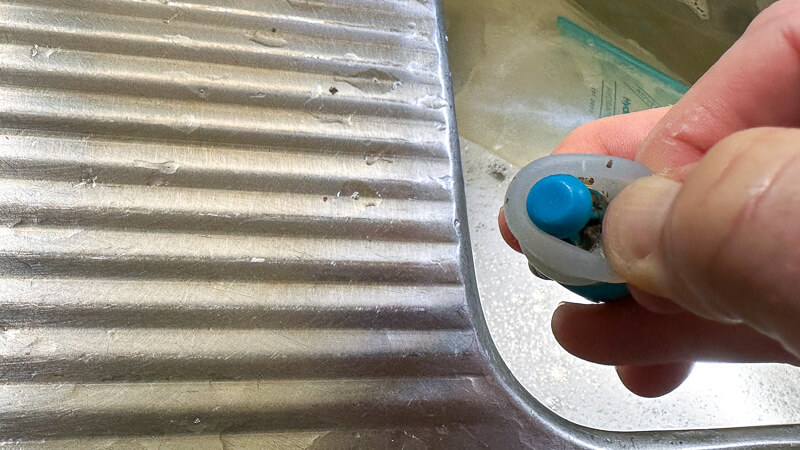
5. Tackle the Bite Valve
The bite valve deserves extra attention since it’s where your mouth contacts the system and is where my heresy lives. Soak it in your cleaning solution, then use a small brush (a clean toothbrush works well) to clean all the nooks and crannies.
6. Vinegar Rinse
For stubborn tastes or smells, create a solution with one part white vinegar to four parts water. Fill the bladder and let it sit for about 20 minutes. The mild acid in vinegar is excellent for killing bacteria and neutralising odours.
7. Final Rinse
Thoroughly rinse everything with clean water several times until all soap and vinegar smells are gone.
8. Proper Drying – The Most Critical Step!
This is where most people fall short. Proper drying prevents mould growth:
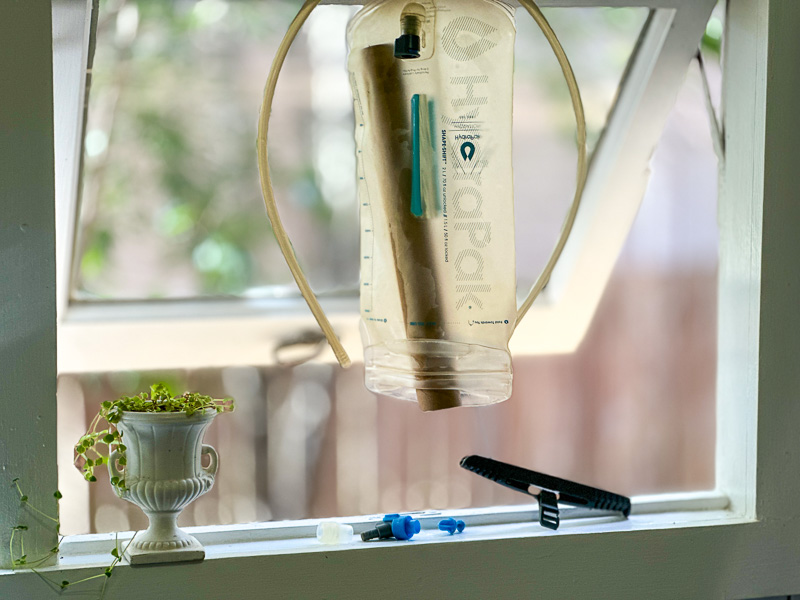
- Hang your bladder upside down with the opening at the bottom
- Use a cardboard tube inside to keep it open (see picture)
- Place paper towels inside to absorb excess moisture
- Keep the tube hanging straight down (I use a curtain hook with clip from Ikea. Bunnings or Spotlight have similar ones too)
- Impersonate a cowgirl by holding the hose at one end and swinging it around to push excess water out (watch out you don’t hit anything or anyone!)
- Store in a cool, dry place out of direct sunlight
- Allow 24-48 hours for complete drying
Dealing with Stubborn Mould or Odours
If you’ve neglected your bladder and discovered mould (we’ve all been there!), don’t panic:
- Create a solution with two tablespoons of baking soda and 500ml of water
- Fill the bladder and let it soak overnight
- In the morning, add a quarter cup of white vinegar and let the fizzing action work for about 5 minutes
- Rinse thoroughly and follow the cleaning steps above
For persistent problems, try denture cleaning tablets (like Polident or Steradent)—they’re brilliant for breaking down buildup!
Storing Your Hydration Bladder Between Hikes
After ensuring everything is completely dry:
- Some folk swear by keeping the bladder in their freezer to prevent bacterial growth (I’ve never had to do this)
- Alternatively, store it with a clean paper towel (or that cardboard tube) inside to keep the walls from sticking together
- Keep it open for airflow
How Often Should You Replace Your Hydration Bladder?
Even with proper care, most bladders should be replaced every 2-3 years depending on how often you use them, especially if Dante would be proud. Look for signs like:
- Persistent bad taste or odour despite cleaning
- Visible mould that won’t clean off
- Cracks or leaks
- Bite valve deterioration where the silicon is perishing
Can You Put A Hydration Reservoir In A Dishwasher?
Some brands, like my HydraPak are top-shelf dishwasher safe. Most other brands recommend hand washing.
Final Thoughts
A clean hydration bladder is can make a big difference in your outdoor experience. Don’t gross yourself out (like I did) by leaving it too long.
And remember, staying hydrated on the track is crucial for safety and enjoyment—so make sure what you’re drinking is as fresh as the air around you and may your water always taste as good as those summit views look!