Gear for snow camping
The transition to camping in the snow is thankfully not a very big leap if you’re already used to wilderness camping, with your own gear and packing list. There’s just a few extra bits of kit you need, variations on others and a couple of extra skills to master, to have you on your way to snow camping.
The top questions most people have about snow camping (I certainly did) was:
- How do I keep warm?
- What equipment do I need?
- What do I do with my poo?
To help you plan a trip camping in the snow, I’ve put together a beginners guide to snow camping – starting with this post on equipment – to answer these questions (and a lot more) which I hope will encourage you to give it a go.
Every decision you make in the backcountry is determined by the weather. It can be your friend or foe. The forecast, along with where you plan on going and your level of experience, will guide you in the specifics. This article is based upon beginners (going with a more experienced leader), so I’ve offered more robust and forgiving suggestions.
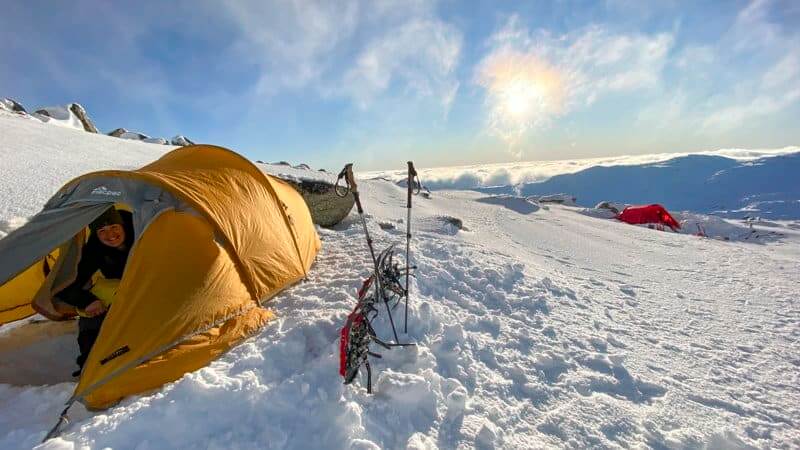
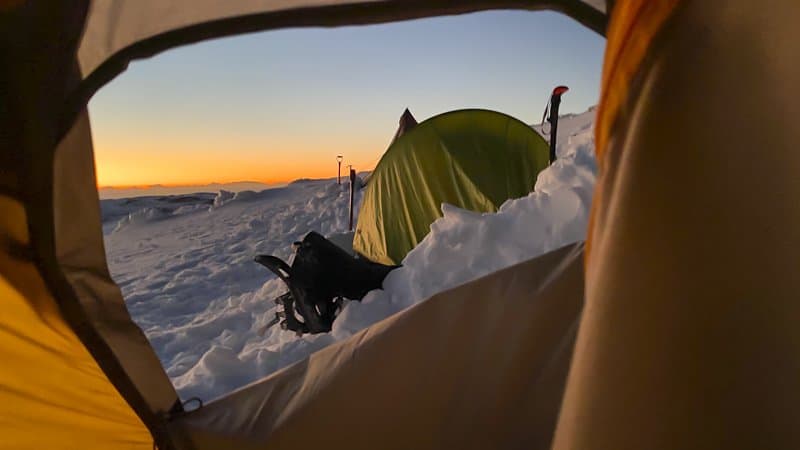
Tents for camping in the snow
The main difference between a 3 and 4 season tent is that the inner layer of a 4 season tent is closed fabric, not mesh and the denier rating of all the materials is higher and stronger. Shape wise, they tend to be tunnel style (like the classic Macpac Olympus or Hilleberg) or a geodesic dome (like some North Face styles). The heftier fabrics and more robust structure is designed to withstand strong winds, but this added protection comes with added weight. Sharing a tent in the snow is a good way to split the weight between 2-3 people.
Erecting your tent will also be easier (and quicker) if you choose one that can be put up in one piece (inner and fly) together.
Whereas you might be able to get away without using guy ropes on your normal camping adventures, in alpine areas, where frenzied winds can whip up out of nowhere and turn a good night, bad (not to mention noisy), always make sure your tent is trim, taut and terrifically secured to the ground with all the guy ropes.
Camping in the snow is definitely the type of adventure where you want to unpack your tent before you leave home and check you’ve got all the poles, ropes and pegs, and that everything is in good condition.
Tent pegs
Your life camping in the snow will be made much easier when you switch out normal lightweight tent pegs for sand/snow pegs. Normal pegs will simply not grip into snow and will pull straight out.
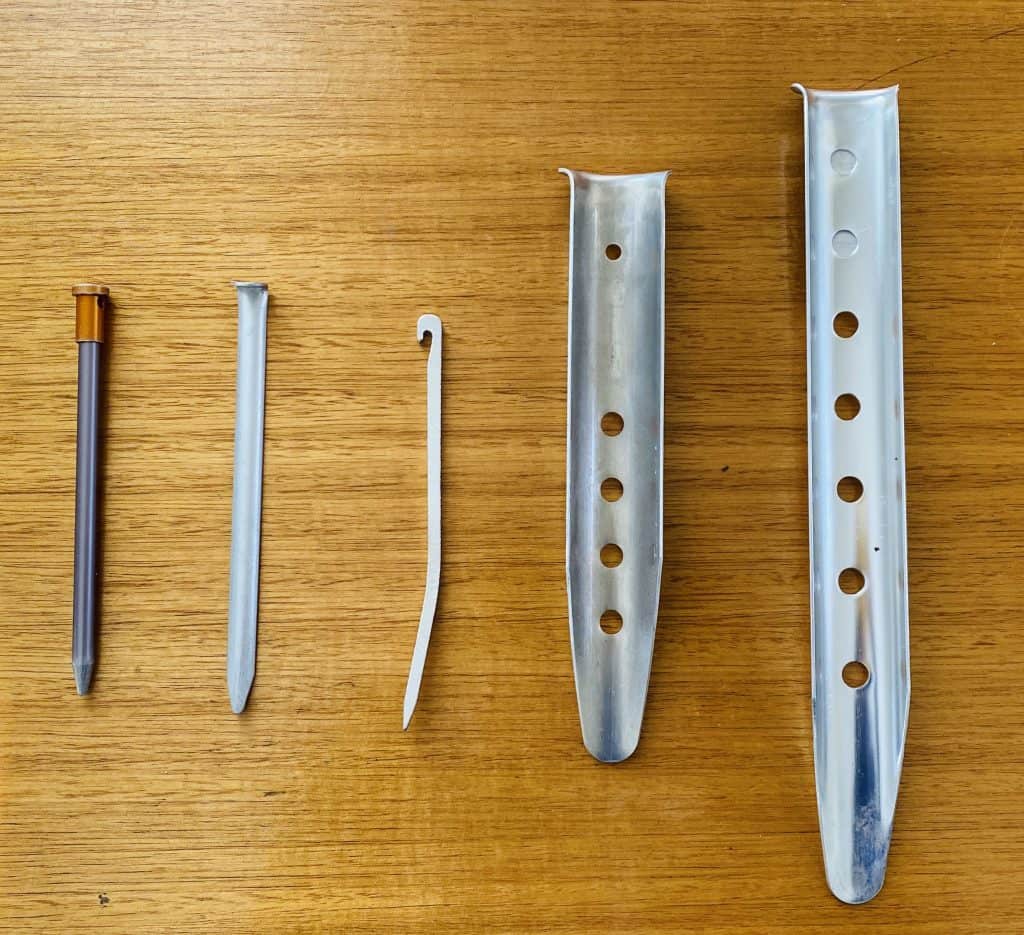
Snow pegs (aka sand pegs) are usually aluminium and have large holes along the length – they’re chunkier than normal pegs. These holey-moley helpers grip solidly to the snow, to the point they often need the encouragement of an ice axe to lever them out when it’s time to pack up.
Groundsheet
It’s not strictly essential, but a sheet of Tyvek (house wrap) underneath the tent may help with controlling the temperature inside. It will also protect the tent from any random sharp bits of ice.
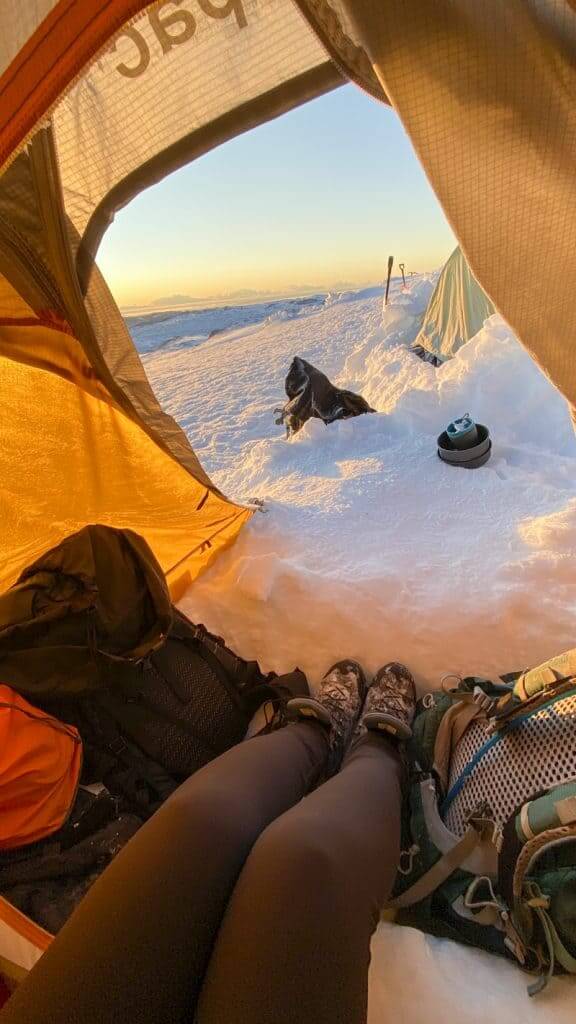
Sleeping Pad
Building the insulation layers between you and the snowy ground is essential in staying cosy when snow camping. It can be a little bit like making a sandwich, with you the toasty filling inside.
Most snow campers I know use a two mat system. On the bottom is a foam sleeping pad. I use the Nemo Switchback, with your normal standard inflatable sleeping mat on top of that.
A good benefit of two mats is that even if you get a puncture in the inflatable mat, you’ve still got a fair level of insulation to protect you.
Sleeping Mat
This is your normal sleeping mat of choice. For me, I’m currently using a Nemo Tensor Ultralight inflatable mat rated R3.5. The higher the R rating, the better the insulation. Most alpine rated mats have an R rating of 5+.

Sleeping Bag for snow camping
I love my Macpac Epic 800 loft down bag, but then, I’m a cold sleeper. Whilst you can buy higher rated bags like the Sea to Summit 850+ or even 1000 loft bags, this ultra top end of the market is usually reserved for mountaineering trips to higher altitude, with more extreme temps than our humble Aussie 2226 metres. Remember, the more loft = the heavier the bag = more $$. Having said that, I know some people (warm sleepers) who are OK in the snow with a 500 loft bag, and then add a liner bag and/or an outer bivvy bag to boost the warmth.
Design wise, you’ll be glad you went with a sleeping bag that has a snug neck muff and cinches well around the face and neck. A mate tells me that if you don’t have a neck muff, then wrapping a fleece around your shoulders and chest is a good substitute.
How a sleeping bag keeps you warm
Here’s the thing: A sleeping bag is designed to keep you warm by using your body temperature to warm up the air that is trapped within the down and layers.
If you start off by wearing a lot of clothes inside your sleeping bag, it will take a lot longer to heat the trapped air. This is something that beginners (and me!) can be guilty of, layering up before bed. A different approach is to start with a layer of thermals (top and bottom) and then add extra layers as you need.
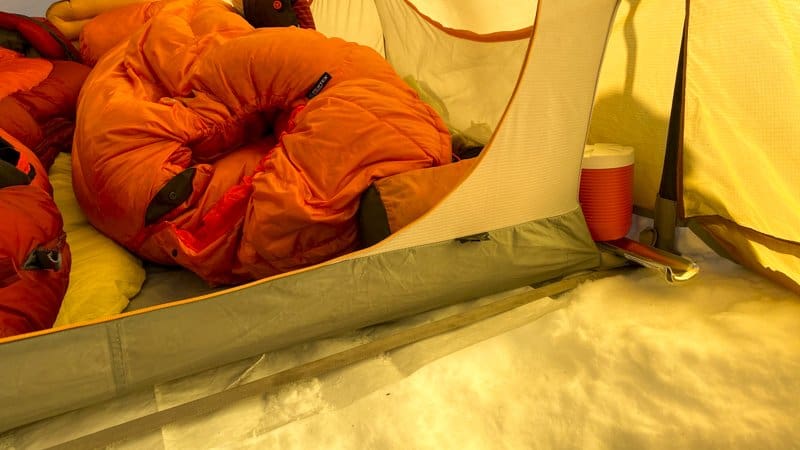
Condensation
4 season tents tend to accumulate more condensation on the inside through the night, than 3 season tents. It can be a good idea to pop your rain jacket over the foot of your sleeping bag to stop condensation from the tent soaking into the insulation.
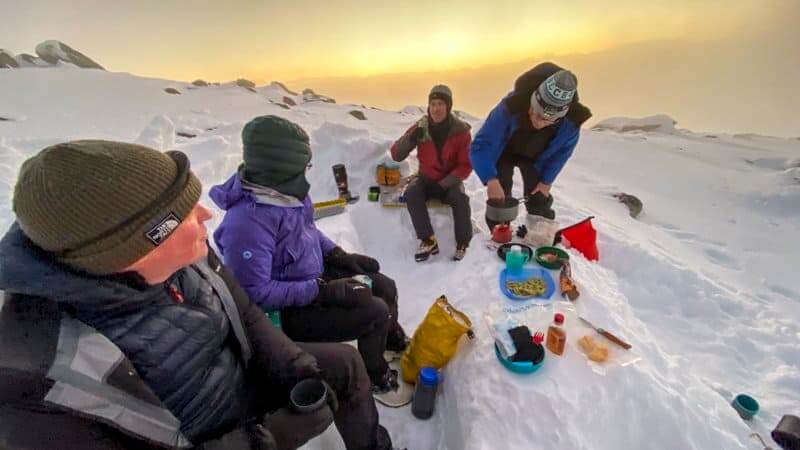
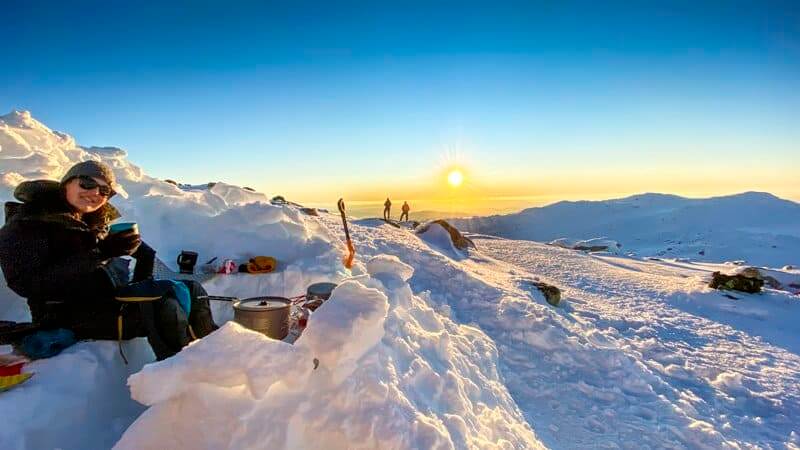
Sit pad
Camping in the snow in Australia, above the snowline, means no cosy campfire. Whilst you’re cooking dinner, hanging out watching sunset and stopping for lunch, you’ll be a stack more comfy if you have a simple foam sit pad. Without it – you’ll hear your grandmother warning you against chilblains. In the past, I’ve just cut off a section of an old closed-cell foam mattress and thrown it in my pack. However, I’ve just started using the Thermarest Z seat, purpose made. [NB: these make a great make-shift splint for injuries].
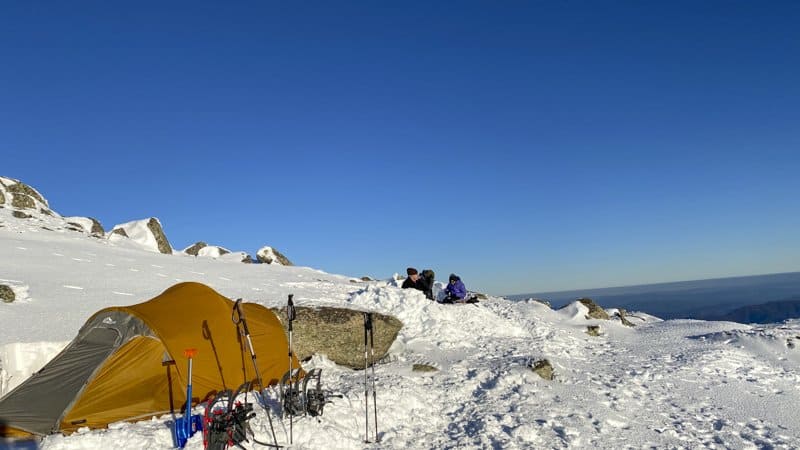
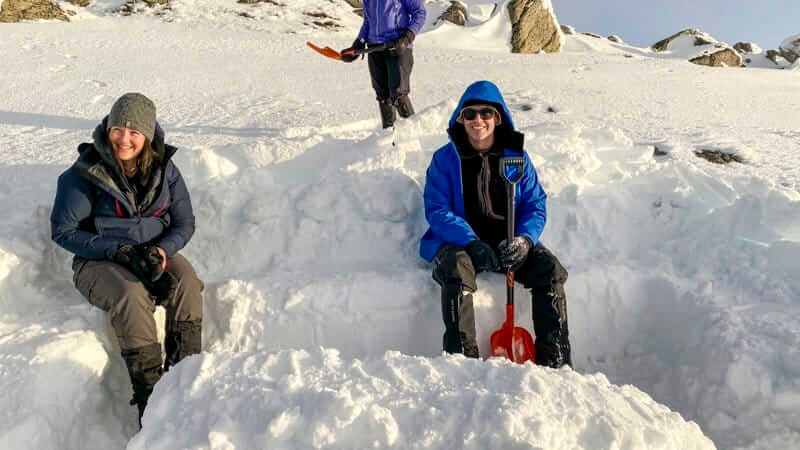
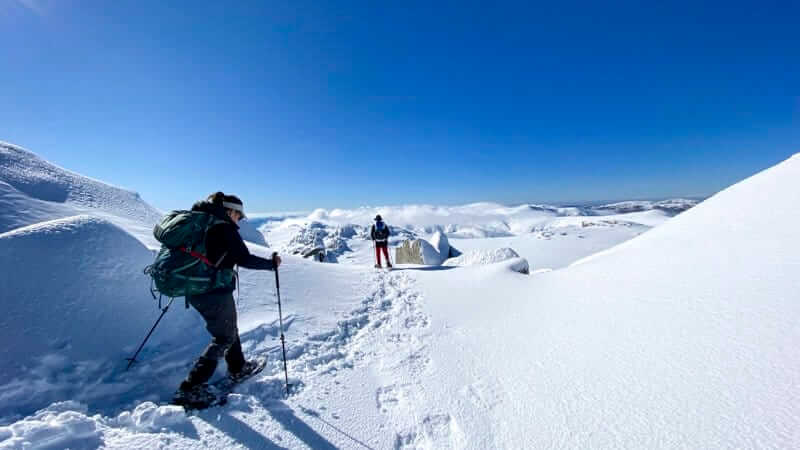
Snow shovel
This is an essential item for setting up camp. There’s so many uses for these little guys. Digging and levelling a tent platform, building wind-break walls, digging a kitchen/dining area, avalanche rescue, levering out snow pegs and no end of make-shift toboggan shenanigans! Oh and don’t skimp on this by thinking you can just take a garden shovel – you’ll regret it.
Ice Axe
Whilst not essential (this isn’t a mountaineering trip – it’s a snow-shoe camp), it’s a good idea to have at least one of these in every group. Like the shovel, there’s lots of jobs this dude can help out with. Although they’re overkill if just used to remove snow pegs, they’re a great general rescue tool, can be used to dig a deadman’s anchor for securing tarps for shelter, cutting hard ice and like the best wedding receptions from the 90’s – they can make a mean ice sculpture.
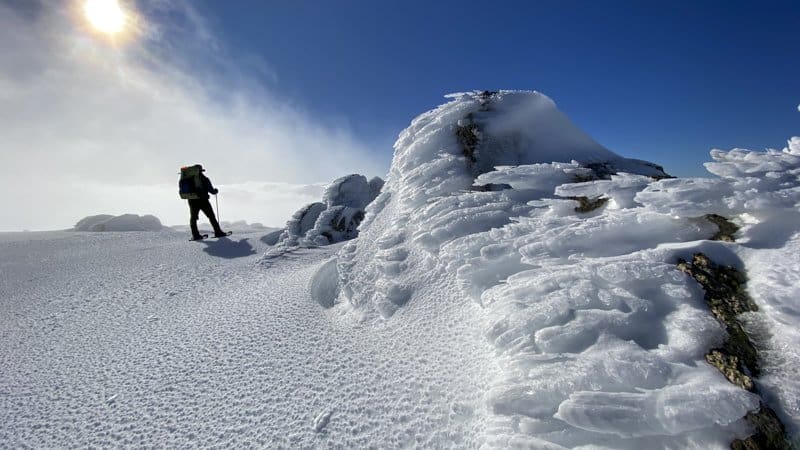
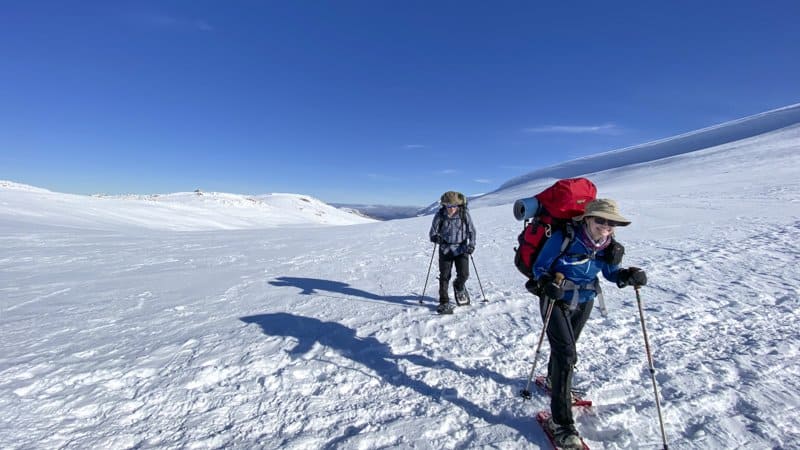
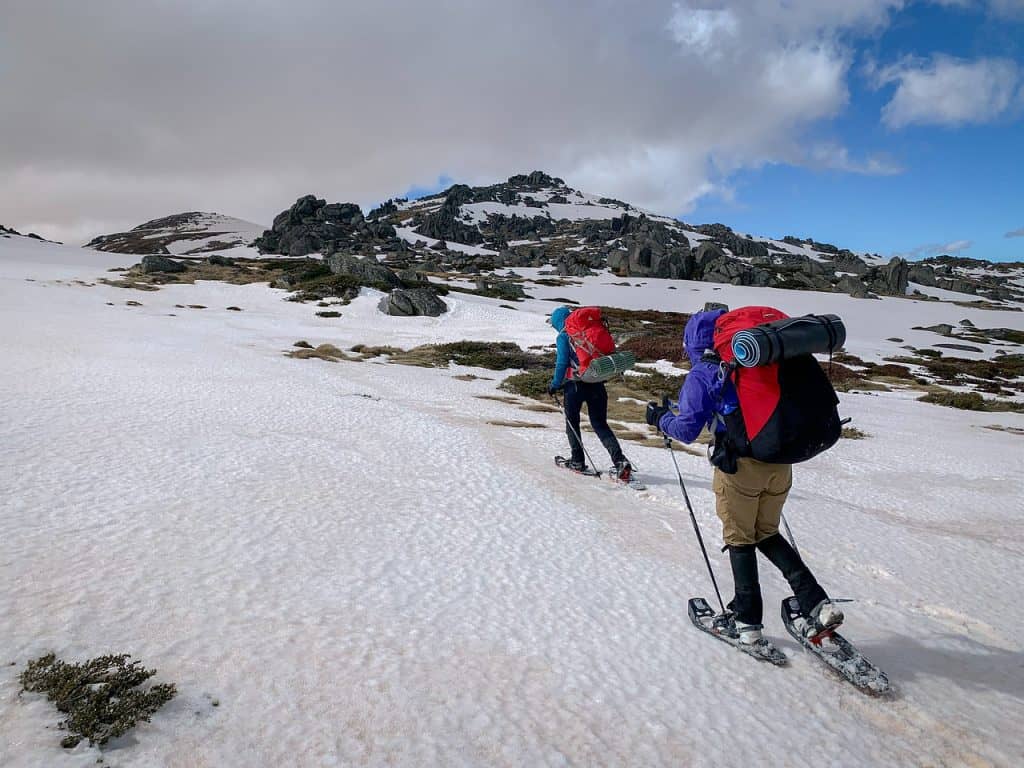
Snow Shoes
For something that might only get a couple of outings each year, snowshoes can be an expensive piece of kit to buy, around $500. They’re definitely the kind of thing that is easy to rent and most ski rental shops offer them. If you decide you love hiking on snow, you could even be lucky and pick up some ex-rental snowshoes for a bargain.
It doesn’t take long to learn to use them, (if you can walk, you can snowshoe). Apart from a slightly wider gait than normal, you walk normally in them.
One handy (but not essential) feature is a heel lift bar. This little bar usually lays flat on the shoe, beneath your heel. When you are walking up a steep hill, you can lift the bar up and lock it in place, giving you ‘high heels’. This makes ascending much easier.
Hiking Boots
Snowshoeing is one of the few times I wear goretex lined, waterproof hiking boots. The ankle support, stability and warmth they offer is important to keep you toasty and comfy. If you don’t have waterproof boots, you can usually rent overshoes at the same place you get the shoes. For snowshoes to attach onto the boot they need a rigid sole to work effectively. For simplicity, look for snow shoes that can be done up without removing your gloves.
Gaiters
I’ve been tossing up whether to push this into a post on clothing for snow shoeing and camping, but heck… I’ve put boots here, so in my head, they’re all connected. Gaiters are super handy, especially when conditions include deep, fresh, powder snow. I just wear my normal bushwalking gaiters (they come to just below the knee) and it helps keep snow out of your boots.
Hiking/Ski Poles
Because you use snowshoe poles in the same way as hiking poles, you want the pole length to allow your elbow to be bent at right angles to your body, with the pole touching the ground by your foot. As long as you have snow baskets on the end of the poles, you could use existing walking poles.
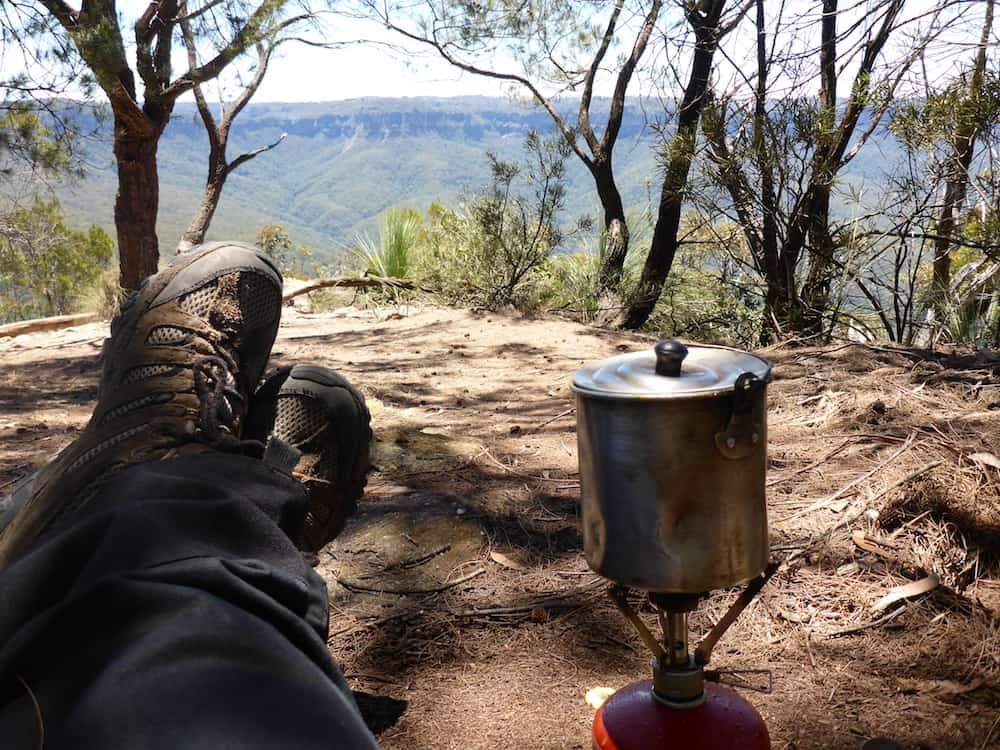
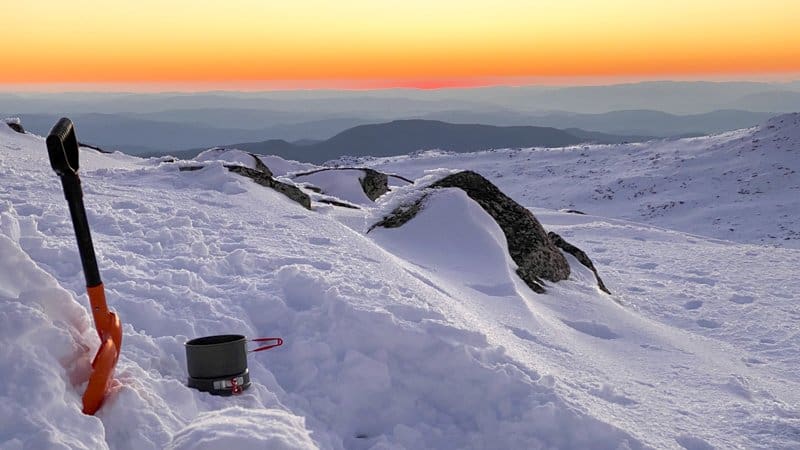
Cooking stove & pot
A stove is an essential piece of kit for snow camping, not only for brewing up a warm cuppa (or hot toddie) and cooking food, but you need to be able to melt snow for drinking water to fill your bottles each day.
The simplest way is to use a 4 season gas canister, paired with your regular lightweight gas camping stove. I used a MSR Pocket Rocket with no problem, however remember that keeping your canister (without the stove attached) in your sleeping bag or inside your jacket before using it will help it perform its best.
Melting snow for water can be a slow process – I like to think of it as a meditation! Have a think about the size of your pot (a 1.5L can be helpful in a group) and adding a slurp of water in the bottom of a pot of snow, can help kickstart the process and stop your pot scalding.
As always, be super careful if you need to cook in the vestibule of your tent – tent fires or gas build-up need to be taken seriously. You need to ensure good ventilation and airflow, be cautious of spills or bumps and have maximum space around the stove. Oh, and don’t use liquid fuel stoves, like shellite inside – whilst it is effective in snow, it’s recommended for outdoors use only.
Carrying water
When you’re living and adventuring in cold temperatures, it’s easy to forget to drink water and dehydration can be a big problem. Using a water bladder is a good way to keep your levels up all day, but you might need to insulate the hose to avoid it freezing (I haven’t had a problem with this). Additionally, I like to take a Nalgene bottle for excess water, as well as a safety measure in case the bladder breaks or leaks. The other main reason I carry one of these is that I can make a hot water bottle for bed. I slot it into a sock to make sure I don’t burn my tootsies if not wearing socks to bed.
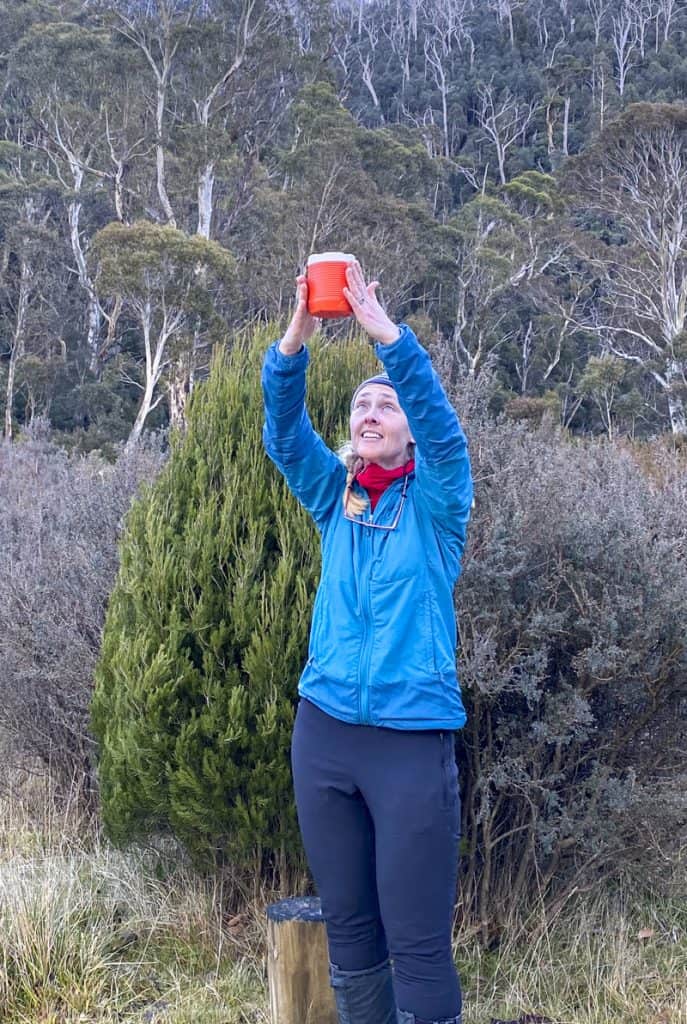
Speaking of drinks, if you enjoy a cuppa (or that toddie I mentioned), think about bringing an insulated cup with a lid. It will help you enjoy it warm for longer.

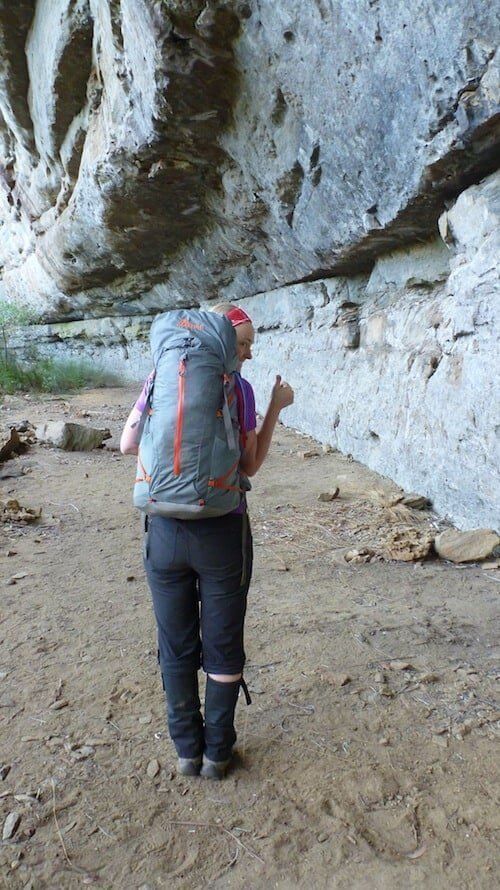
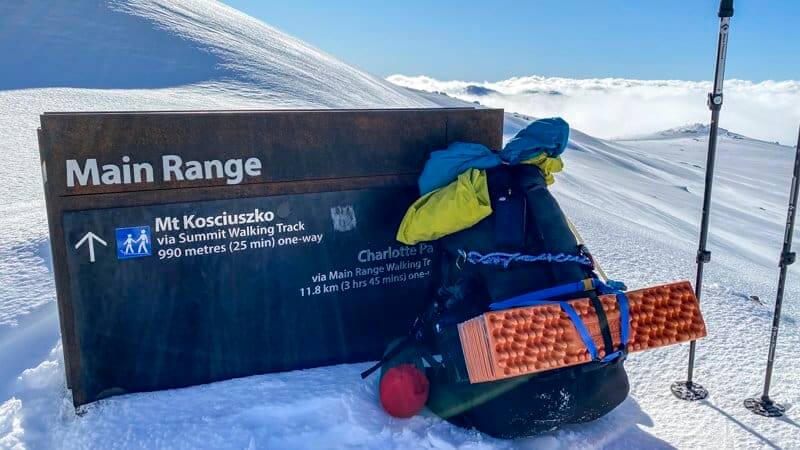
Backpack
Bear in mind that because you’ll be carrying more clothing layers, a bigger-than-normal sleeping bag and a heftier tent, that the capacity of your backpack for camping on the snow is probably going to be bigger than a standard weekend trip. So if you’re used to a 50 litre pack for a normal 2-3 day hiking trip, then you might need to think about a 60-65 litre for snow camping.
Part of the reason for my improvised straps on my pack shot above* is because it is a 47 litre pack and I was experimenting! Next time, I’ll definitely take a larger one.
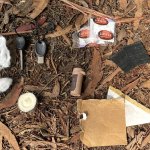
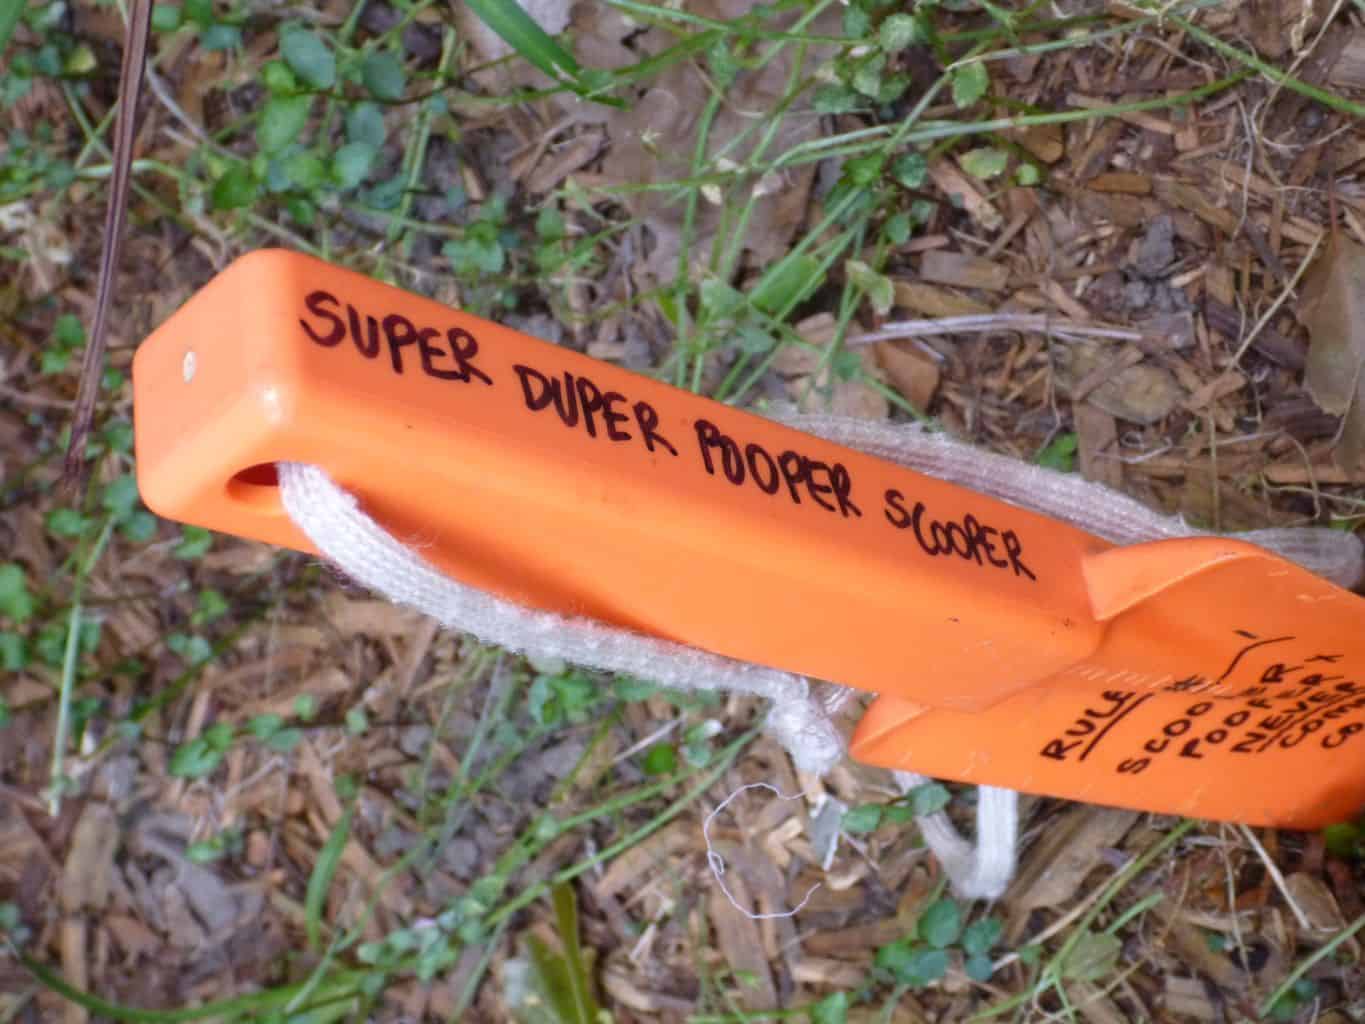
Poo pot
I’m going to write a separate post on how to deal with poos, wees and other mysteries, when camping in the snow, but I’m including a ‘poo pot’ in this equipment post. Being the kind of gal who likes to reuse and recycle, I tested out both an empty Staminade 585 gm and Gatorade 560 gm tub to test which would be best. The size is about right (I was going for 2 nights/3 days). I can report the orange Gatorade tub won hands down, so add one of these (or something similar), along with cornstarch compostable waste or doggie poo bags to your backpack.
Want more info?
This is just the start of a series of posts on some of the equipment, skills and tips to help you get the most out of spending time snow shoeing and camping in the snow. I’m planning one on clothes and also a packing list.
It is written from an Australian perspective, where even though our highest mountain is only 2,228 metres, our alps can still experience extremes of conditions, that can be highly changeable and dangerous.
I recommend going into alpine areas with an experienced guide to help show you the ropes and build your skills.
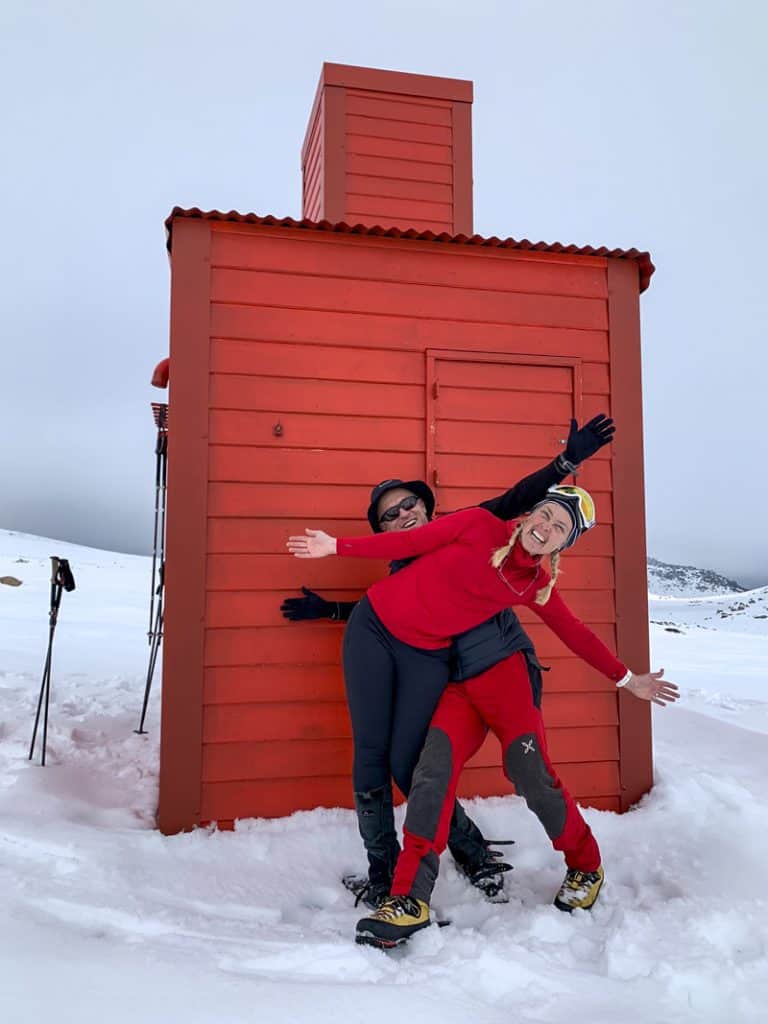
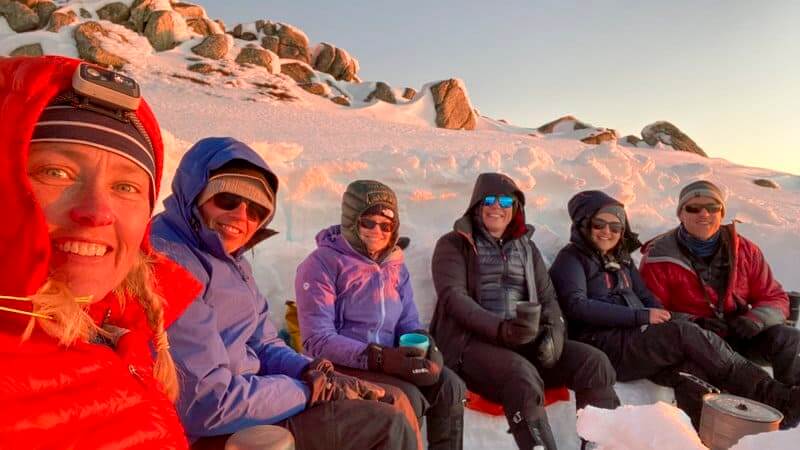
Thank you!
I am much indebted to the experience and generosity of my mates Warwick and Jon, their notes, advice and darn good company in helping me write this post… and for laughing with me in the snow – in good conditions and bad. Thanks guys!