…In a lightweight 40 litre backpack
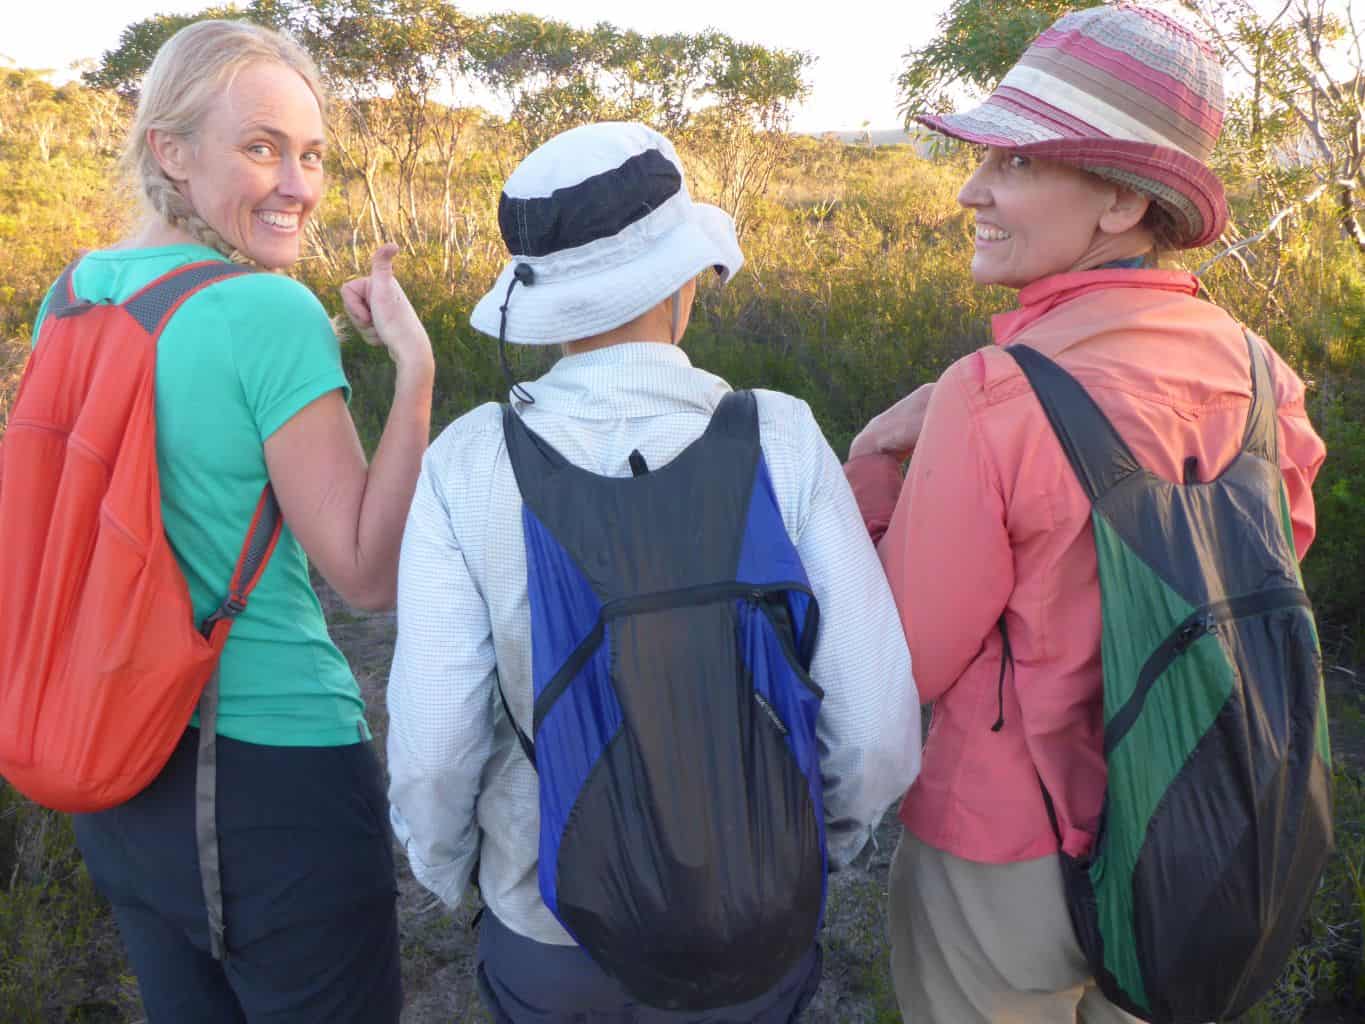
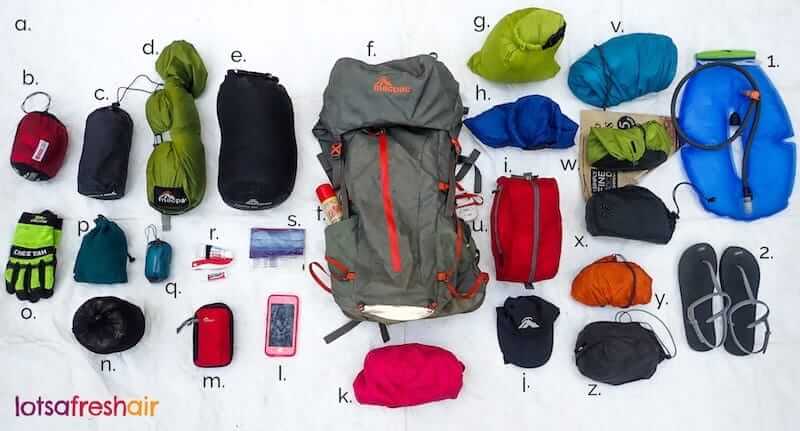
There’s nothing quite like the feeling of throwing on your backpack, with everything you need for a weekend (or more) in it and hitting the track. The key to having a great multi-day hiking adventure, is keeping your backpack as light as possible, whilst not skimping on the essentials (and even a few luxuries). Here’s a look into how to pack for a weekend hike, all inside a lightweight 40 litre backpack.
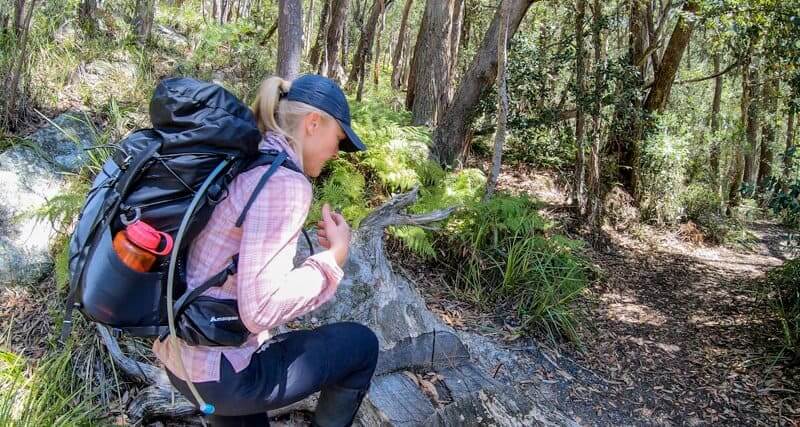
With a bit of smart packing and using modern outdoor gear and equipment, it’s possible to lighten the load, which not only saves your energy, but can help protect you from injury.
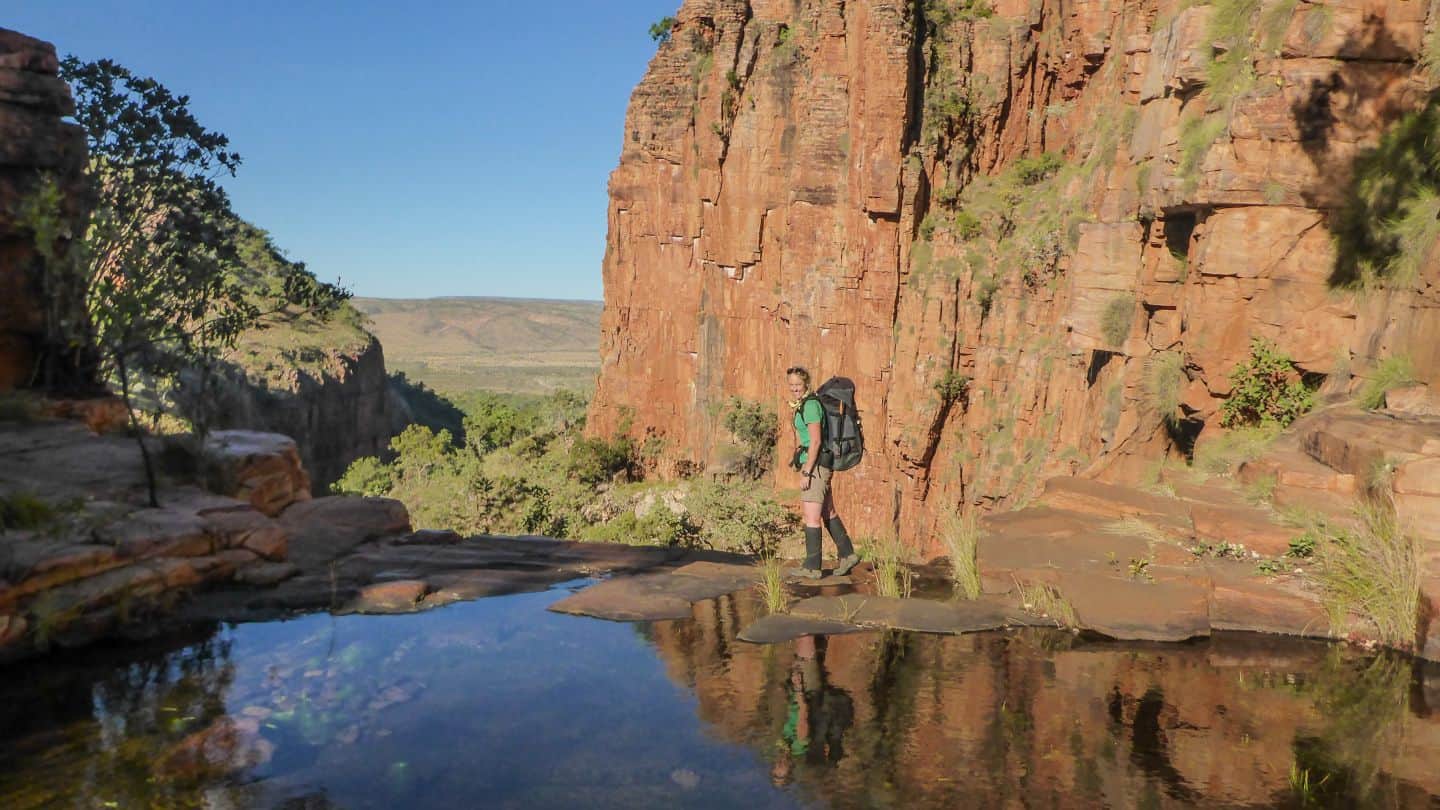
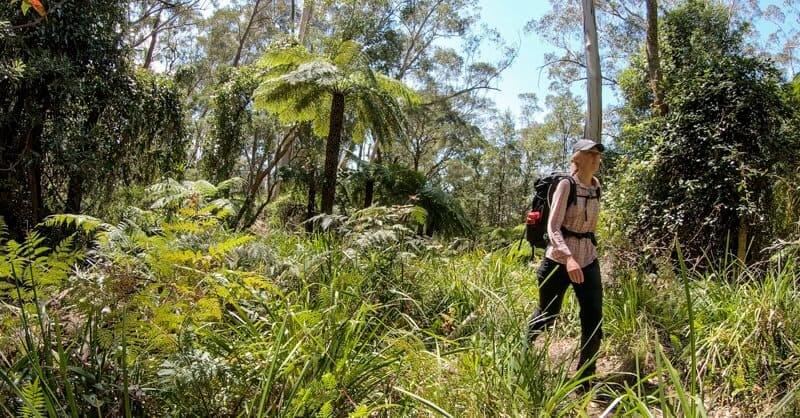
I went for a walk down into the Jamison Valley, in the NSW Blue Mountains and took a moment to capture everything that is inside my pack. I’m constantly changing, learning and adapting how I do things, always with the aim of going as light as possible, whilst ensuring I am comfortable, safe and setting myself up for success.
Hiking packing list download
This post is a summary of what to take hiking. I’ve also a downloadable packing list that you might find helpful. Tick things off as you get yourself sorted, laying everything out and putting it into your backpack.
You can checkout my step-by-step video on how I do it all here.
Gone are the days of the mega 20 kg backpack, bulging at the seams and with stuff strapped on the outside. It just takes a little bit of planning, maybe changing the way you approach things and before you know it, you’ll be going hiking with a lightweight spring in your step.
What to pack for a weekend hike
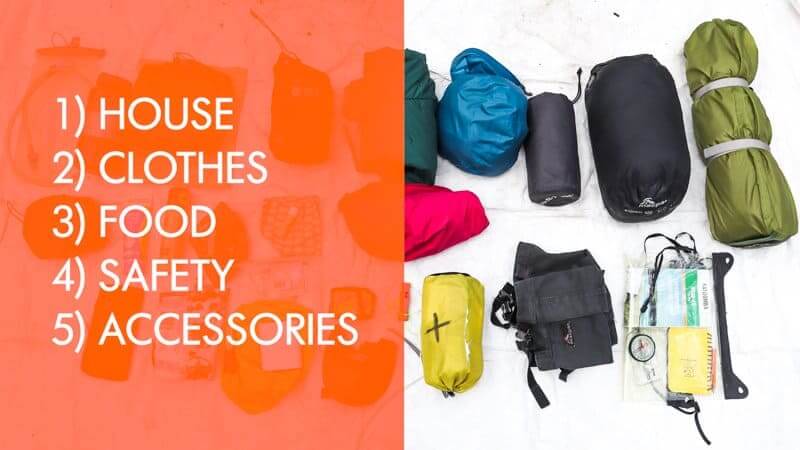
To help make things clear, I like to categorise everything I need for a multi-day hike into 5 categories:
- House
- Clothes
- Food (& Kitchen)
- Safety
- Accessories
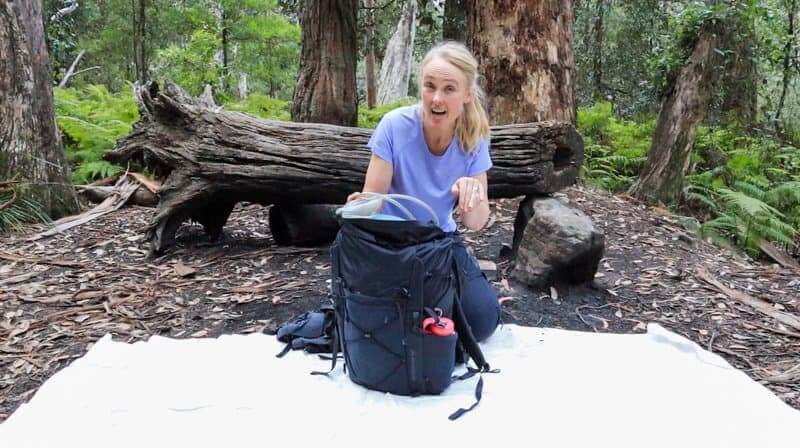
- Backpack – I’ve used a Macpac Fiord 40L in this video and blog post.
1. House
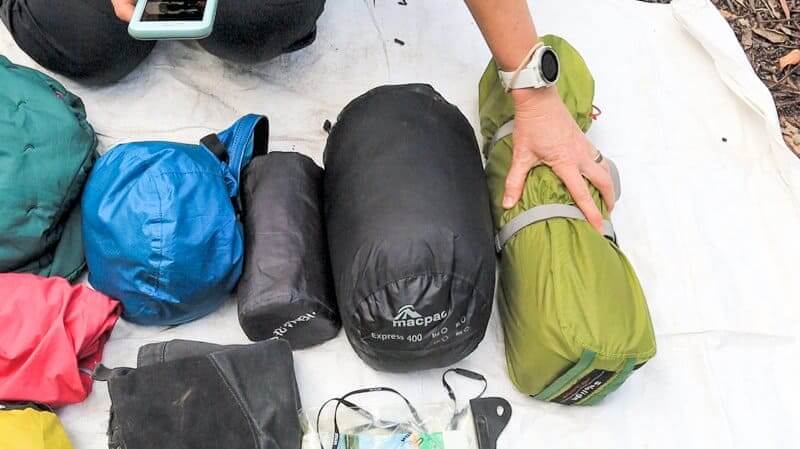
The house category includes what I call my in-on-under items.
- Tent (Macpac Sololight)
- Sleeping mat (Thermarest or Nemo)
- Sleeping bag (Macpac Express 400)
In colder weather, it might also include a sleeping bag liner and for a luxury item, a lightweight inflatable pillow. Alternatively, I just stuff my clothes in my sleeping bag cover and use that as a pillow. Easy! See… cutting down on bulk and weight quite often comes down to options and compromise. eg. to save a few grams and bulk, am I will to compromise a great pillow (a made for purpose inflatable one), with an OK one (my stuffed sleeping bag cover)? Depending on the trip, possibly yes.
2. Clothes
This is one of the key areas to save weight and space when hiking. Generally speaking, I’ll wear the same hiking pants and top, up to 3 days in a row. There isn’t a need for a clean outfit everyday… that’s city thinking! I will take a change of undies, but will wear the same bra.
Clothes for hiking is split into 4 categories too:
- Base layer (thermals, top and trousers against my skin)
- Mid layer (warmth)
- Shell or outer layer (rain jacket)
- Accessories (socks, gloves, beanie, buff, sunhat, gaiters)
Get the full rundown on clothes in this post.
3. Food & Kitchen
I like to keep my food easy to find by separating breakfasts, lunch and dinner into 3 separate, small stuff sacks, each a different colour. I’ve got a quite a few posts and ideas on food to take, so check them out for full details. Here’s a summary:
- Breakfast (muesli, powdered milk, dried fruit in a bag. Add water and eat straight out of the bag)
- Lunch (wrap, salami, cheese, semi-dried tomato, spinach leaves, chutney)
- Dinner (commercially available dehydrated or freeze-dried meal eg. Backcountry, my easy mango chicken curry or check out these great hiking recipe books – Xtreme Gourmet or Feed the Hike for easy, lightweight DIY recipes)
- Drinks – tea bags (count them out, just enough!), coffee, hot chocolate sachet
- Snacks – scroggin or lightweight snacks of your choice
- Kitchen – lightweight camp stove + gas canister + lighter, pot set, cup, spoon and pocket knife.
- Water – bottle and/or hydration bladder
Just remember, don’t carry heavy tinned food or glass bottles. Choose food that doesn’t have much water weight to them, so you can add water during the cooking process. The key here is to choose a campsite near a water source!
4. Safety
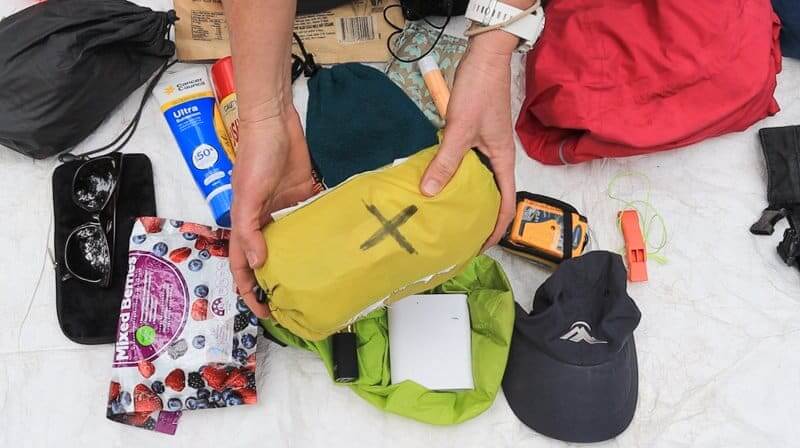
The items that you take hiking for your safety, are the ones you should always carry, but never hope to use… except for your map and compass/GPS. This includes things like:
- PLB – Personal locator beacon (or similar like InReach, SPOT, etc)
- First Aid Kit
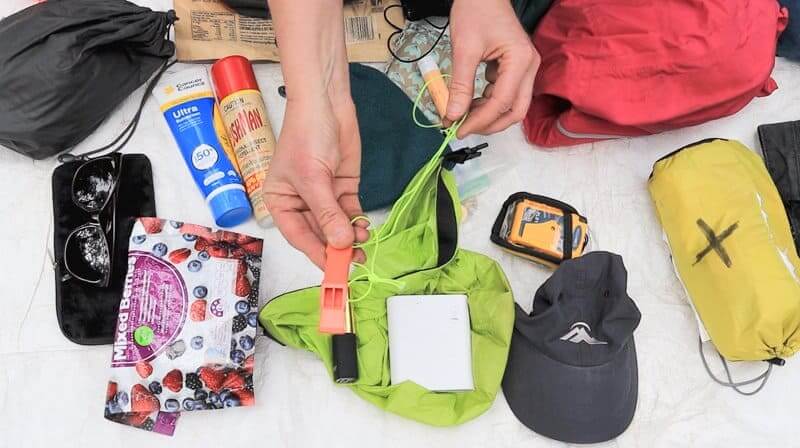
- Whistle
- signalling mirror
- map and compass
- GPS (or smartphone app)
- fire-lighting kit
5. Accessories
These are a mix of essentials, along with a few bits and pieces that can make your time in nature, just that bit more enjoyable! Things like:
- lip balm
- handkerchief
- sunscreen
- insect repellent
- toilet paper, hand sanitiser
- battery pack for mobile phone/camera/GPS
- mobile phone
- wallet (I use a ziploc bag)
- headtorch
