One of the questions I get asked most is what do I eat in the bush? It might also explain why my Basic Food for Hiking Video is the 2nd most popular on the channel. Us hikers love our food! Here’s my simple 8 tips for using a dehydrator to make tasty and nutritious food for the outdoors.
With all that fresh air and exercise, we sure build up healthy appetites and I’m not convinced that all of it is about ensuring correct nutrition (see A Little Tipple in the Bush). So how do we guarantee tasty, healthy food, whilst keeping pack weights to a minimum? How do we enjoy such treats as Mussaman Lamb or Spag Bol in the middle of the wilderness?… The answer is dehydrating!
If alchemy is the art of turning lead into gold, then dehydrating is like some strange kind of bushwalking alchemy. Here’s some tips to get you started!

1. The Dehydrator
Dehydrators are made up of a number of trays. In this example there are 5 trays sitting on the base tray. The bottom of each tray is grids which allow for air to flow freely throughout the various trays and around the food. There are also inlay sheets which sit inside the trays and allow you to dry liquids, sauces or fruit leathers. The dry air is generated in the lid section, which is very similar to a low voltage hair dryer. There are quite a few options out there on the market, this one (Sunbeam Healthy Food Dryer) is one of the cheapest at around AUD$100 new. You can pay up to $400+ depending on the model and the functions available. For instance, this model doesn’t have a timer, which would be a helpful thing. However, you can get around this by using a basic electrical timer that you use between the powerpoint and the plug of the dryer.

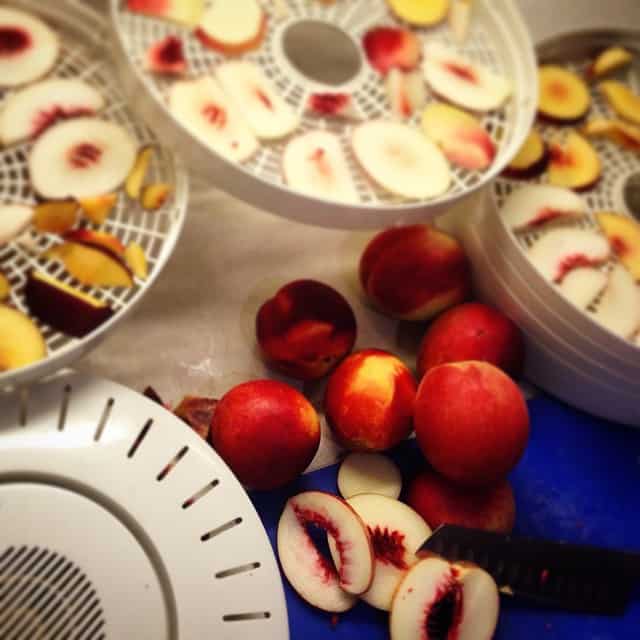
2. Preparation
Before placing your food in the dehydrator, you will need to do some preparation. At the easy end of the spectrum is simply slicing fruit or veggies into small pieces, whereas at the other end of things, is cooking and preparing a full meal. Check your instruction manual which contains loads of helpful advice and tables about the necessary preparation. Some veggies or fruit need prep such as dipping in lemon juice or blanching in hot water first. From experience, these simple steps certainly enhance the end product – so if possible, don’t skip these steps.

3. Choosing what to dehydrate
When choosing meat to dehydrate, the best way to get the most effective drying (and let’s face it, we don’t want to get sick out in the bush) is to use mince meat. Thankfully, there are lots of options available at your local supermarket – beef, chicken, lamb, turkey, pork and for us Aussies, kangaroo. (If you ask your butcher nicely, he will mince almost anything for you. Tripe anyone?) Almost everything that goes into the dryer will need to be sliced small to ensure that you get the most surface area, allowing the warm dry air to circulate around as much of the food as possible.
4. Cook it up!
For this example, I cooked up a big pot of lamb mince and used a packet sauce mix of Mussaman Lamb. I followed the recipe on the packet (except for using mince instead of pieces of meat), but also added a stack of my own (small cut) vegetables and fresh herbs.
5. Drying
Once the preparation or cooking is done, place the food onto the trays in a single layer. Again, this is to ensure maximum space around the food to aid drying.
Dishes with sauce or liquid need to sit on the inlay tray and obviously not onto the normal hole covered trays. With my dehydrator, I can use the base tray for saucy dishes also. Note that this base tray dries food quicker than any other area in the dryer. Check the manual that came with the appliance for estimated drying times. There are no definitive drying times for each type of food as times depend on not only the size of each piece of food, but also the humidity and outside temperature.
For example: I once dried Mussaman Lamb in December (Aussie Summer) and it took 14 hrs to dry. Then, in April (Aussie Autumn) I also dried Mussaman Lamb and it took 8hrs 15mins.
To make the most of your drying time, don’t just fill one or two trays. Put a meat dish into two trays, then fill the others with veggies and fruit. As each type of food will dry at different times, it is important to keep checking on them throughout the process. Each person will find a way that works for them in this, however I tend to check after 6 hrs which will give me an idea of what the overall time is going to be. If you’re doing this overnight, your alarm clock will become your noisy partner in the dehydrating process. The finished product will differ for each type of food. Your instruction manual will give you a description of what to expect and how to know that it is done. The best description I’ve heard for correctly dried mince meat, is kitty litter. Meow!

6. Storing the dehydrated food
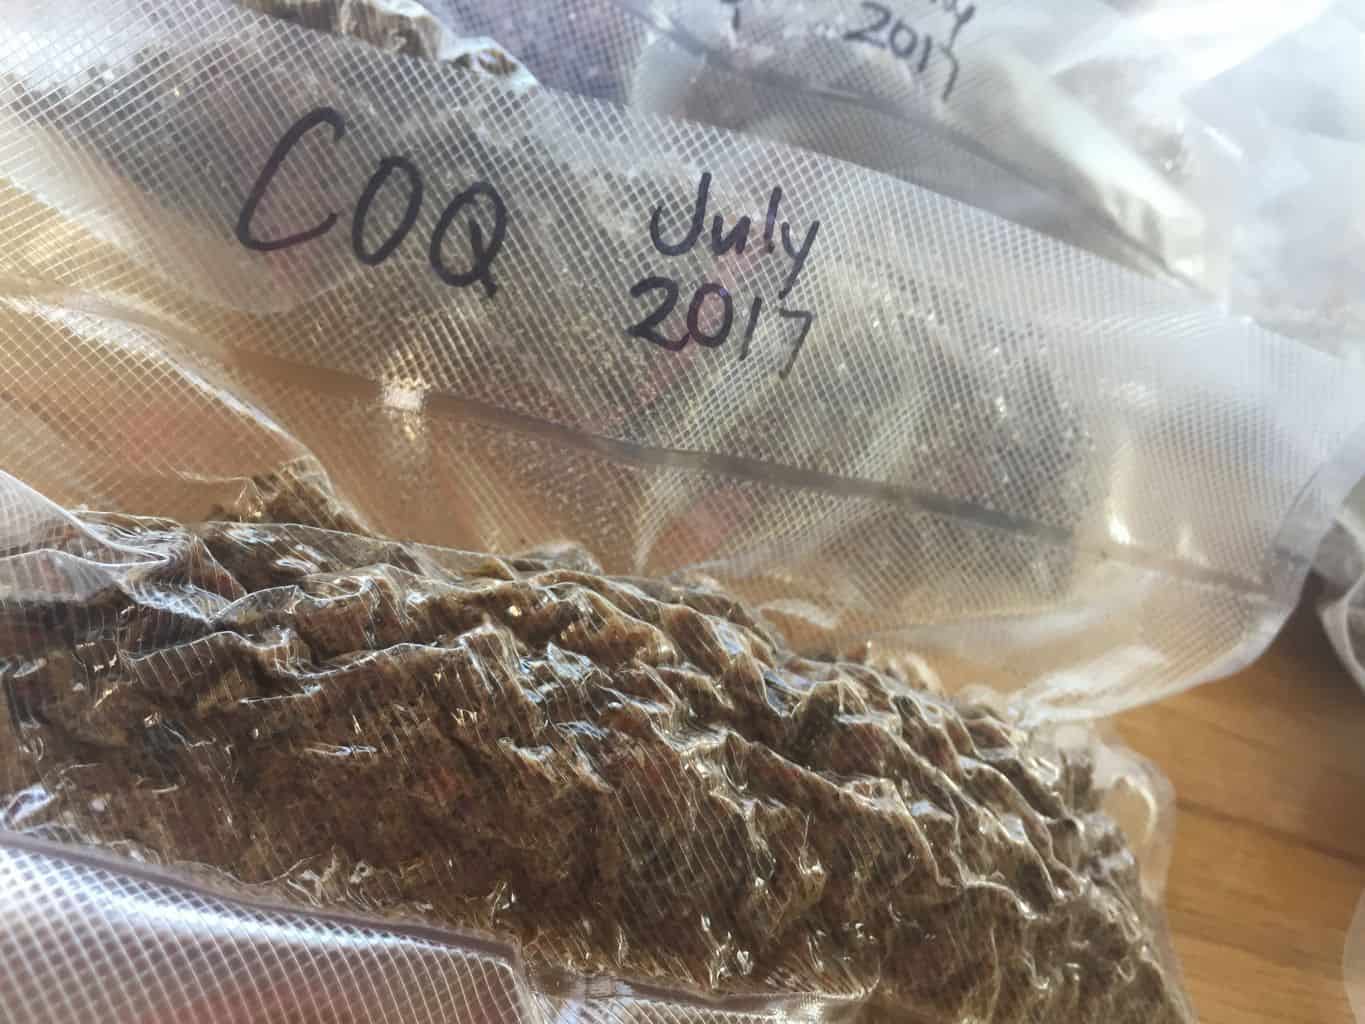
Once the food has finished drying, store them in portion sized Ziplock bags. You’ll find that when it is dried, it’s hard to figure out how much a portion is. So make this calculation before you dry. Look at your cooking pot and decide that how many dinners it will cover. Then divide the dried food into this many Ziplock bags.
Write the date and contents on the bag with indelible pen and place in the freezer.
Check your instruction manual for details on storage life. Keep a record of your dehydrating history, rating the humidity on the day and the start/finish times, along with any pre-treatment needed. This is how you can learn and tweak for next time.
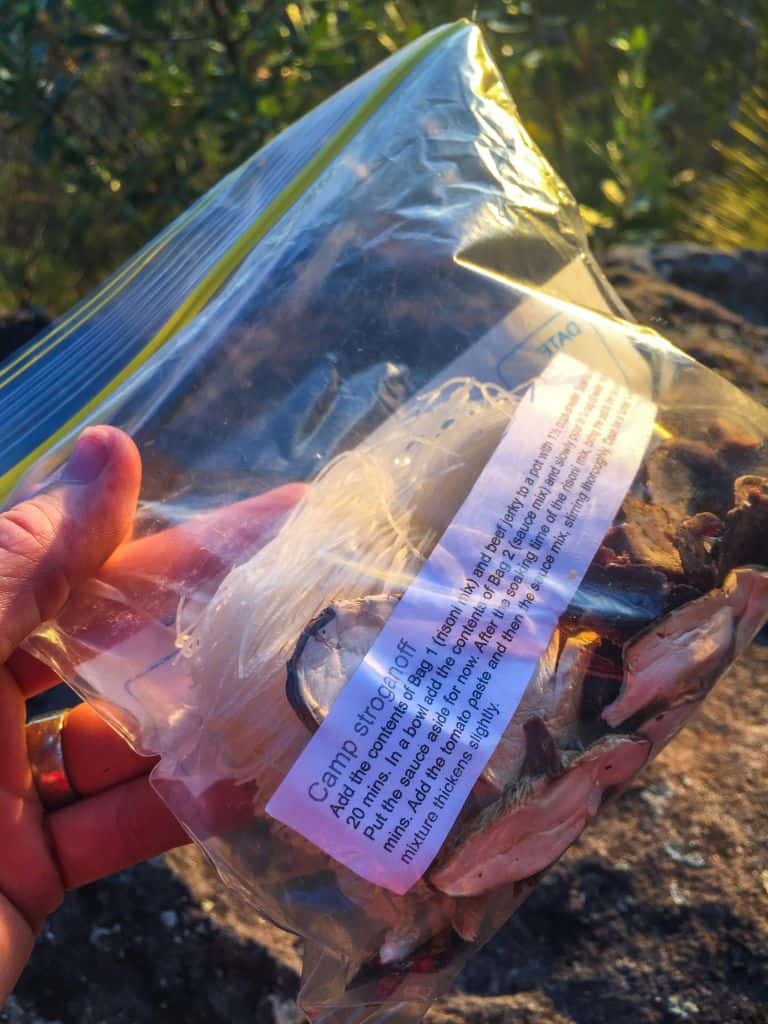
7. Out on the track
To make it easier for yourself, you may wish to add your other dry ingredients to the Ziplock bag before you head off on your trip. For example: Add in other dehydrated veggies such as Surprise Peas or Beans or rice noodles. This way you have a full meal in a bag. When you arrive at camp, simply pop all the contents of the bag into a billy and cover with cold water. Put the lid on (to keep the crawlies out) and set aside for an hour. Perfect time to light the fire and have happy hour! After an hour, simply place the billy over the heat. Check by tasting the meat. If it’s still chewy, continue to heat through – leave the lid on and simmer. Stir frequently. Bon Appetit!

8. What not to dry
Being a regular eater of tofu at home, I thought I’d give this a go for the track as well. Yes, it dried quite successfully, however (thankfully) I gave it a test rehydrate at home before risking taking it out into the bush.
This photo shows the slice of tofu after sitting in water for 24hrs. The best way to describe the texture of it at this stage would be like the bicycle inner tube that I take as an emergency fire lighting tool. Sorry vegetarians… I tried.
- HOT TIP! Mince represents the major tip in choosing what to dry – Good things come in small packages! Mince beef, chicken, lamb, turkey, pork and kangaroo.
- HOT TIP! If you’re a busy person (who isn’t these days?) and you are trying to get a stack of dehydrating done for an upcoming extended trip, I suggest cooking up enough for dinner that night, and then putting all the leftovers into the dehydrator and letting it run through the night.
Goodluck with your dehydrating efforts. I’d love to hear your experiences, recipes and other tips!
Thanks to Swantje and her lovely family (from http://textileshed.wordpress.com) I met at Kanangra Walls over Easter for the inspiration for this post!