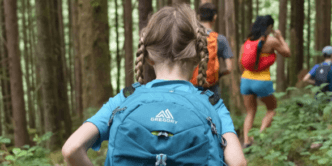
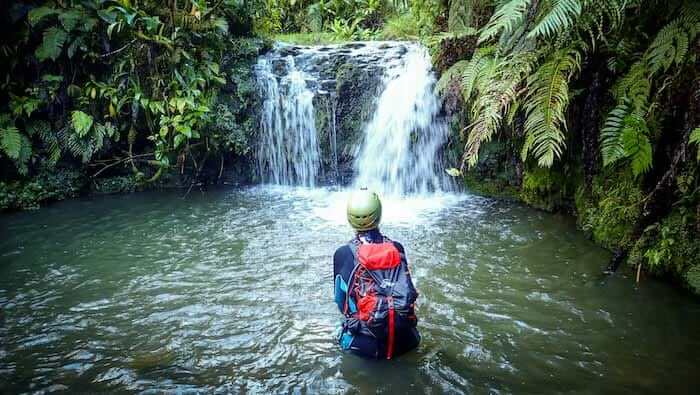
There are many reasons why you may need to waterproof your backpack, whether it be for canyoning, river or creek crossings, pack floats or simply to protect your gear from heavy rain. There are several different approaches to ensuring that your gear stays dry inside your pack and as with all things in life, it’s just about finding which method works best for you and is best suited for the outdoor adventures you’re planning.

The important starting point is realising that your pack (unless it is a ‘dry bag‘, no matter what the shop assistant tells you) is not waterproof. It’s a little like raincoats… sadly, due to the issues of condensation, humidity and the limitations of fabric technology, there’s no such thing as a waterproof rain jacket.
Using a waterproof pack liner
The most popular approach is to line the inside of your empty backpack with a large tough plastic garbage bag or two (the strong orange ones or those made for garden waste seem to be good) or a commercially available pack liner. Then, everything simply gets packed into this as per normal.
If you’re using a budget conscious plastic bag or one without a way of sealing it (I’ve been known to use Qantas Baggage bags normally used for prams and strollers), it’s important to make sure that you create a really good seal at the neck of the bag, with a solid amount of twisting, folding over the twist and then securing with a knot or other method. I like to use a chunky rubber band or two.
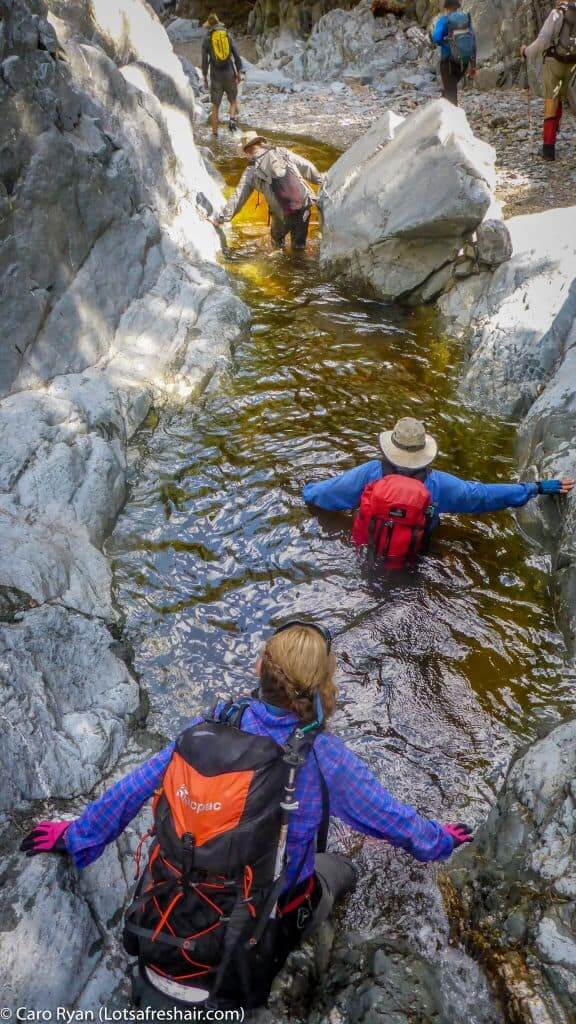
This method has some advantages, especially if you know you’re going to be canyoning or using your backpack as a float/pack-raft along rivers. When you go to seal the liner, just make sure that there’s a good amount of air trapped inside which will aid buoyancy. Your pack becomes a giant floatie!
Disadvantages of this style of waterproofing are that it can sometimes be tricky to get a nice, firm, packing of your gear inside, given the added bulk or extra layer of the liner. Also, if you do unfortunately have a breach or tear to this bag, if it’s your only level of defence, then everything can get wet.

There is another way of using a pack liner and that is one that works well for short pack floats or pack swims. You can use a super enormous pack liner, series of garbage bags or Qantas bags and put your entire pack inside this, with a good amount of extra air. Seal it well with twists, folds and rubber bands and then simply push it out onto the water and swim/push it along in front of you. The benefits of this method are that it keeps everything (including your pack and straps) dry, but doesn’t give you a wearable floatie or handles to keep a firm hold of in moving water.
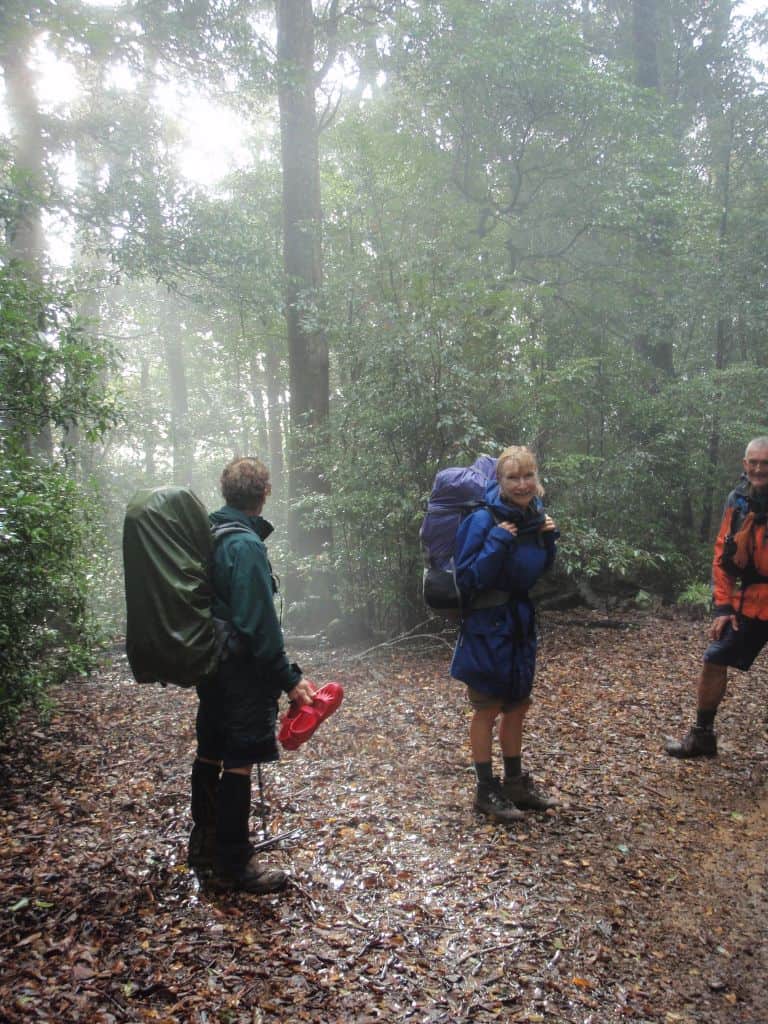
Using a pack cover
Another approach to waterproof your backpack is to use a commercially available pack cover. These days, some backpack manufacturers include a pack cover attached to their packs or as an added feature.
These elastic rimmed liners wrap around the external part of your pack, yet can’t cover the areas behind your shoulders or behind the straps. This means they’re better suited to light rain or day trips where there’s less issues if your gear gets damp.
I’ve had mixed results with this style of keeping the wet stuff from my dry stuff. Unless they’re firmly attached and secured all around the pack, they can be problematic in strong wind, becoming flappy, flappy wind socks! The obvious downside with these though, is that they don’t fully waterproof your pack from immersion, whether planned (like in a pack float or canyon), an accident (woops!), like during a river crossing or consistent, torrential rain.
Individual item method
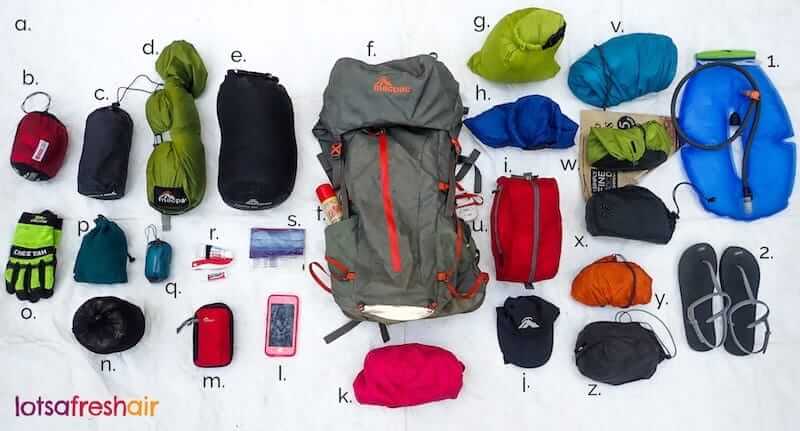
However, for most trips, I tend to use a method that sees the individual items waterproofed inside my backpack.
So in this approach, I have my clothes squished into a lightweight dry bag (squeezing all the air out to save space), my first aid kit is inside a dry bag and my food is either in Ziploc bags or if it’s homemade dehydrated food, it’s in vacuum sealed bags. Therefore, the only thing left that needs to be waterproofed is my sleeping bag and sleeping mat. I place my mat in an old shopping bag and use the method in this video to take care of my sleeping bag.
But when it comes to cold, overnight or extended trips when having dry gear can mean not only a more enjoyable adventure, but a much safer one, I double up by using the individual item method… inside a pack liner. To be sure, to be sure.