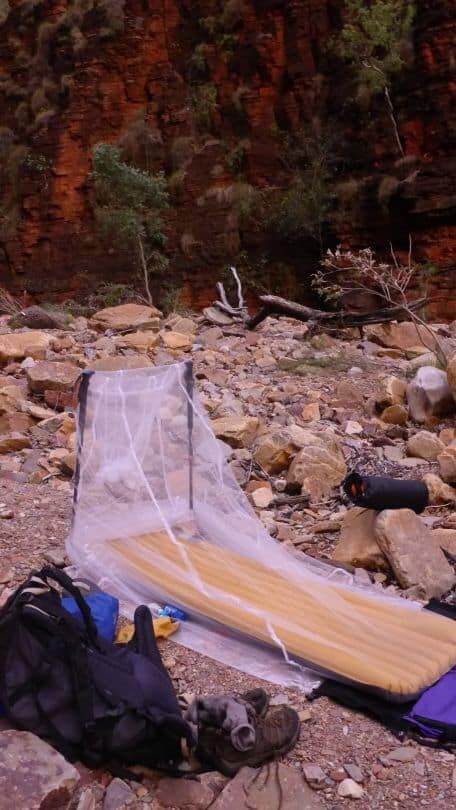
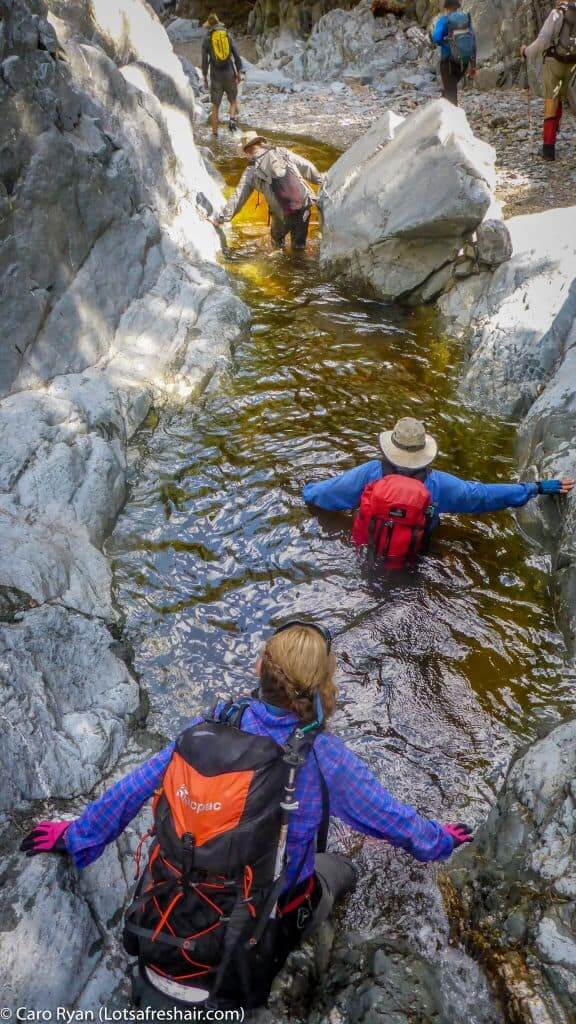
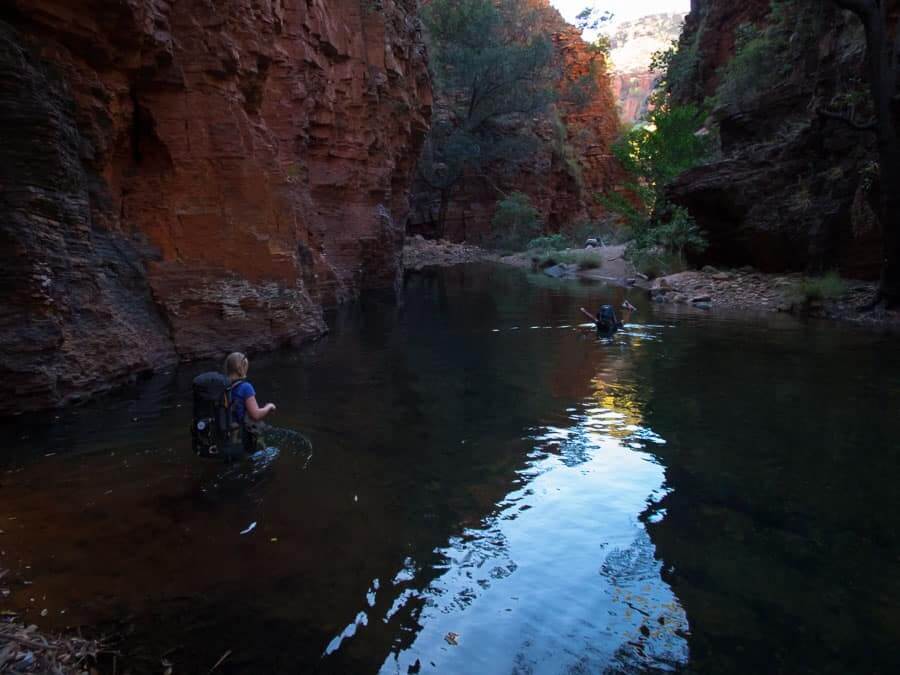
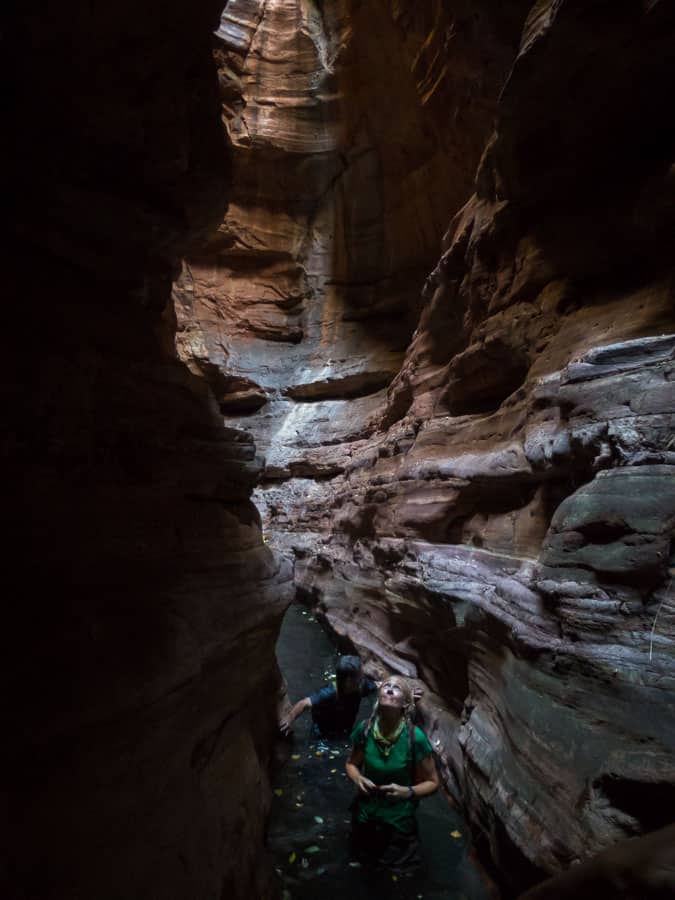
There are few design concepts within hiking and outdoors gear that make me smile as much as the selling point of a product being waterproof. There’s “waterproof” jackets, “waterproof” dry bags and my personal (not) favourite – “waterproof” footwear. This post is about a few different techniques and approaches on how to waterproof a backpack for adventures such as canyoning, packrafting, off-track river/creek trips or exploratory adventures like this one!

Generally speaking, if you want a truly waterproof backpack or dry bag, you need to head to marine or sailing shops and look at brands like Seal Line. They create stuff specifically for kayakers and a range of other water-based sports. Just be prepared to pay for this kit, because the quality doesn’t come cheap.
For the rest of us, it’s natural to assume that the colourful array of dry bags available at our local outdoor store is going to stay dry. In my experience, I’ve learnt to never take a manufacturer’s claim about a product being waterproof, especially when keeping dry is essential.
4 tips on how to waterproof your backpack:
1. Forget about a pack or rain cover
Just forget it. They can flap about in the wind or even blow off and tend to do very little. Don’t fall for a retail shop assistant tell you that these will keep your gear dry. Sure, they might be fine in a light shower, but then, that’s what you’d expect your backpack to do for you anyway.
2. The Lining Technique
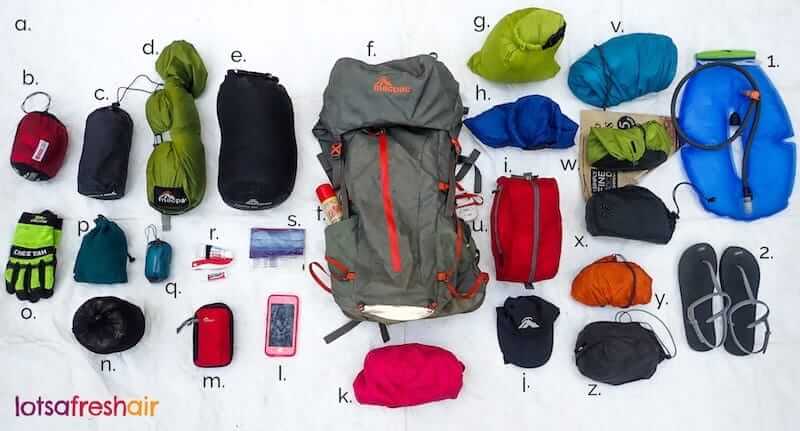
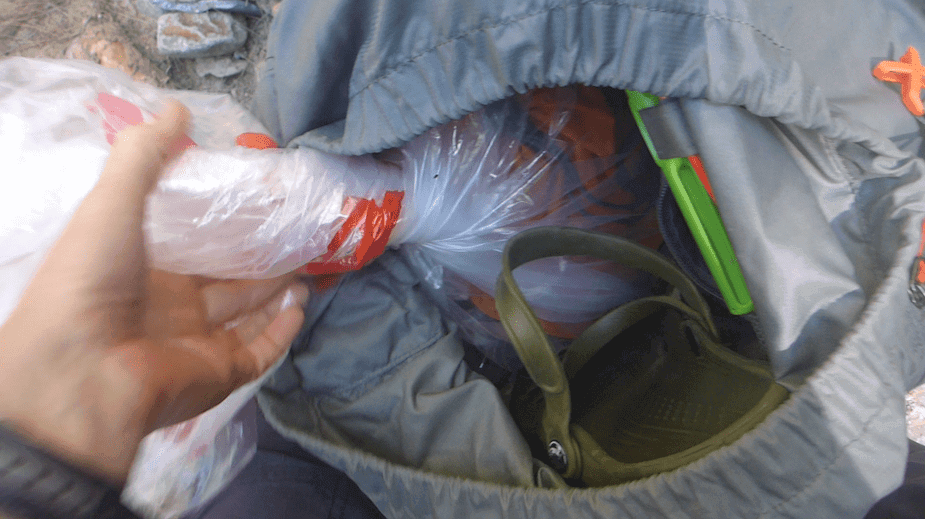 This involves taking a waterproof bag and placing it inside your backpack, with all your contents then going inside this bag. Liner bags can be purchased commercially (eg: Amazon store) or you can improvise with something vets call a ‘dead dog bag’ or like me, use a Qantas Airline baggage bag. You need to ensure that the bag is significantly taller than your backpack, so you have plenty of room to twist it and seal it with a couple of rubber bands before stuffing the end tightly down the inside of your pack. (I use hair elastic bands as they’re tougher). Benefits: It ensures that the backpack holds a lot of air which is useful for pack floating and added buoyancy. Handy and easy for several pack swims if you’re in and out of the water all day. The liner can double as an emergency Bivvy bag or shelter. If your tent or shelter is very small you can keep your pack outside, within the liner bag during the night. Negatives: It can be trickier to get things to fit snugly inside your backpack and you need to be careful that things like stoves or cutlery don’t pierce the bag. Your pack can hold water inside at the bottom after you exit the river, which adds weight.
3. The Individual Dry Bags Technique
This concept builds on the How to Waterproof your Sleeping Bag technique that I demonstrate in this video. Simply put, you ensure that each of the individual items that need to be kept dry are in their own separate bags. For me, this means my sleeping bag, my dry clothes/thermals and any food that isn’t already in ziploc bags or its own packaging. Benefits: It’s easier to pack snugly and save space inside the pack. It’s easy to find things and keep gear organised based on the colour of the bag (eg: my thermals are in my green dry bag), easy for several pack swims or crossing in a day… Just hop straight in. Negatives: You own more smaller bags, there’s less air/buoyancy to your pack and the pack can hold water in the bottom, adding weight.
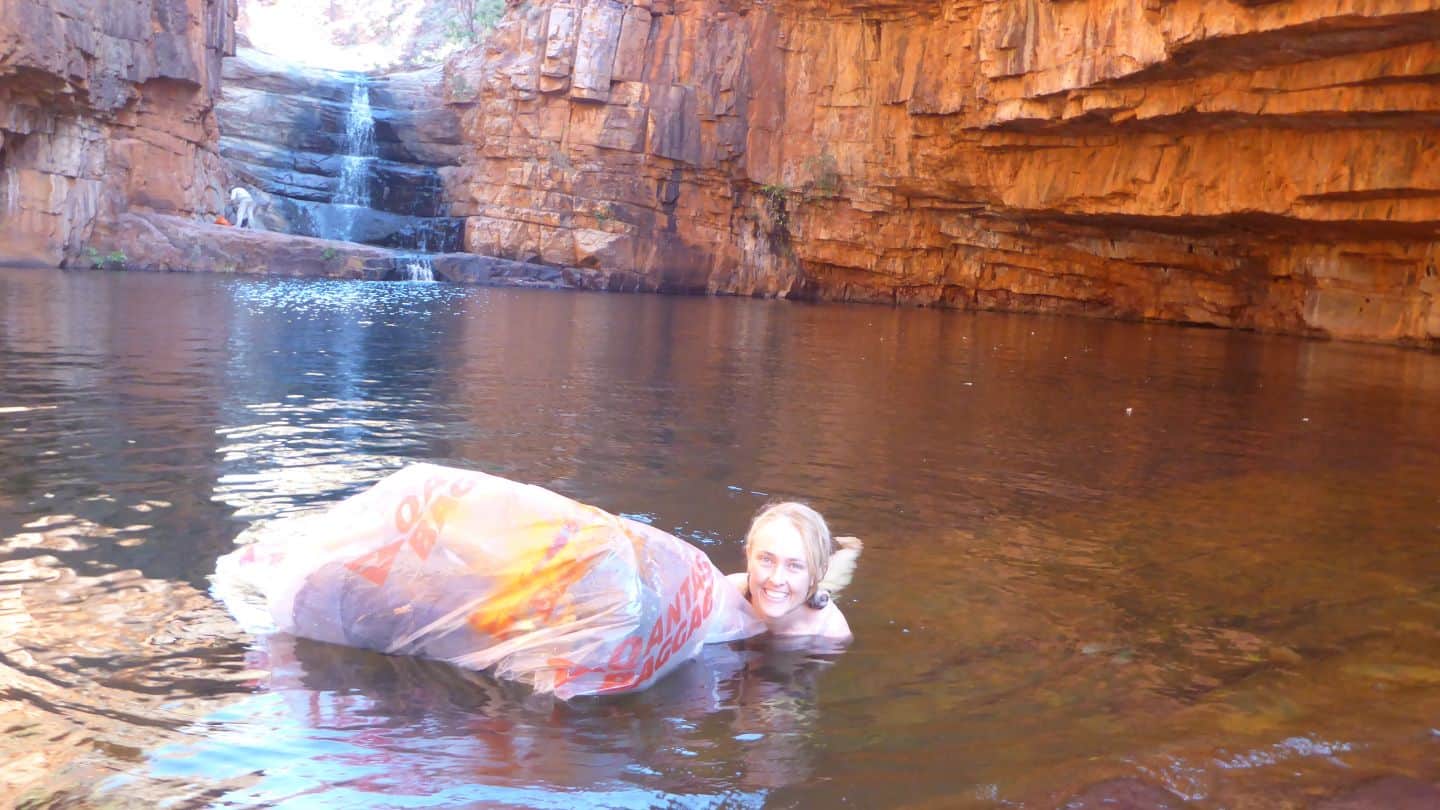
4. The Pack Float Technique
If you’ve only got 1 or 2 pack swim to get through, then this might work for you. Instead of lining your bag, simply put your whole pack inside a large plastic bag (eg: Qantas or Dead Dog Bag), seal it up with twists and bands and float it across the water. Either push it in front of you, or drag behind depending on the river current and distance. Benefits: Good floatation device, keeps the outside of the pack dry such as harness and straps, if you’re about to get in a car (or helicopter like we did in The Kimberley photo below!). If the bag is see-through, you can monitor if any water is getting inside. Negatives: Can be fiddly if you’re doing a lot of pack swims, getting in and out each time.
So what technique did I use to allow me to lean back and relax whilst paddling my backpack up the Shoalhaven River in the video at the start of this post?
Like my good Irish heritage demands, I use both… To be sure, to be sure.
Individual dry bags inside of a packliner – my trusty Qantas Baggage bag. Result? Everything was bone dry and I had a fabulous weekend with good mates adventuring.
Each to his own though, it’s about finding what works for you.
What technique do you use for keeping your kit dry when on wet adventures?