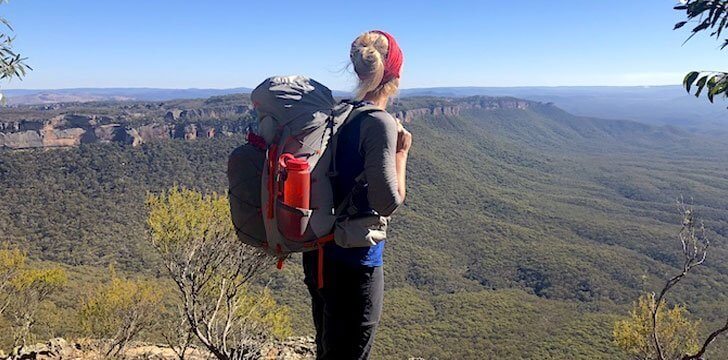

I’m Caro,
the Unexpected Outdoors Chick.
LotsaFreshAir is all about the ‘how to’ of having adventures in the great outdoors, mixed with a bunch of inspiration and a bucket-load of encouragement to help you say ‘yes’ to adventure.
Hiking and bushwalking totally changed my life and I’m passionate about helping others connect with nature in meaningful, active (and fun!) ways.

Navigation Course for hikers & adventurers
Course Dates L1 - Intro to Navigation 2 days 21 - 22 Mar 2026 Blue Mountains, NSW SOLD OUT ...

How to Navigate Book
The art of traditional map and compass navigation in an Australian context // Book The navigation training manual used by...
What's New?


How to?
Where to?


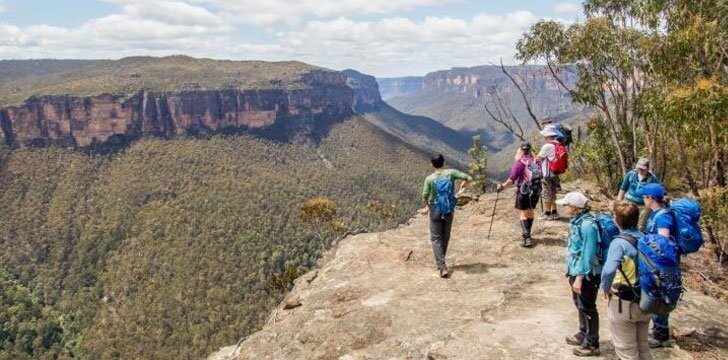
“It doesn’t matter if you take a short easy walk to a lookout, or carry a pack off-track for weeks at a time. Both are equally valid.”
CARO RYAN
Snowys

Macpac


Bushwalking & Hiking Tips from an Unexpected Outdoors Chick
Join my eNewsletter and get the latest articles, videos, pics and inspiration.
No charge. No spam. Only love.