I can vividly remember the first meeting I had with the boss of Macpac as I signed on to become one of their brand ambassadors. As I casually dropped into the conversation that, ‘not all of my gear is Macpac’, he quickly responded with, “Why not?”
That conversation was a few years ago now, but I still remember explaining to him that although their Microlight tent was a great tent and had been the standard go-to tent for many members of the Sydney Bush Walkers Club for a long time, it was now just too heavy compared to what else was on the market and I told him about my Easton Kilo 2P tent that I was using at the time.
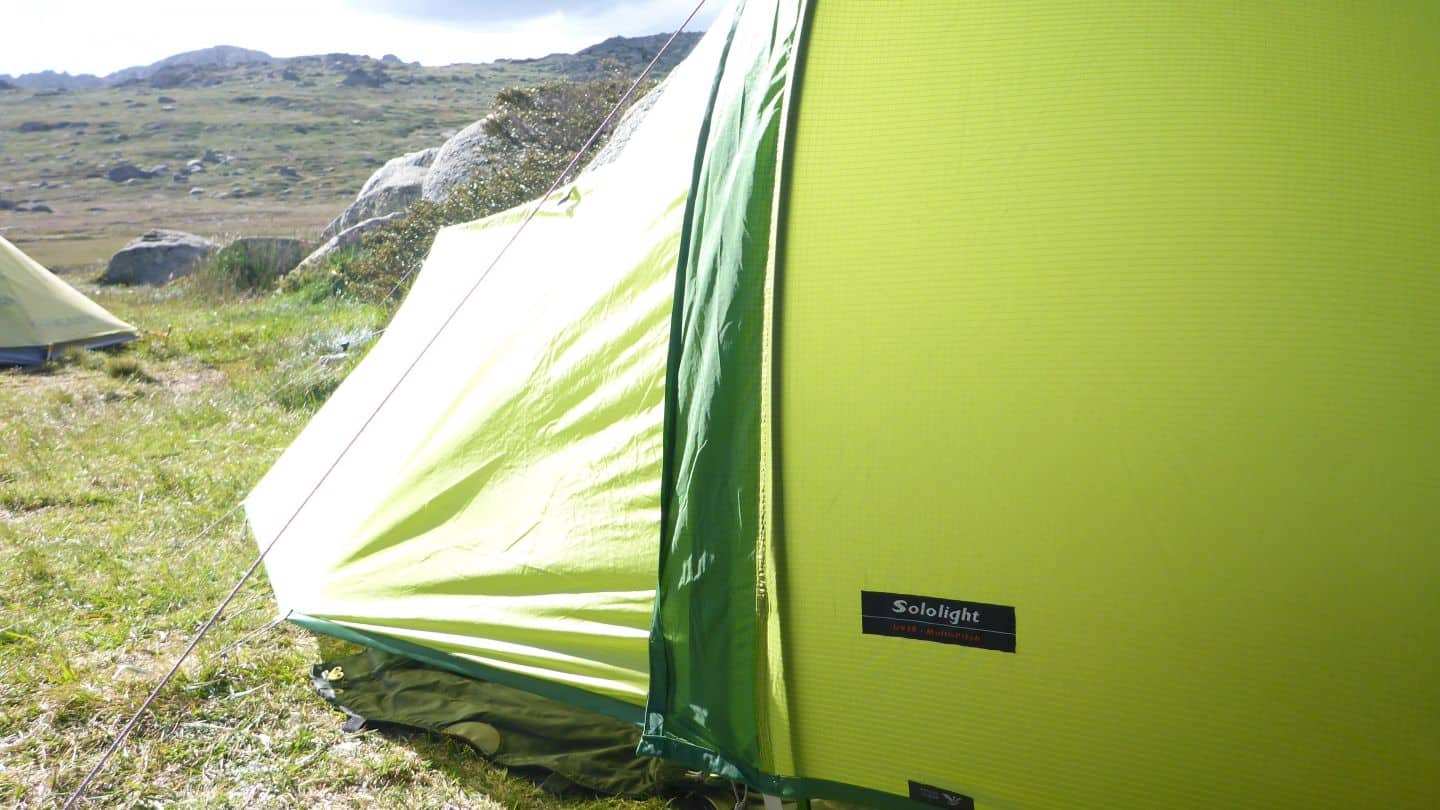
Since that time, they’ve come a long way in moving towards the more lightweight styles that many hikers and bushwalkers are hungry for. And whilst they’re very quick to say that it’s not a replacement for the Microlight workhorse, for my needs and uses, it fits the bill and is now my go-to solo tent – the Macpac Sololight Tent.
What I like about Macpac Sololight
1. It’s a multipitch tent
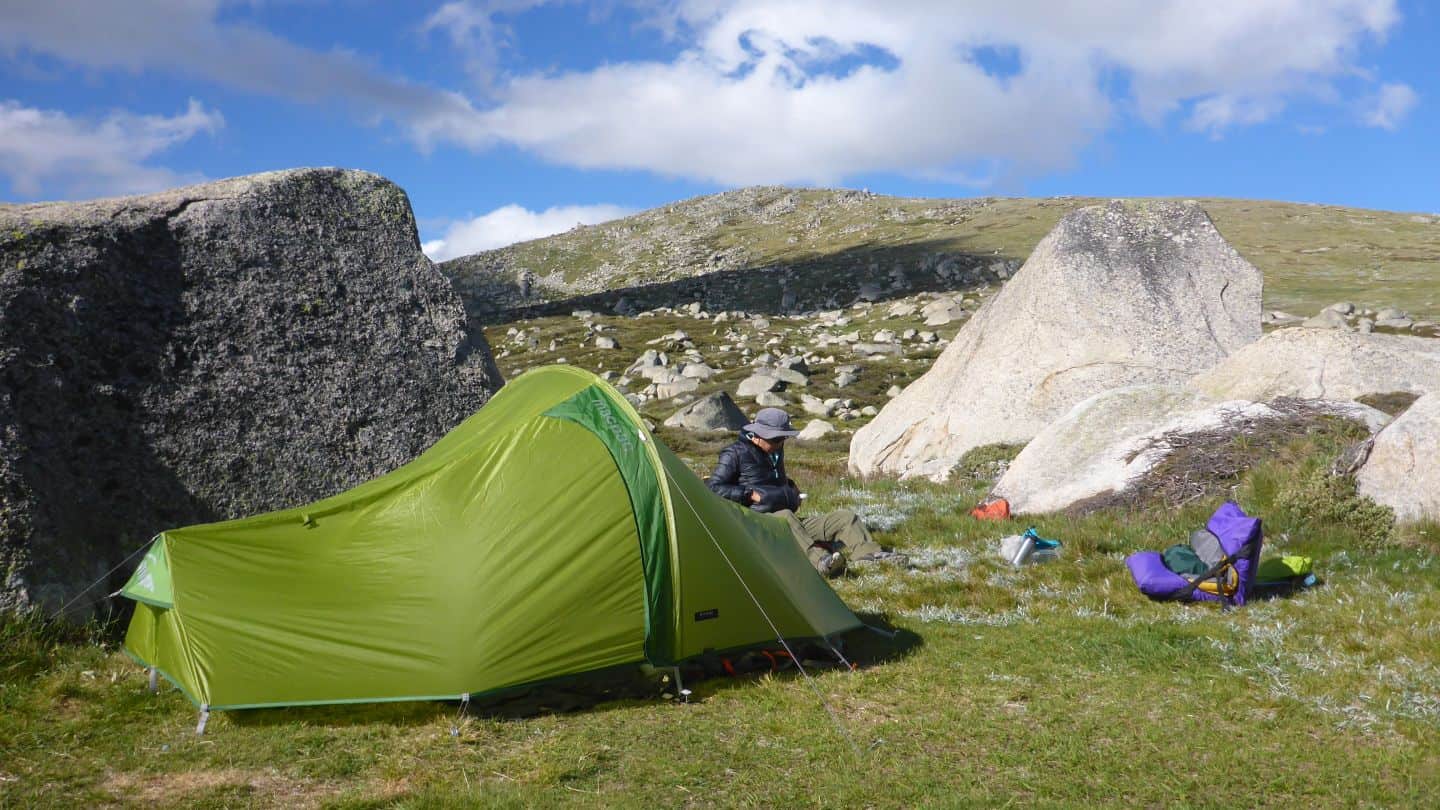
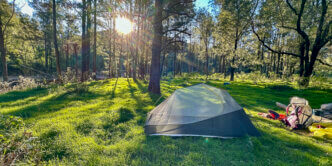
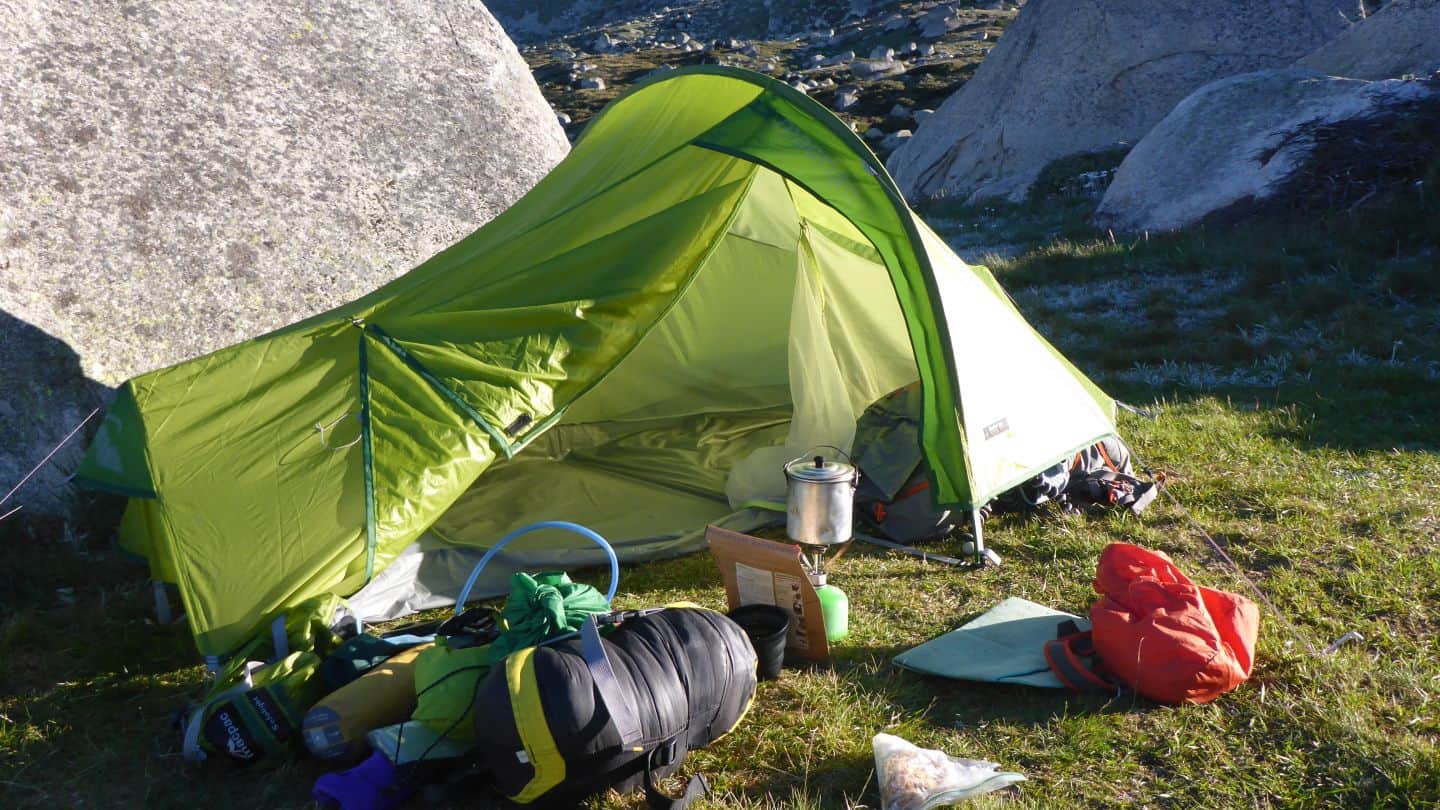
What this means, is that I can pitch the tent in 2 (Maybe there’s more) different ways, based upon my needs for the specific trip. On Test 1, I was camping on the Main Range in the Snowy Mountains (near Mt Kosciusko – Australia’s Highest Mountain) during Summer. This means that the temps can drop to (or below) zero overnight and March flies can be a problem. Therefore I pitched it as a full tent = inner (mesh + floor) and outer (fly).
However, generally speaking, everywhere else I take my tent for Spring, Summer and Autumn, I will only need to pitch the outer (fly only) and take a lightweight ground sheet for the ground. I really like this flexibility.
Although it is multi-pitch, it isn’t stand alone, like their 2P Duolight tent. It does need to be pegged out to hold it’s structure.
2. Pitch tent
The other thing about their system (which is basically the same as the Microlight, where the inner and outer connect together through small clips) is that if you are using both layers, you can pitch them together at the same time, like I did in the test, as seen in the timelapse. Not one, then the other. This is good in rain.
3. Take down separately
This system means that in heavy rain, you can pack up the inner tent and floor first, leaving the outer up for protection and keeping the inner dry. I personally haven’t tried to do this… but I’m told it’s possible!
4. Vestibule
As a single person tent, it’s so important to have a good amount of space in the vestibule for wet gear, packs, shoes, etc and I was impressed with the amount that this has. It easily fitted my Tasman 45L pack (but could have easily taken a bigger pack, like a 60L) and have room for my little ritual* and shoes.
5. Length
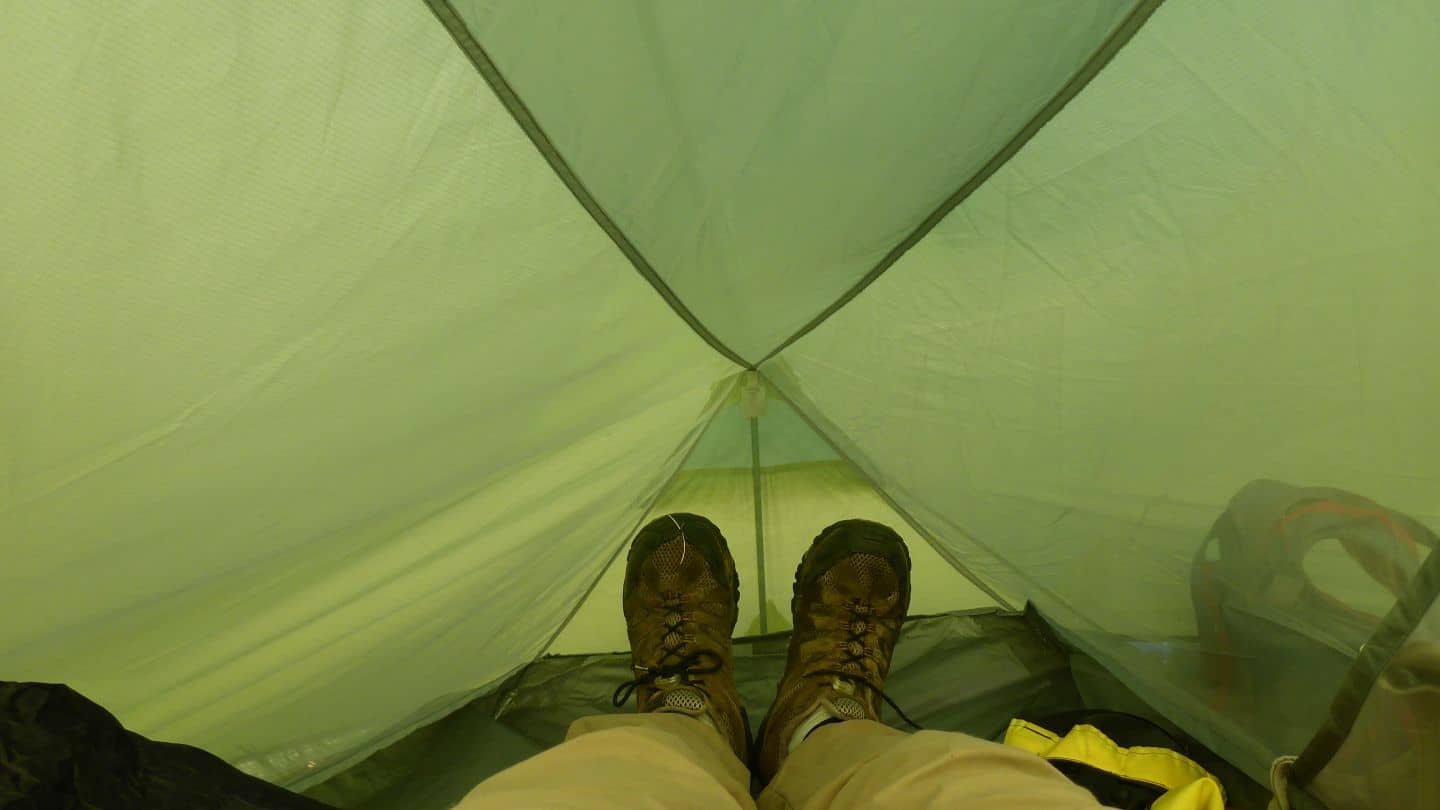
I’m tall. 5’9″ kinda tall and I’ve been in tents where the foot of my sleeping bag is up against the end of the tent, which is never good in the rain. This is one of the first things that really surprised me about this tent. Inside, I could lie flat and stretch my arms up behind my head to reach to the end of the tent. This means that there is good storage space inside for items, as well as having room beside me for the nighttime essentials like head-torch and everyone’s favourite… the Strawberry chapstick!
6. Width
It felt like one of those 1 person tents that, in an emergency, you could easily get another person inside. OK, so they wouldn’t want to be challenging a heavy-weight title or anything, but it would certainly be achievable. During Test 2, when I pitched only the outer with a ground sheet, the Sololight showed itself to be a good 2 person sized fly only shelter solution. For 1 person, it was very generous as fly only.
7. Sitting up height
As I’ve already stated, I’m pretty tall and it’s pretty important to be able to sit up comfortably in a tent, especially for bad weather days where you’re tent bound. This tent certainly allows for that (in the centre only) however I did find that on a fully inflated air-mattress (Exped SynMat UL) that I was pushing up the roof a little. If I was stuck inside for a day, I’d deflate the mattress a little for a bit more room or use the mat inside a folding camp chair thingo.
8. It’s the little things…
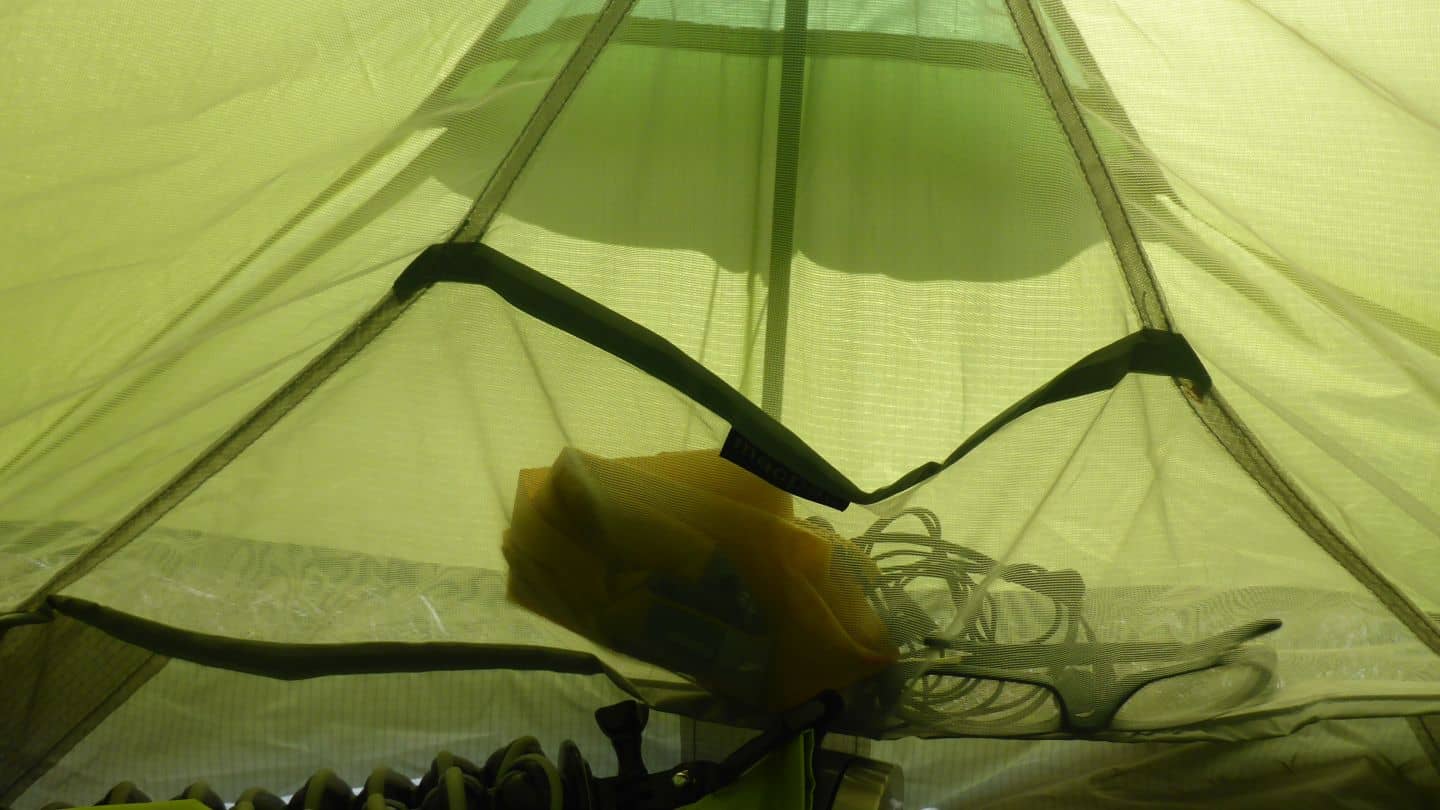
Like internal storage pockets on the sides of the mesh at an elbow height and also top of the tent behind the head. Perfect for glasses, watch, hanky, etc. Also, just having a little hook/clip in the centre of the ceiling for hanging a torch on is handy. Oh.. and zippers that do up the ‘right’ way.
9. Great pegs
The pegs are some of the best I’ve seen. Super light (I’m guessing they’re titanium) with a curved design and being about 8mm wide, they’re strong and easy to push into a variety of ground types without hurting your hand.
Jury’s Out
Although I’m super happy with the 850gram (minimum weight) for this tent as a fly only option, I feel that a 2 layer, 1 person tent for 1.25kg is getting a bit ‘up there’. Having said that though, my previous tent was an Easton Kilo 2P, which boasts being a 2 person tent for 1kg… well, actually I found it to be a little bit over that weight!
Now, this had me thinking hard about the two tents and how they compare on things.
Style:
- Sololight = side door x 1
- Easton Kilo 2P = tunnel x 1
Internal Size:
- Sololight ‘feels’ like a very big 1 person
- Easton Kilo 2P ‘feels’ like a very small 2 person
Strength:
- Sololight felt strong and sturdy in the winds, quite robust.
- Easton Kilo 2P felt flimsy, flappy and I was nervous in strong weather or in scrub. Their poles and fly feel particularly tender.
Quality:
- Sololight feels like old Macpac quality. Good seam work and attention to detail.
- I’ve had to replace poles of the Sololight twice (Ok, only once was manufacturer error, the other time due to MYOG butchery**).
Multipitch:
- Sololight YES
- Easton Kilo 2P – NO (not without said butchery**).
What I didn’t like
- I was 2 pegs short in the bag for pitching it fully, as you need 2 for the storm guys.
- It’s just something I have to get used to, but I prefer a tent where as you sit up from lying position, you have the max headroom. As this tent has the max headroom horizontally in the centre, I needed to shuffle down a bit before I sit up.
- Condensation – I found the amount of moisture inside the fly only option surprisingly fairly high. During the night, when the rain cleared, I clipped open the fly door to watch the stars and left it that way. Surprisingly, the amount of moisture didn’t seem to dissipate until daylight when the sun warmed the tent. To be honest though, this is probably due to volume of breath I’m dispelling vs. the internal space. This is generally an issue with all small tents.
Conclusion
This overall shape of the Macpac Sololight tent design seems to be becoming the industry standard for lightweight 1 person tents, with similar offerings (albeit with lighterweight materials) from the Terranova Laser Competition 1 ($520USD) and the Vaude Power Lizard ($640USD). I consider the Sololight very good value starting from $419AUD**.
So I’m left with the decision of strength and multipitch options, versus 200gms less, a bit flimsier and a bit more room in the full tent option. In the end, the things I like in the Sololight outweigh any perceived benefits of the larger/lighter Easton Kilo and I have switched.
** Price as at Jan 2021.
Test Conditions 1
- 2 day hike
- Australian Summer
- 40-50km/hr wind gusts
- 4-18 degrees c
- Pitched both inner and outer together
Test Conditions 2
- 2 day car camp
- Australian Summer
- 30km/hr wind gusts
- Heavy rain (torrential at times) for over 3 hrs
- 18 degrees c
- Pitched just outer with ground sheet
Test Conditions 3
- 2 day hike
- Australian Autumn
- Overcast, steady drizzle
- 19 degrees C
- 90% humidity
- Pitched just outer with ground sheet
Test Conditions 4
- 2 day hike
- Australian Autumn
- Overcast, rain for 10hrs through night
- 16 degrees C
- 82% humidity
- Pitched just outer with ground sheet
* I like to use my gaiters as the floor/doormat for my tent. I open them up and lay them outside down, side by side and it is somewhere to take off/put on shoes and helps keep crap out of the tent.
Buy your own Sololight here.

